 Macgi
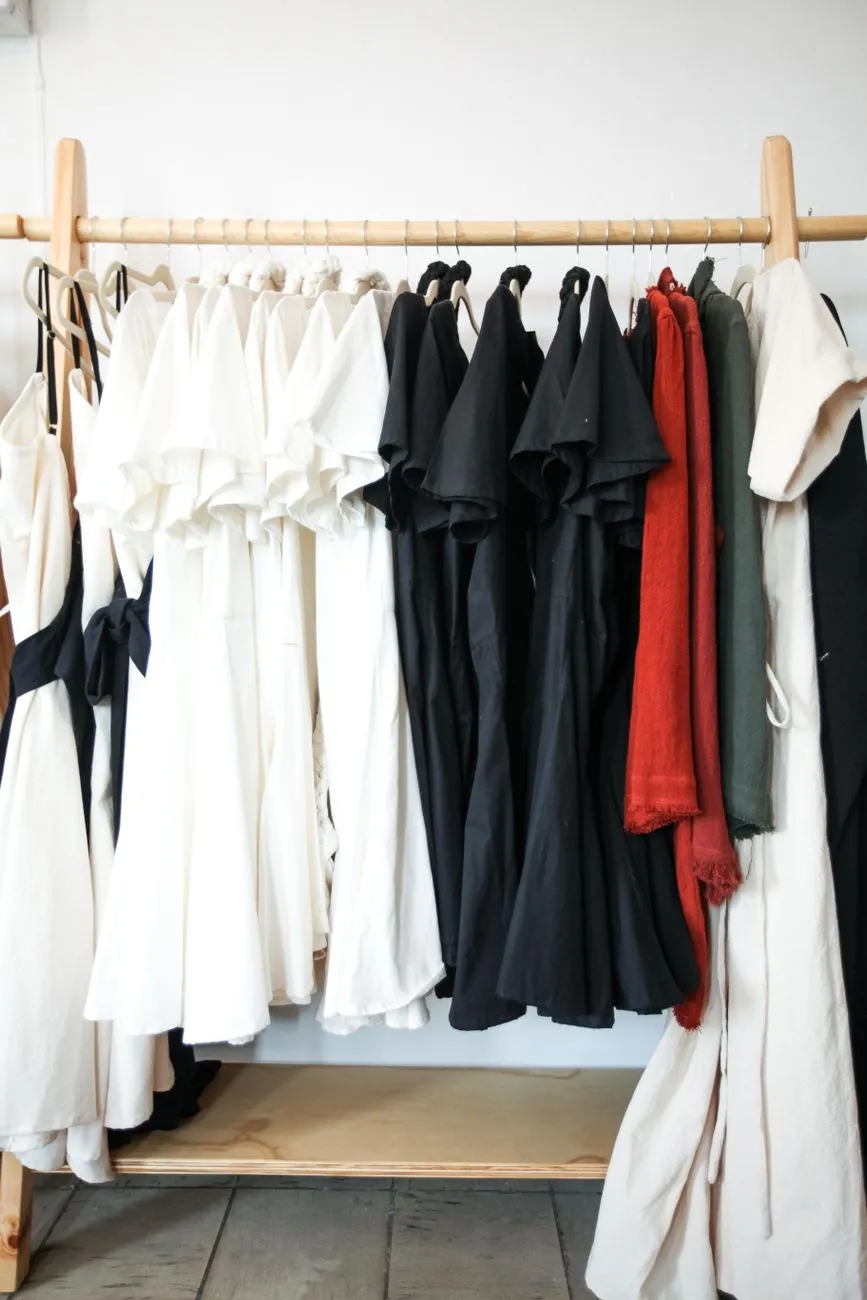
Why variable products are the foundation of a fashion store
A WooCommerce variable product lets a customer choose size, colour, length, or another option before adding the item to cart. Instead of creating separate simple products for “red dress S,” “red dress M,” and “blue dress S,” you create one dress with attributes and variations. Each variation can have its own SKU, price, stock level, image, and shipping data.
For apparel this is not a nice-to-have. Most fashion items are not one-size-fits-all. Size, colour and sometimes fit need to be chosen from the product page. Done well, variable products make inventory management clearer and keep product URLs manageable. Done poorly, they create missing variations, wrong photos, stock issues, and customer confusion.
Haravan and Sapo have a similar concept — one product with variants — but the menu names and steps differ. If you run a WooCommerce store or a custom WordPress site, this guide is for you.
Plan your attributes before you build the product
The most common mistake is starting in the Variations tab before deciding what the attributes should be. That leads to duplicate attributes like “Color,” “Colour,” “color” and “Màu” across products, which makes filters and future bulk edits difficult.
Decide first:
- Will the attribute be reused across many products? If yes, create it as a global attribute under Products > Attributes.
- What are the exact terms? “S, M, L, XL” is cleaner than “Small, Medium, Large, Extra Large” if you use short labels. Keep the order logical from smallest to largest.
- What will customers see on the product page? “Size” and “Color” are better than “Attribute 1” and “Option 2.”
- Do you need measurement data for this item? If yes, link to or embed your size guide near the size selector. A dress size chart or general size guide can reduce fit questions.
For a small fashion catalogue, I recommend global attributes for Size and Color, because they become filters and keep naming consistent across hundreds of products. For a one-off attribute such as “Length” or “Lining type,” a local product-specific attribute is fine.
Step by step: creating a variable product in WooCommerce
Here is a practical flow that works in WooCommerce without extra plugins.
1. Add the global attributes
- In WordPress admin, go to Products > Attributes.
- Add a new attribute named “Size” with a slug like
size. - Add terms in the right order: XS, S, M, L, XL, XXL.
- Repeat for “Color” with terms such as Black, White, Beige, Navy, Red, Green.
If you already have colour terms, open the attribute and check the “Enable archives?” setting if you want a public page for that term. For most small fashion stores, this can wait until the catalogue grows.
2. Create the product and choose Variable product
Create a new product in Products > Add New. Give it the normal title, description, category and tags. In the Product data panel, choose Variable product from the dropdown. The price that matters is set later in each variation, not at the parent product level.
3. Add attributes used for variations
In the Product data box, open the Attributes tab. Click Add existing and select “Size.” Set the values to all sizes you want to sell. Tick the box Used for variations. Do the same for “Color.” Save attributes before moving on.
If an attribute is only for information and not selectable for the purchase, leave “Used for variations” unticked. For example, “Wash care” should not be a variation.
4. Generate the variations
Open the Variations tab. Set the dropdown to Create variations from all attributes and click Go. WooCommerce generates every possible combination — for example, 6 sizes × 5 colours = 30 variations. Confirm the combinations are useful. If you do not sell black XS, delete or disable that variation after generation.
Each variation row needs at least:
- Regular price
- SKU
- Stock status or stock quantity
- Image, if the product looks different by colour
- Weight and dimensions, if shipping costs depend on them
- A short variation description, if useful
To edit a variation, click the row to expand it. Update the fields and save.
 Photo: MART PRODUCTION / Pexels
5. Add the right image for each variation
The product gallery can show all lifestyle and flat shots. But the variation image is what appears when the customer selects that specific option. For a dress sold in navy and red, the navy variation should show the navy dress, not the red one.
If the product photo is the same for every size, you can add the same photo to each size variation within a colour. That takes extra clicks but avoids a mismatch where S shows one photo and M shows none. Some swatch plugins let you map one colour image to all sizes more efficiently, but in stock WooCommerce you set it manually or via CSV import.
Stock, SKUs and pricing rules for fashion stores
Inventory and pricing are where variable products become powerful — or messy.
- Set a unique SKU per variation. A common format is
DRESS-NAVY-S,DRESS-NAVY-M,DRESS-RED-S. Unique SKUs make inventory exports, barcode scans and accounting much easier. - Manage stock at variation level. Make sure stock management is enabled under WooCommerce > Settings > Products > Inventory if you want to track quantities centrally. Then each variation has its own stock quantity. If you sell 3 black M and 7 black L, the shopper cannot order a black M that is out of stock.
- Leave the variation price blank only if you do not want that combination to be purchasable. In WooCommerce, a variation without a regular price is normally not available. If you accidentally generate all combinations and forget prices, most of the product will show “not available” on the front end.
- Use sale prices with a schedule only when you really want a deadline. WooCommerce shows a sale badge if a sale price is lower than the regular price, so do not set a sale price equal to or above the regular price.
- Avoid setting different tax classes across sizes unless tax rules require it. Check your local tax obligations with a current official source before applying complicated tax logic.
If you use a product feed for Google Merchant Center or Facebook, each variation with a unique SKU should be submitted as an item. Wrong variation images or missing GTIN/brand data can cause disapprovals; follow the feed rules of each platform.
Bulk editing variations when the range changes
Fashion stores often need to update prices before a sale, add stock after a restock, or change the SKU prefix across an entire product line. WooCommerce has two practical methods.
Use the built-in bulk edit
In the Variations tab, select the variations you want to change using the checkboxes. Use the bulk actions dropdown above the list, choose Edit, and click Apply. You can update regular price, sale price, stock quantity, weight, dimensions, and some variation fields. This writes the same value to all selected rows, so it is best for “set all sizes to $24.90” or “add 10 units to all SKUs.”
It does not calculate a percentage discount or relative stock change. For a 10% price reduction, export the products to CSV, change values in a spreadsheet with a formula, and import again.
Export and import via CSV
From Products > All Products, use the Export button. Select the columns you need for variations, then edit the CSV file carefully. The file repeats the parent product for each variation row. Keep the parent SKU logic consistent — some stores leave the parent SKU field empty and only use variation SKUs. Do a backup before import and test on one product first.
 Photo: Ron Lach / Pexels
Make the selector easy to use with swatches and size guides
Out of the box, WooCommerce shows variable options as dropdown menus. That works, but a clothing store can do better. A colour dropdown named “Navy Blue” does not help a shopper as much as a small navy image swatch or a labelled colour chip. Size selection also benefits from clear buttons, especially on mobile.
Install a well-rated variation swatch plugin from the WordPress plugin directory. Search for “variation swatches” and check that it supports WooCommerce, image swatches for colours, button swatches for sizes, and the theme you use. After setup, assign the swatch image or colour to each attribute term, not to each variation. The plugin then replaces the dropdowns on the product page. For more on making swatches effective, see How to use color swatches on product pages to boost sales.
You can still manage inventory and pricing exactly as before, because the plugin only changes the selection interface. If you are on Haravan or Sapo, the concept is similar; look for built-in variant colour and size settings or compatible apps in the platform’s app marketplace.
Next to the size swatches, add a visible size guide. A dress size chart with bust, waist, hip, and length measurements helps shoppers choose between M and L. For boutique clothing, also explain how to help customers choose the right size online. This is not just content — it can reduce size-related questions and returns if the measurements match the actual garment.
Common mistakes that make variable products fail
Here is a checklist to review before publishing a variable product.
- All variations have prices. If a variation is intentionally unavailable, remove it or mark it out of stock, but do not leave it with no price and no explanation.
- Every colour variation has the correct image. A shopper choosing beige should not see a black shirt.
- Attribute names are user-facing and consistent. “Color” and “Màu” should not both exist in the same store; pick one language and stick to it unless you run a multilingual site.
- Stock is enabled where it matters. If you dropship or use pre-order, decide whether stock should be tracked and set low-stock notifications.
- The product page does not assume sizes are obvious. Add a size chart, garment measurements, and fit notes where needed.
- Large combinations are split sensibly. If one product has 40+ variations with many images, consider splitting by colour into separate products to keep the page lighter and SEO more focused.
How to measure whether your variable products are working
Do not wait for a full season to review performance. At minimum, track product page views, add-to-cart clicks, and conversions per product. In WooCommerce and Google Analytics, you can see this data at the product level.
For a worked example: if a dress product page had 400 sessions last week and 32 add-to-cart events, the add-to-cart rate is 8%. If 24 of those 32 then reached checkout, the progression rate is 75%. Those are neutral example numbers; compare them to your own store over time.
Look at the variation level when you can. Which sizes or colours get the most clicks but do not convert? That may mean a size chart is missing, the product image is misleading, or the item is frequently out of stock in popular sizes. Also watch return reasons by size and colour. If a particular size has a high return rate, fix the measurements or product description rather than just hiding the variation.
For shops that sell clothing, a large part of the buy decision is whether the item will look right on the shopper’s body. A virtual try-on button next to “Add to cart” on your product pages lets shoppers see themselves wearing the product before buying. Macgi offers an AI try-on widget that works with WooCommerce and other platforms and is available in a free beta. If you want to test it on your product pages, try Macgi’s free beta.
FAQ
How many variations can a WooCommerce variable product have?
WooCommerce can handle many variations, but a very large number can slow the admin and the product page. A single product with 8 colours × 7 sizes is manageable. For much larger ranges, split into separate products by colour or use a plugin that improves variation loading.
Can I use different photos for each colour?
Yes. In the Variations tab, expand a variation and set its image in the Image field. The selected variation image becomes the main product image on the front end.
Do I need a plugin for swatches?
No. WooCommerce works with dropdowns. But swatch plugins make colour and size selection faster and clearer, especially for fashion stores.
What happens if I leave a variation price empty?
A variation without a regular price is normally not purchasable. It may show as “not available” on the product page. Remove the variation or enter a price if you intend to sell it.
How do I manage stock per size?
Enable stock management for the variable product, then set a stock quantity or stock status in each variation. You can also bulk edit stock after a restock using the Variations tab or a product CSV import.


