Macgi

Running a secondhand clothing store online is not the same as running a regular fashion shop. You usually have one of each item, the condition varies from piece to piece, and the shopper cannot touch the fabric. Your product page has to do the work of a fitting room: it has to show the real garment, describe the flaws, explain the fit, and still make the item feel worth buying.
The good news is that solo shop owners and small teams can do this well with a phone, a consistent checklist, and a very disciplined approach to honesty.
1. Decide what kind of secondhand shop you are running
Before you photograph your first coat, decide which model fits your stock and time.
Curated thrift
You pick everyday branded or high-street items, clean them, and sell them quickly at a lower price. Volume is higher, but margins on each item are usually smaller.
Vintage or archive
You focus on older pieces, specific eras, designer labels, or rare fabrics. Items are often slower to sell, but they can be priced higher when the condition and authenticity are good.
One-off resale
You source any item that looks good, list it once, and treat every garment as its own product. This is the most common model for small online secondhand shops.
This decision affects everything else: what you buy, how much time you spend on each listing, how many photos you take, and how aggressive you are with discounts.
Platform basics matter less than you think
On Shopify, you can create a product for each item and set the stock quantity to 1. On WooCommerce, a simple product with stock quantity 1 works well for most one-off pieces. On Haravan and Sapo, the product editor is usually similar: add media, description, price, and inventory. The platform is not the hard part. The hard part is capturing the actual condition and fit of a garment you may never see again after it sells.
2. Source secondhand clothing you can actually sell online
Sourcing is where many secondhand shops fail. It is easy to buy too many low-demand items or items with hidden damage.
Where to buy stock
- Local thrift stores and charity shops
- Estate sales and moving sales
- Consignment from friends, family, and past customers
- Wholesale secondhand bales or rag houses
- Local resale markets and pop-up clothing swaps
- In Vietnam, local secondhand markets, consignment groups, and Facebook/Zalo resale groups can be practical sources
When you buy wholesale bales, you usually cannot choose every piece. That makes grading and measuring even more important because some items will be unsellable online.
Sourcing checklist
Before you pay for an item, check:
- Seams, especially at the armpit, shoulder, and crotch
- Zippers and buttons
- Lining, if the garment has one
- Hems and cuffs
- Stains under the arms, around the collar, and inside the waistband
- Fading, pilling, or stretched fabric
- Missing labels or missing care tags
- Unusual smell, including strong perfume or mildew
- Fabric composition, if the label is still readable
- Brand desirability and current demand
Record a quick cost note for every item as soon as you buy it. If you do not know your cost, you cannot price the item properly later.
3. Grade condition and measure every item
Secondhand shoppers expect more detail than new-clothing shoppers. Do not rely on the brand size label alone. A vintage medium may fit like a modern small, and a washed wool sweater may have shrunk.
Use a simple condition grade
Publish the meaning of each grade in your shop so customers understand what they are buying:
- New with tags: original tags still attached; no visible wear
- Like new: no visible flaws; may have been washed or worn once
- Excellent: very light signs of wear; no noticeable flaws
- Very good: minor wear that most people would not notice
- Good: visible wear or a small flaw, disclosed clearly
- Fair: multiple flaws or noticeable fading; best for a budget buyer
Avoid claiming “like new” for a washed garment unless it truly looks unworn. If there is any flaw, the grade should drop or the flaw must still be clearly described.
Take flat measurements for everything
For one-off items, measurements are more useful than a brand size. List actual measurements in centimeters or inches, and tell the customer how you measured.
Use this flat-garment template for common pieces:
- Tops: armpit to armpit, shoulder width, sleeve length, total length
- Dresses: armpit to armpit, waist, hip, total length
- Pants: waist across, hip across, front rise, inseam
- Skirts: waist across, hip across, length
- Coats and jackets: shoulder, sleeve, chest, total length
For stretchy fabric, you can add “fabric has stretch” but do not replace the measurements with that phrase. A fitted ribbed top can measure small but stretch a lot; the buyer needs both facts.
Keep a note of whether the measurement was taken flat and whether the garment was buttoned or unbuttoned. That prevents you from re-measuring later.
4. Photograph one-off items without a professional studio
You do not need a model for every listing, but you do need honest, repeatable photos. Consistent images build trust and make your shop look organized.
Basic photo setup
- Use daylight near a window or a bright, shaded area
- Hang the item against a plain white or neutral wall
- Also take at least one flat lay on a clean surface
- Use the same background and angle for every listing
- Include front, back, and full-length views
- Include close-ups of the fabric, label, and any flaw
For more detailed photo guidance, see How to photograph clothes to sell online: full checklist.
Do not hide flaws with editing
You can brighten a dark photo or clean a background, but do not edit out stains, holes, fading, or texture. If you use AI photo tools, keep the garment pixels accurate. A wrinkle or a slight fade is part of the item. The shopper should not be surprised when the package arrives.
Color accuracy
Secondhand items often look different in person than in a phone photo. Shoot near natural light, and compare the photo to the physical item before publishing. If the color is hard to capture, write a color note such as “reads more dusty rose than bright pink” instead of relying only on the image.
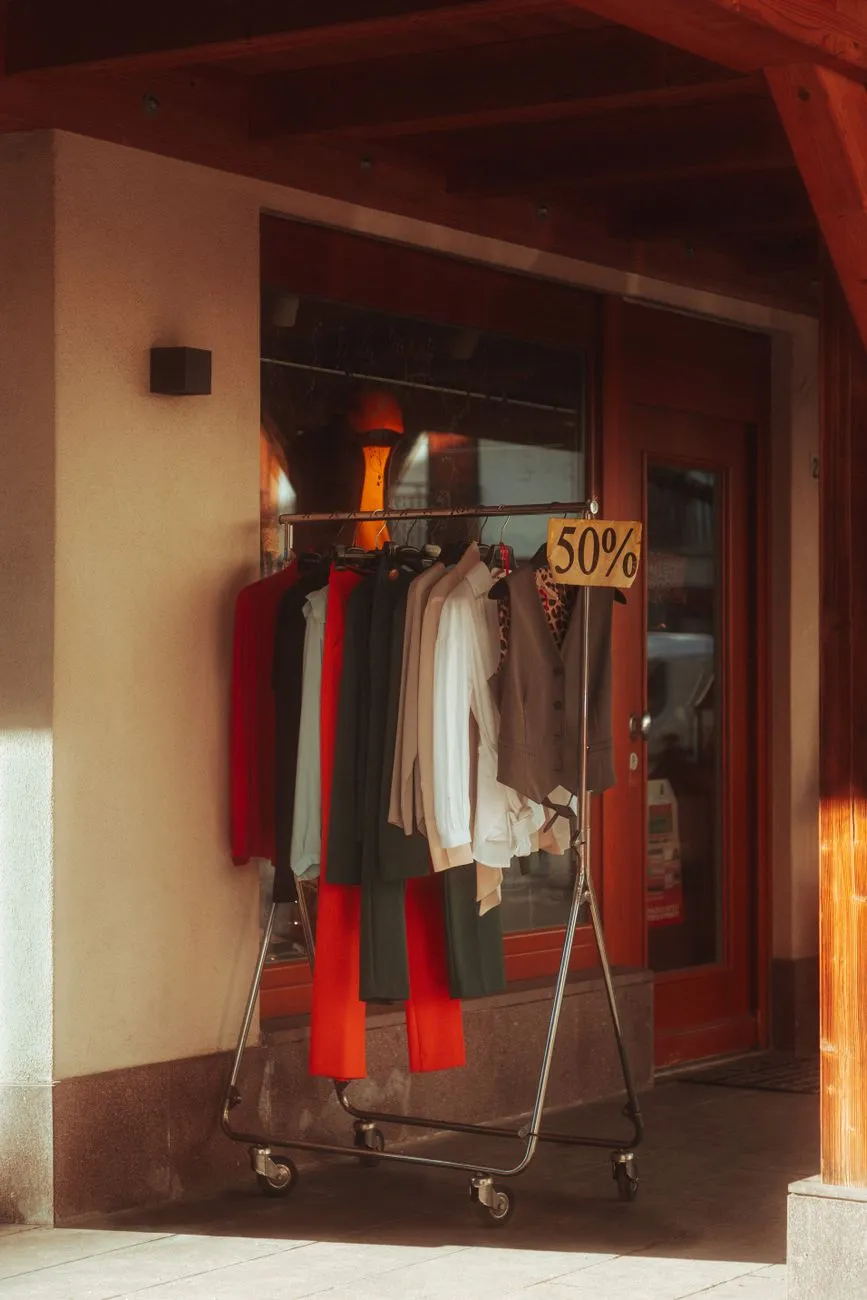 Photo: Gioele Gatto / Pexels
5. Write one-off listings and honest flaw descriptions
A secondhand listing should answer four questions quickly:
- What is it?
- What condition is it in?
- What are the actual measurements?
- How will it fit?
Title template
Use a clear, searchable title:
Brand + gender + item + size + color + condition + useful detail
Example: “Levi’s women’s denim jacket, medium, mid-blue, very good, slightly cropped”
Bad example: “Cute blue jacket”
The first title matches how shoppers search. The second tells them nothing.
Description template
Use the same structure for every item:
- Condition summary: one or two sentences
- Measurements: list the flat measurements
- Fabric and care: if the label is readable
- Fit notes: relaxed, oversized, fitted, runs small, etc.
- Flaws: every flaw, no matter how small
- Color note: if the photo may show the color differently
- Item note: vintage, one-off, repaired, altered, etc.
For more on description structure, see How to Write Clothing Product Descriptions: 6-Part Structure.
Good and bad flaw wording
Vague wording lowers trust. Specific wording sells the item while protecting you.
Bad: “Minor wear”
Good: “Small 3 mm pin dot on left cuff, shown in photo 5. No other visible flaws.”
Bad: “Vintage condition”
Good: “Vintage item with light fading across both shoulders. Fabric is still soft, no holes or thinning.”
Bad: “Has some flaws, sold as-is”
Good: “Missing top button, replacement button included. Slight discoloration inside the collar. Priced accordingly.”
Never write “sold as-is” as a substitute for describing the flaw. Even as-is sales usually need to match the description. If the buyer receives something worse than the photos and text showed, you may still deal with a dispute or return.
6. Use pricing logic built for one-off stock
You cannot just set a retail markup and forget it. Secondhand pricing depends on condition, demand, rarity, and how long the item has been sitting.
Start with a simple costing example
For example, if you buy a wool coat for 40, clean it for 5, and pack it with a 2 box, your direct cost before fees and marketing is 47. If your platform and payment fees are about 12, your total cost is 59. Selling it for 95 leaves you 36 before overhead and your time. That may be enough, or it may not, depending on how long the item takes to sell.
Do not forget the value of your time. Measuring, photographing, writing, and answering questions can take 30–60 minutes per item.
Check current demand before pricing
Search for similar items and look at the condition, size, and color. Vintage denim may sell for more than modern denim, but only if the condition and measurements are right. If no similar items are selling, lower the price or do not buy that style again.
Create a markdown schedule
One-off inventory should not sit forever. For example:
- Full price for the first 3–4 weeks
- 15–20% off for the next 2–3 weeks
- 30–40% off after that
- Donate or bundle after roughly 90 days
This is a made-up schedule, not a rule. Adjust it to your storage space and cash flow. The point is to make a decision instead of letting slow stock pile up.
Bundle weak items
If an item has a small flaw or an unusual size, bundle it with a stronger piece at a lower total price. For example: “Two vintage linen shirts, both medium, one with a small mend at the hem.” Bundles move inventory and reduce the number of separate listings you need to manage.
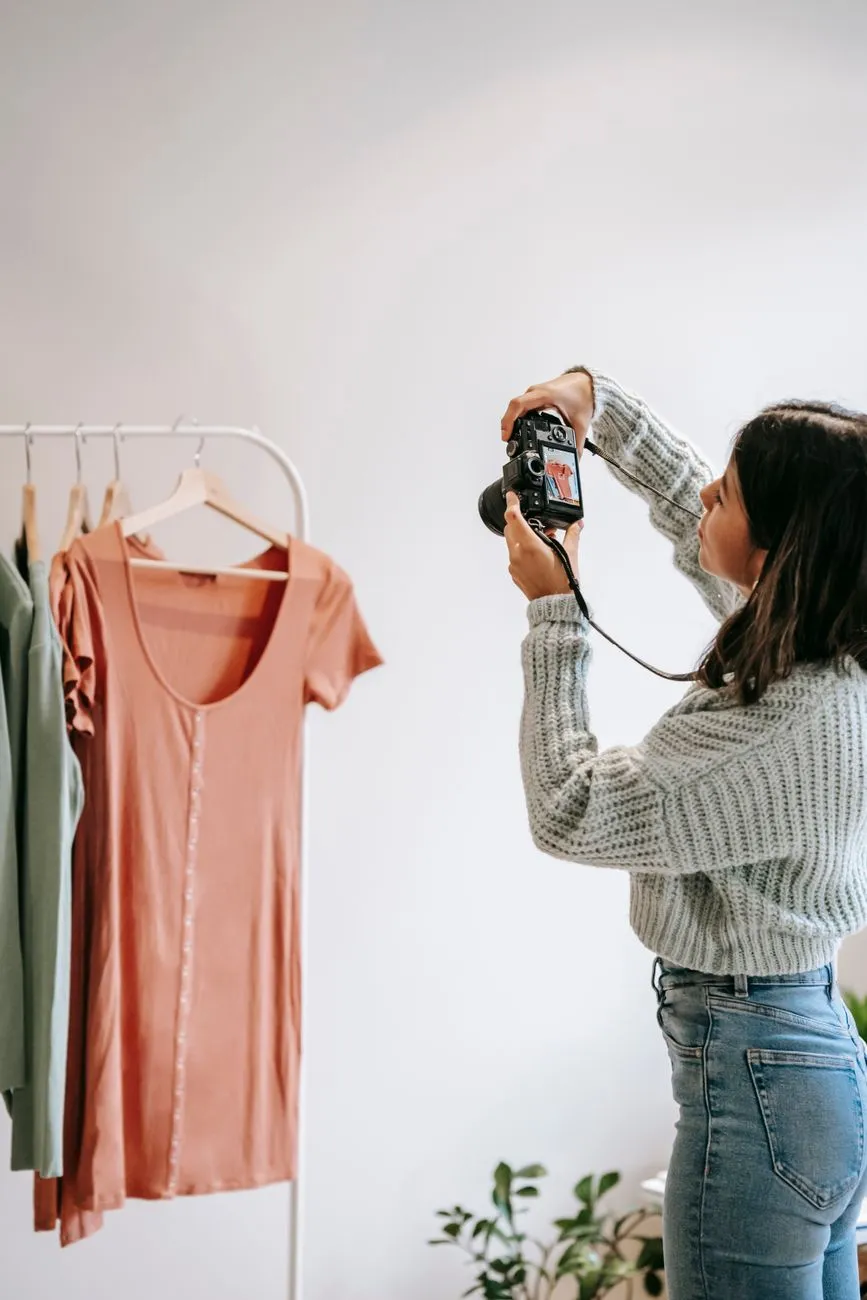 Photo: Liza Summer / Pexels
7. Run tight inventory and returns processes
When every product is unique, sloppy inventory leads to overselling and “sorry, I already sold that” messages.
Use unique SKUs
Give every item its own SKU. You can start with a simple code like:
SRC-DATE-BRAND-ITEM
Example: 0207-LEVI-JACKET-01
In Shopify, set the inventory quantity to 1 for that product. In WooCommerce, set stock quantity to 1 and enable stock management. On Haravan and Sapo, use the platform’s inventory field to keep the item from being sold twice.
One listing workflow
Use this sequence for every item:
- Source and record cost
- Inspect and grade
- Measure
- Photograph front, back, details, labels, and flaws
- Write the title and description
- Set price and compare to similar sold items
- Publish and tag it by brand, size, condition, and category
- After sale, mark it sold immediately
Write a clear return policy for secondhand items
Shoppers need to know what happens if an item does not fit or has a flaw they missed.
A simple policy can say:
- Returns are accepted if the item is not as described
- Returns for fit are accepted or exchanged only if your policy allows it
- Customers should contact you within a set number of days
- Items must be unworn and in the same condition you sent them
Check your local consumer-protection rules and your platform’s seller policies, because they change and may set minimum standards.
For a more detailed process, read Returns management process for online stores: 9 steps.
Also track why items come back. If one category keeps returning because of fit, add more measurements. If one item returns because a flaw was missed, improve your inspection checklist.
8. Sell the one-off, not just the garment
Secondhand shoppers often buy the story, the rarity, or the look. You do not need to overdo storytelling, but you do need to help them picture the item on themselves.
Show fit and styling without a studio
- Use a dress form if you have one
- Shoot a short phone video of the item on a hanger and on a person
- Show the item styled with a belt, jacket, or layering piece
- Add a flat lay with shoes or accessories for context
- For high-value pieces, include a close video of the fabric texture and seams
If you have the same item in multiple sizes, explain fit clearly. But for one-off secondhand stock, the measurements and fit notes usually matter more than generic size charts.
Use product pages to reduce uncertainty
Buyers hesitate on secondhand items because they cannot try them. A clear product page reduces that hesitation. For fashion stores, a virtual try-on button on product pages lets shoppers judge the look before buying. Macgi makes that possible for online clothing stores, including shops on Shopify, WooCommerce, Haravan, Sapo, or a custom site. If you want to test it on your secondhand product pages, try Macgi’s free beta.
FAQ
Can I sell secondhand clothes on Shopify and WooCommerce?
Yes. On Shopify, create a product and set inventory to 1 for a one-off item. On WooCommerce, use a simple product with stock management enabled. On Haravan and Sapo, use the product editor in the same way. The important part is marking the item sold immediately after checkout.
What if the brand size label is missing or unreliable?
Ignore the brand size as the main fit signal. Measure the garment flat and list those measurements. Add a fit note such as “fits like a modern small” only if you have compared it to known measurements.
How many photos should I include?
Aim for at least six to eight photos: front, back, full-length, label, fabric texture, one or two detail shots, and any flaw close-up. A short video also helps, but do not skip the still photos.
Should I hide small flaws to sell faster?
No. Disclose every flaw. A hidden flaw often becomes a return, a dispute, or a negative review. A clearly disclosed small flaw usually sells better than a vague item that makes the buyer nervous.
How do I know what price to start with?
Start with your cost, fees, and time, then compare to similar sold items. If the item does not sell after a few weeks, lower the price. If the same type of item repeatedly sits at a high price, buy fewer of those pieces in the future.