 Macgi
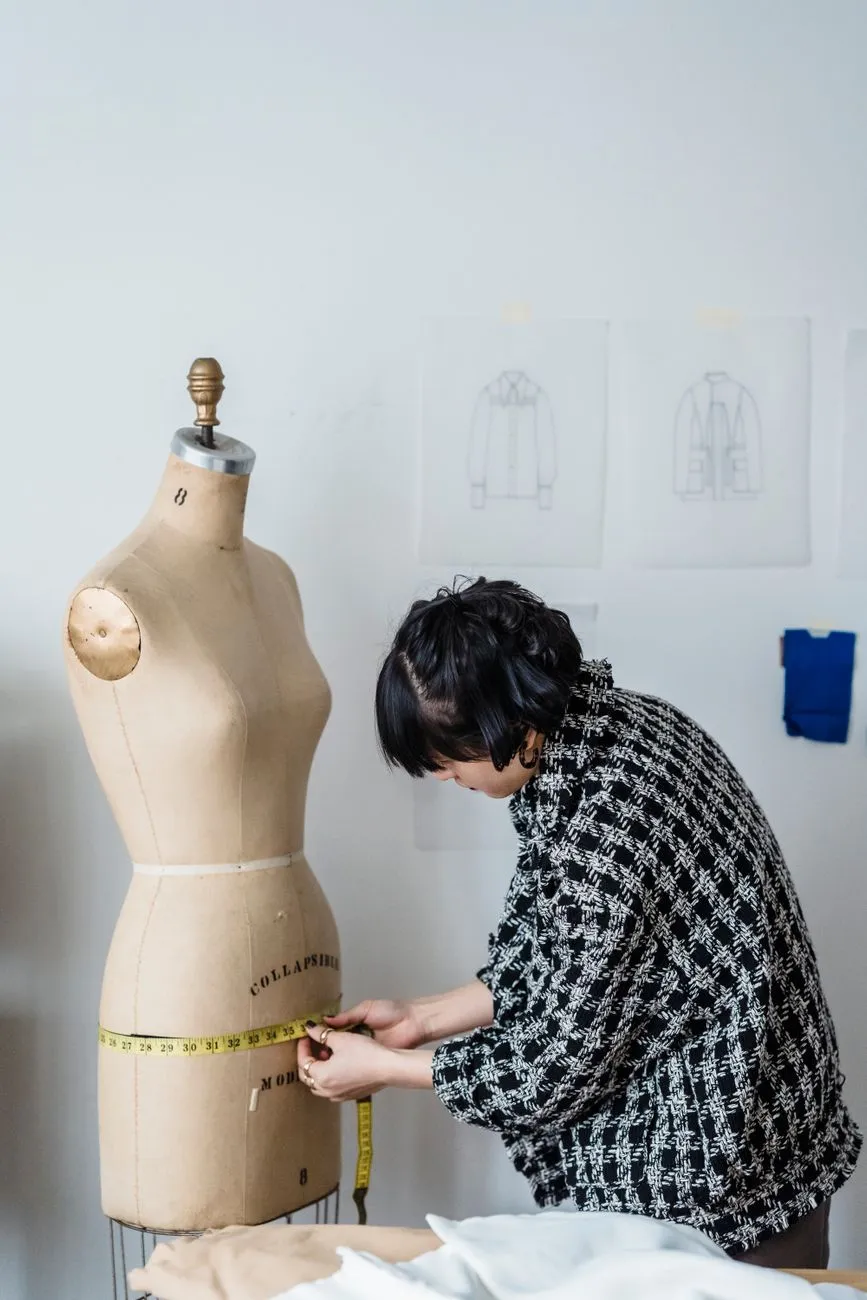
Womenswear online stores fail in a particular way. The product can be beautiful, but the shop loses trust when a size M fits like an XL, the model’s height is missing, or the first drop was 300 units of a micro-trend that faded in three weeks. This guide is about those womenswear specifics: sizing across body shapes, models and photo choices, trend buying, and how to use drops to bring buyers back.
Build the sizing foundation before you order stock
Start from the garment, not a generic label. A size M from one supplier can fit like a size S from another. If you copy a general size chart from the internet, buyers will notice.
Create a size chart from actual garment measurements
For each style, measure the flat garment and convert that into a body-size chart. The most useful points for womenswear are:
- Bust: measured across the chest, usually 2–3 cm below the armhole, doubled
- Waist: at the narrowest point, or where the garment is designed to sit
- Hip: usually 18–22 cm below the waist, depending on the style
- Length: from the shoulder seam for dresses and tops, and from the waistband for skirts and pants
- Sleeve length and thigh width where relevant
Do not rely on one “S/M/L” chart for every dress, skirt, top and bottom. A fitted dress, a stretch top and a high-waist skirt each need separate notes. If you need a starting structure, review Dress Size Chart: Bust, Waist, Hip and Length by Style, then adjust the numbers to your actual product.
Write fit notes like a friend, not a brand
Good wording:
“Lan wears size S. She is 160 cm tall, bust 82 cm, waist 64 cm, hip 89 cm. This dress is fitted at the waist and relaxed over the hip.”
Bad wording:
“Runs true to size.”
“True to size” means nothing unless the shopper already knows your brand. Instead, say what the garment actually does:
“If you are between sizes and prefer a relaxed fit, size up. The fabric has 20% stretch at the bust but no give at the waistband.”
Include notes on stretch, lining, sheerness, and whether the style is curved or straight through the hip. Shoppers with different body shapes are asking different questions. A straight-cut dress may fit one way on a straight body and very differently on a fuller hip.
Make sizing visible before size selection
On the product page, place the size chart either directly next to the size selector or in an expandable tab directly below it. Do not hide it in the footer. For Shopify stores, you can add a size chart page and link it in the product description or use a size chart app, but the core rule is placement. For WooCommerce, add a custom tab using a size guide plugin or place the chart in the product description near the variation selector. On Haravan and Sapo, add the size chart as a product information block or image in the description area.
Checklist before you order stock
- You have measured at least one sample per style and size
- You have a body-size chart based on those garment measurements
- You have model height and body measurements for every fitted style
- You have written fit notes that mention stretch, waist, hip, and length
- You know which sizes you will actually stock: XS, S, M, L, XL, or a narrower range
Plan trend speed and buying depth like a buyer, not a collector
Womenswear moves fast. A summer colour can peak in five weeks and then sit until next year. That affects how you buy, price, and restock.
Decide which buying model a style belongs to
Not every product deserves the same order quantity.
- Trend item: ordered in small depth, sold at full price first, marked down quickly if slow
- Wardrobe staple: reordered on a regular schedule, kept available in core colours
- Capsule or coordinate piece: bought to complete a look, usually ordered in limited units
Before you commit to a purchase order, write down which group the style belongs to. A mistake many new stores make is buying a fast trend as if it were a core staple.
Use a small first buy and a clear restock rule
For a new style, buy fewer units per size than your heart says. If you are testing a button-up shirt in four sizes, you might start with two units per size instead of ten. Then set a restock rule:
“If a style sells 50% of its first units within 10 days and at least three sizes are nearly gone, reorder the best two sizes.”
This is a made-up rule, but it forces you to act on data rather than feeling. For example, if you receive 40 units and sell 20 in the first week, that is 50% sell-through and may justify a restock. If you sell 5 units in four weeks, that is 12.5% sell-through and likely not a reorder.
Sell-through is simply units sold divided by units received, usually measured over a fixed period such as 2, 4 or 8 weeks. Use it to compare styles fairly.
Set markdown and stop-loss rules before launch
Decide in advance what happens when a style does not sell:
- After week 3: move the product to a “New drops” or “Weekly picks” collection and send one email mention
- After week 4: if fewer than 1 unit per size has sold, add it to a sale category and reduce the new order
- After week 6: donate, bundle, or liquidate if the style is taking space
This matters because womenswear inventory ages quickly. A full rack of last month’s trend blocks the budget for next month’s drop.
Choose models and product photos that reduce guesswork
Photos for womenswear are not decoration. They are sizing information, fabric information, and trust information. A shopper cannot touch the fabric, so the photo must simulate what she would check in a fitting room.
Show the garment on at least one real body
For fitted dresses, skirts, and tailored tops, an on-model photo is more useful than a flat lay. Ideally show:
- Front view, standing straight
- Back view
- A side or walking angle if the fabric moves
- A seated or bent-arm detail if the fit changes across the bust or shoulder
Model details should be on the page, not in a social post. Write:
“Model wears size M. Height 168 cm, bust 86 cm, waist 68 cm, hip 94 cm.”
If you do not have a professional model, use a consistent mannequin or a real person with good lighting. The point is consistency, not perfection. Link to How to photograph clothes to sell online: full checklist for the full process.
Pair on-model shots with accurate product-only shots
Use one on-model shot to show fit, plus a clean front view on a ghost mannequin or hanger to show construction. Shoppers zoom in on seams, buttons, and hems. A moody editorial photo may catch attention, but a hidden hem length can cause a return.
Keep product photos colour-accurate. A red dress that looks burgundy on a phone will be returned. If you use AI photo tools to improve backgrounds or lighting, keep the garment pixels truthful to the physical piece. You are editing the scene, not the garment.
Use the same crop, light, and background across a collection
A collection page looks trustworthy when all products share the same visual language. Choose one background per collection, one aspect ratio for product grids, and one camera angle. This is more important for womenswear than for accessories because the eye needs to compare lengths and proportions across items.
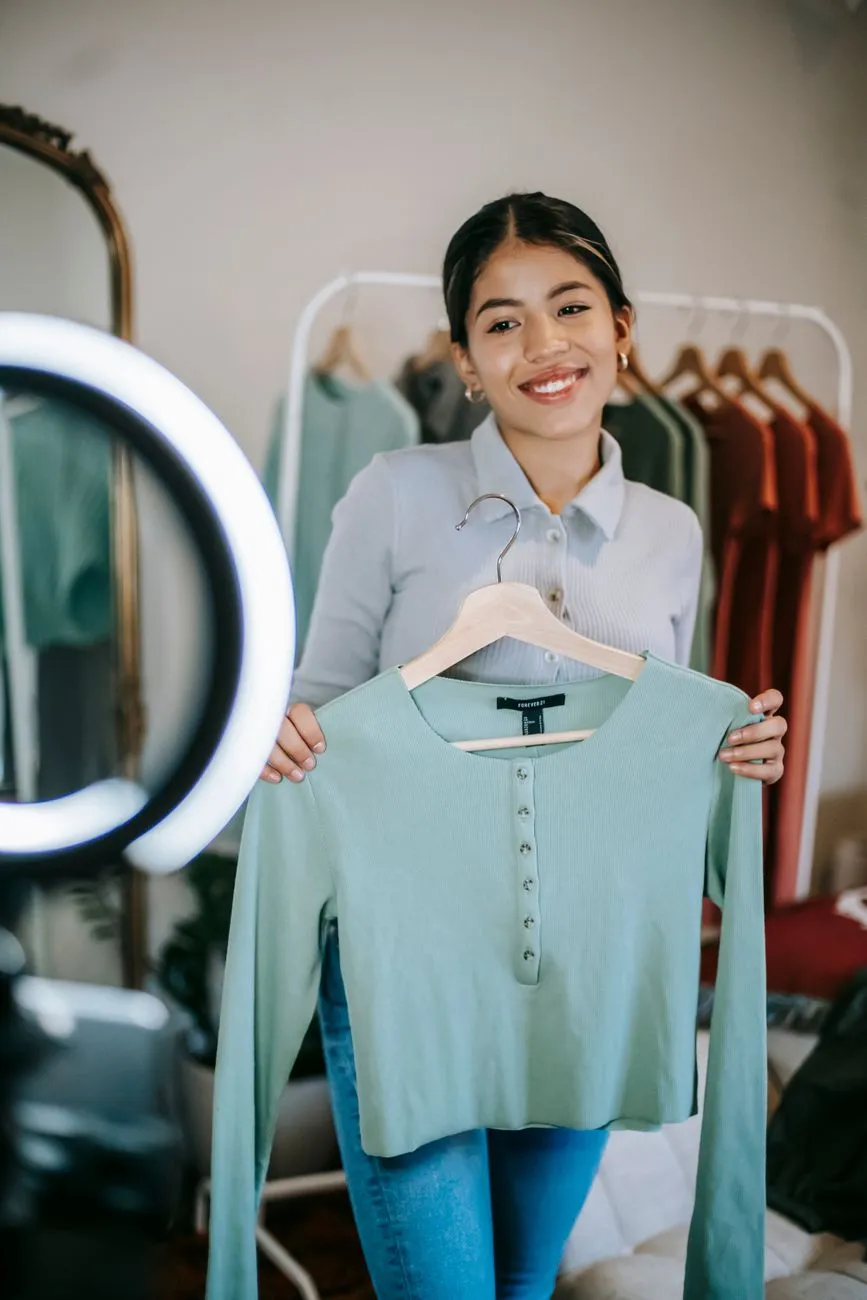 Photo: Liza Summer / Pexels
Structure the product page for fit, variants, and size self-selection
A good womenswear product page organises information in the same order a shopper thinks: “Do I like it? Will it fit? What is the fabric? Will it suit my body?”
Set up variants properly on Shopify, WooCommerce, Haravan, and Sapo
Shopify: In the Shopify admin, open Products and select the product. In the Variants section, add options such as Size and Color the first time you create the product. Then enter price, SKU, and inventory for each combination. If you already have a product with only one variant, edit the option set carefully so you do not lose inventory.
WooCommerce: Edit the product and choose Variable product from the Product data dropdown. Create attributes for Size and Color, then generate variations and set price, stock, and image per variation. This is the area where many stores accidentally forget to assign a product image to the variation, so check the gallery.
Haravan and Sapo: In the product admin screen, use the option group or variant settings to add size and colour values. The exact names depend on your theme, but the concept is the same: each combination should have its own price, inventory, and image. If you cannot find an option, look for a “product attributes”, “options”, or “variant” area.
Lay out product page content in order
A useful order for a womenswear product page:
- Product images with model details visible
- Product name and short fit line
- Size selector with size chart link beside it
- Fit notes and fabric/stretch note
- Fabric content and care
- Shipping, returns, and exchange note
- Reviews or customer photos, if you have them
Do not put the size chart in the footer. Do not ask shoppers to message you for measurements. A helper phrase like “DM us for size advice” creates friction. Instead, put the advice on the page. For a broader checklist, see Product page best practices for fashion: a checklist.
Add a size-exchange expectation early
State how you handle size exchanges. In womenswear, buyers often order two sizes and return one. Be explicit:
“Not sure between sizes? Order both and request a size exchange for the wrong one within 7 days of delivery. See our returns page for conditions.”
This is not a claim about your store; it is policy wording you can adapt.
Create a drop rhythm and use it to keep buyers
Womenswear shoppers are often driven by new arrivals. They may visit weekly, not because they need another dress, but because they want to see what is new. Drops give you a reason to contact them.
Build a repeatable drop calendar
If you stock new items every month, create a simple cycle:
- Week 1: Show previews in email, Instagram Stories, or Zalo group; collect “notify me” requests
- Week 2: Launch the drop on site and send one polite email/SMS
- Week 3: Share bestseller sizes and low-stock alerts
- Week 4: Mark down slow movers and push restocks
For small Vietnamese stores on Haravan or Sapo, a Zalo group and Facebook page may be more natural than email. For international stores on Shopify or WooCommerce, email and SMS work well. The principle is identical: do not silently publish products and hope buyers find them.
Use restock requests as buying signals
On every product page, offer a simple “notify me when back in size M” button or form. Do not rely on a “sold out” label with no follow-up. If 20 people ask for size M, that is a signal. If only one person asks for size XL, do not reorder a full run.
A common mistake is waiting until a restock arrives and then doing nothing. Use the waitlist to open a short early-access window for repeat customers before the public drop. This turns inventory restock into retention.
Create collection pages that feel like a wardrobe, not a list
Group products into outfits or “shop the look” sections. A dress page can link to the jacket, shoes, or bag the model is wearing. On Shopify, use collections and manual product recommendations. On WooCommerce, use product categories and linked products. On Haravan and Sapo, create collection pages or add “styled with” blocks if the theme supports it.
This cross-selling works only if the fit information is clear. A shopper will not buy the jacket from the look if she is still confused about the dress size.
 Photo: Liza Summer / Pexels
Track the numbers and fix fit problems before discounting
You do not need complicated analytics to start. Track a few numbers from the first week.
The core metrics for womenswear
- Orders and units sold
- Returns, divided into “fit/size”, “changed mind”, “damaged”, “not as pictured”
- Size exchange rate by product and size
- Restock or waitlist requests by product and size
- Repeat purchase rate: what percentage of customers buy again within 30, 60, or 90 days
- Email, SMS, or Zalo list growth from product pages
Return rate is simple: if you have 200 orders and 30 are returned, the return rate is 15%. If 15 of those 30 returns are size-related, then half of your returns are fit issues. The absolute number is less important than which product and which size it points to.
Mine customer messages for sizing data
When a customer writes “runs small”, ask which size they bought, their usual size, and where the fit was off. Log it by product in a simple spreadsheet:
- Product name
- Customer usual size
- Size ordered
- Problem: too tight at bust / too loose at waist / too long / see-through
- Photo or comment
After ten comments on the same product, you have a pattern. This data is more reliable than guessing.
Fix the page before you cut the price
If a style has high fit returns but decent traffic, do not immediately discount it. First check:
- Does the page show model height and measurements?
- Is the size chart specific to this style or generic?
- Is the fabric stretch or lack of stretch explained?
- Are the photos colour-accurate and clear about hem length?
- Is the size selector working and showing unavailable sizes?
After fixing the page, wait a week and compare fit-related return messages. Discounting does not reduce return rate; clearer information does.
Common mistakes to avoid in womenswear stores
- Buying only one size range, usually S–M — this cuts out a large share of shoppers and distorts demand. If you only stock S and M, you never learn whether XL would have sold.
- Using “runs true to size” with no model reference — it is nearly meaningless for a new store.
- Overbuying a single micro-trend — if you cannot reorder, buy small. A viral colour can fade before the reorder arrives.
- Hiding model stats in an Instagram caption — product pages need the information where purchasing happens.
- Using heavily retouched or AI-altered garment photos — if the hem, drape, seam, or colour changes, the shopper receives something different from the photo.
- Treating returns as a warehouse problem only — every size return is product information.
- Launching a drop without a way to collect interested buyers — if you do not capture email, SMS, or Zalo contacts before a drop, you are starting from zero every month.
Before you launch a page, a final test is to show a product photo to someone who has not seen the garment and ask: “Where does the hem sit? Is the fabric sheer? Which size would you buy?” If they cannot answer, the page still needs work. One way to close that gap on existing photos is to place a virtual try-on button beside Add to cart. With Macgi, shoppers can take or upload a full-body photo and see themselves wearing the product in about 15–40 seconds, using the shop’s existing product photos. You can try it in the free beta at Macgi’s sign-up page.
FAQ
Should I start with many sizes or just S, M, L?
Start with fewer units across a realistic size range rather than many units in one size. If you only stock S and M, you will not learn whether L or XL would have sold. A small first buy of S–XL often gives better information than a deep buy of only S–M.
How many photos do I need for one womenswear item?
At minimum: one clean front product shot, one back view, one detail shot of fabric, and one on-model front view. For fitted items, add a back on-model view and a close-up of the waist or hem. The goal is to let the shopper check fit, fabric, and length before buying.
What is the biggest sizing mistake for online womenswear?
The biggest mistake is not linking “S/M/L” to actual body measurements. A label alone is not information. Show the model’s measurements, give garment measurements, and explain stretch and looseness in plain words.
How do I choose a drop schedule if my store is very small?
Start with a slower weekly or biweekly rhythm. Publish one new item or small collection on the same day each week, notify your list or group, and use the rest of the week to collect restock requests. Consistency matters more than volume.
Do I need a model or can I use mannequin photos?
You can use mannequin or ghost mannequin photos, but for womenswear fit is the main question. A real body or a well-shot mannequin with model measurements gives shoppers more confidence than a flat lay alone. If you cannot shoot on a model, be extra clear with fit notes and garment measurements.


