 Macgi
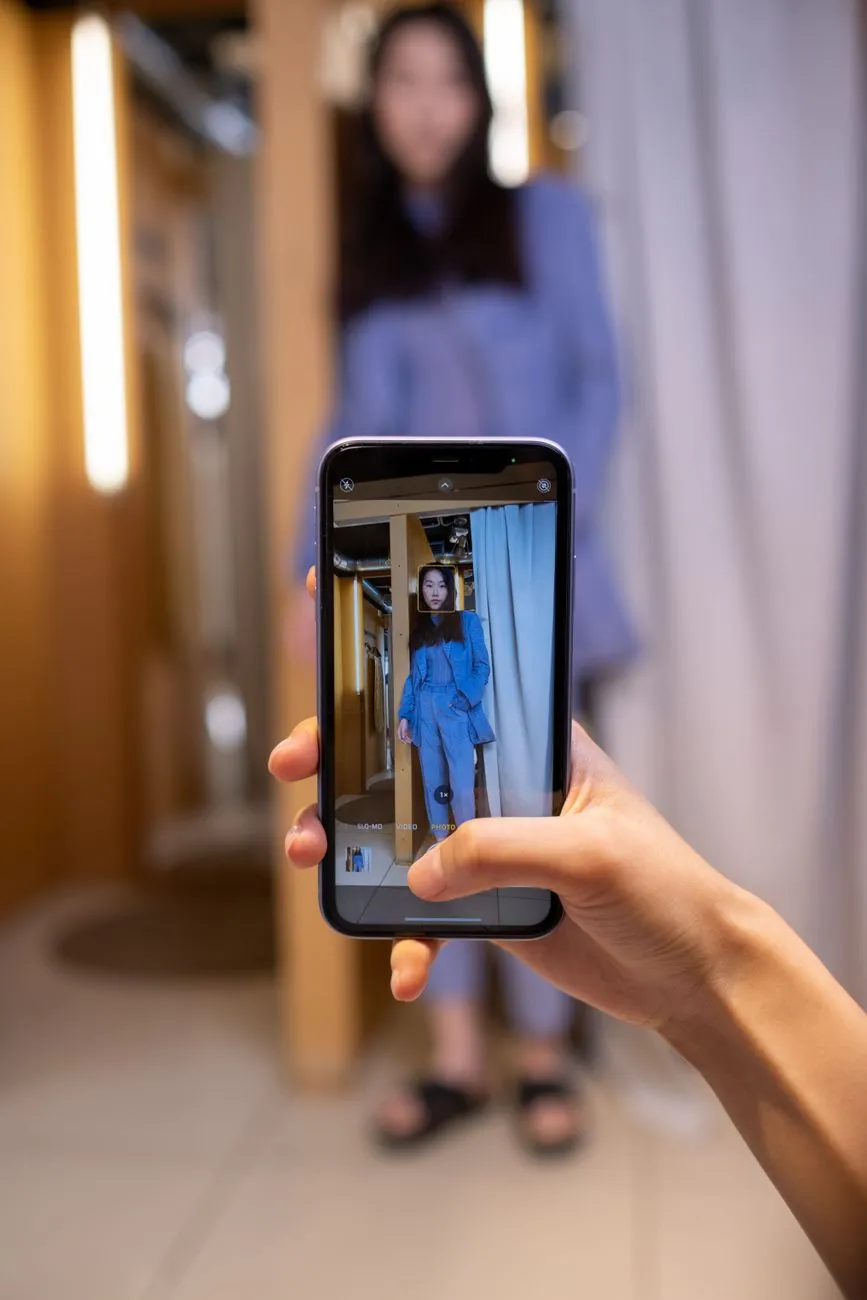
Start with a shot list that answers shopper questions
When a shopper cannot feel the fabric or try on the item, the photos are the product. Before you edit or upload anything, decide what each garment must show. A simple jersey T-shirt may need four shots; a structured dress may need eight.
1. Front view
This is usually the first image and the thumbnail in your catalogue. It should show the full item with no crop at the hem or neckline.
For garment-only photography, choose one main style:
- Flat lay: the garment is styled on a clean surface and shot from above. See Flat Lay Clothing Photography: Surfaces, Light, and Styling Tips if flat lay is your main format.
- Hanger shot: the item is on a slim hanger against a plain wall or backdrop.
- Ghost mannequin shot: the garment is photographed on a mannequin or model and the mannequin is edited out so the item looks worn but invisible. This works well for blouses, jackets and dresses and keeps the focus on structure. See Ghost Mannequin Photography: How to Shoot and Edit Apparel for the workflow.
- Model shot: a real person wears the item.
Whichever style you choose, use the same style across the whole catalogue for at least the front image. The front view should show the natural drape, not the garment stretched or clamped into an impossible shape.
2. Back view
Many returns happen because the customer did not notice a low back, an open back, a tie detail, buttons, or a different hem length at the back. Shoot the back at the same distance and angle as the front.
For trousers, show the back pockets, yoke and waistband. For dresses, show the closure, straps and any train or slit.
3. Side view
A side image shows the silhouette: how much volume is in the skirt, how relaxed or slim the sleeve is, where the waist sits. For trousers, a side view shows whether the leg is tapered, straight or wide.
This can be a single side image for most garments. If the item is asymmetrical, shoot both sides.
4. Detail shots
Detail shots explain construction and finish. For every product, capture at least the most information-rich details:
- zipper or button closure
- pockets and belt loops
- lining or inside construction
- embroidery, beading, prints or labels
- hem, cuff and collar finish
Keep the detail images clean and in focus. A blurry close-up is worse than no close-up because it suggests the shop is hiding something.
5. Fabric close-up
A close-up of the fabric shows the shopper what they cannot touch. Try to show:
- weave or knit
- weight and drape
- sheen or matte finish
- transparency
- stretch or stiff structure
Use a macro setting or a good phone camera at a short distance, but do not over-sharpen. The goal is honesty: a lightweight chiffon should look light, and a heavy denim should look heavy.
6. On body / fit shot
For fashion, the most useful shot is the garment on a person. It shows where the hem falls, how the waist fits, and how the fabric moves. If you do not have a model, a ghost mannequin shot is the next best thing because it shows the garment in a body-like shape.
If you use one model, write the model’s height and the size worn in the product description. For example: “Model is 168 cm and wears size M.” That helps shoppers compare the fit to their own body.
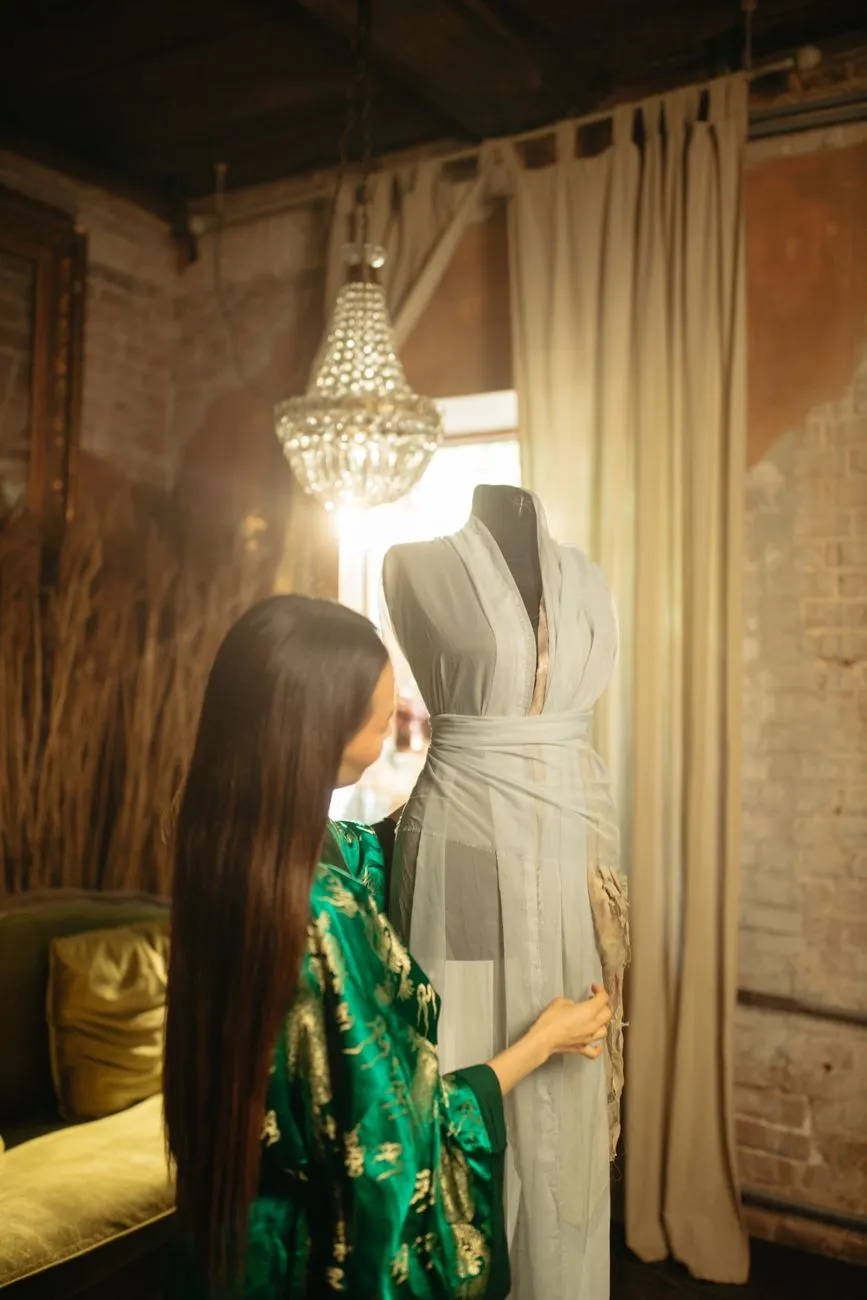 Photo: Yaroslav Shuraev / Pexels
Keep the whole catalogue visually consistent
A catalogue looks professional when every product image follows the same rules. This matters more than a perfect individual shot because shoppers often open several product tabs and compare.
Use one background
Choose a background and reuse it for all product images. Solid white or a very light neutral is easiest for marketplaces and product pages. If your brand uses a coloured set or a styled scene, keep the same surface and lighting from product to product.
Lock the camera position
Put your camera or phone on a tripod and do not move it between similar items. Use the same lens or zoom setting. If you shoot flat lay, mark the floor or table with tape so every garment is the same distance from the camera.
Keep the same crop and framing
If the front shot is a square with the garment filling 80% of the frame, every front shot should be the same. If you include a model shot as the second image, always include it in the same position in the gallery.
Follow the same image order
A consistent order helps shoppers learn how to browse your store. For example:
- front
- back
- side
- detail 1
- detail 2
- fabric close-up
- on body / fit
Stick to this order on every product. On Shopify, WooCommerce, Haravan or Sapo, the order you set in the product gallery is usually the order shown on the product page, so rearrange the images in the admin when you upload them.
Name and organise files
Use a simple naming system: product-code_front.jpg, product-code_back.jpg, product-code_detail-zipper.jpg. This makes it easier to find, replace and audit images later.
Get the colour right
Colour is one of the top reasons clothing gets returned online. The photo should make the garment look like what the buyer receives, not like a stylised campaign image.
Set white balance manually
Auto white balance can change the colour from one photo to the next. On a camera, use the custom white balance setting. On a phone, lock the white balance if the app allows it.
Use a gray card
Photograph a gray card in the same light before the first shot, then use that to set or correct white balance. This is especially important for white, cream, beige, red and pastel items.
Avoid mixed light
Do not shoot partly in daylight and partly under a yellow room light. Mixed light makes it hard to correct colour. If you shoot near a window, use the same time of day for a batch.
Check on two screens
After editing, check the image on a phone and a laptop. Many shoppers buy on mobile. The colour should still look correct and the detail should still be visible.
Use sRGB
Export images in sRGB colour space for web use. Other colour profiles can look different in a browser. Do not add heavy filters, presets or film-style colour grades to product images. If you edit with AI, only clean up the background or lighting; do not let the tool change the garment colour or texture. More on that in AI Product Photography for Clothing: Keep Product Shots Accurate.
Steam, pin and prep before you shoot
Wrinkles, lint and sagging fabric make a good garment look cheap. Spend time preparing each item.
Steam or iron
Steam is safer than ironing for delicate fabrics. Hang the garment and steam it until wrinkles fall out. Pay attention to collars, cuffs, hems and sleeves.
Use a lint roller
Remove dust, hair and loose threads. Do this after steaming, because steam can bring lint to the surface.
Pin from the back or inside
If the garment is too loose on the model or mannequin, pin it from the back so the pins are not visible in the photo. For dresses, use small clamps on the back seam. Never pull the garment so much that the visible front looks like a different size.
Shape flat lays with hidden help
For flat lay photos, use small pieces of double-sided tape or pins underneath the fabric to hold a sleeve or collar in place. Stuff tissue paper or clean white paper inside sleeves, hoods and waistbands to give them shape without stretching the outside.
Hang between shots
Do not leave steamed garments in a pile. Hang them on a rail in order of shooting. This saves time and avoids new creases.
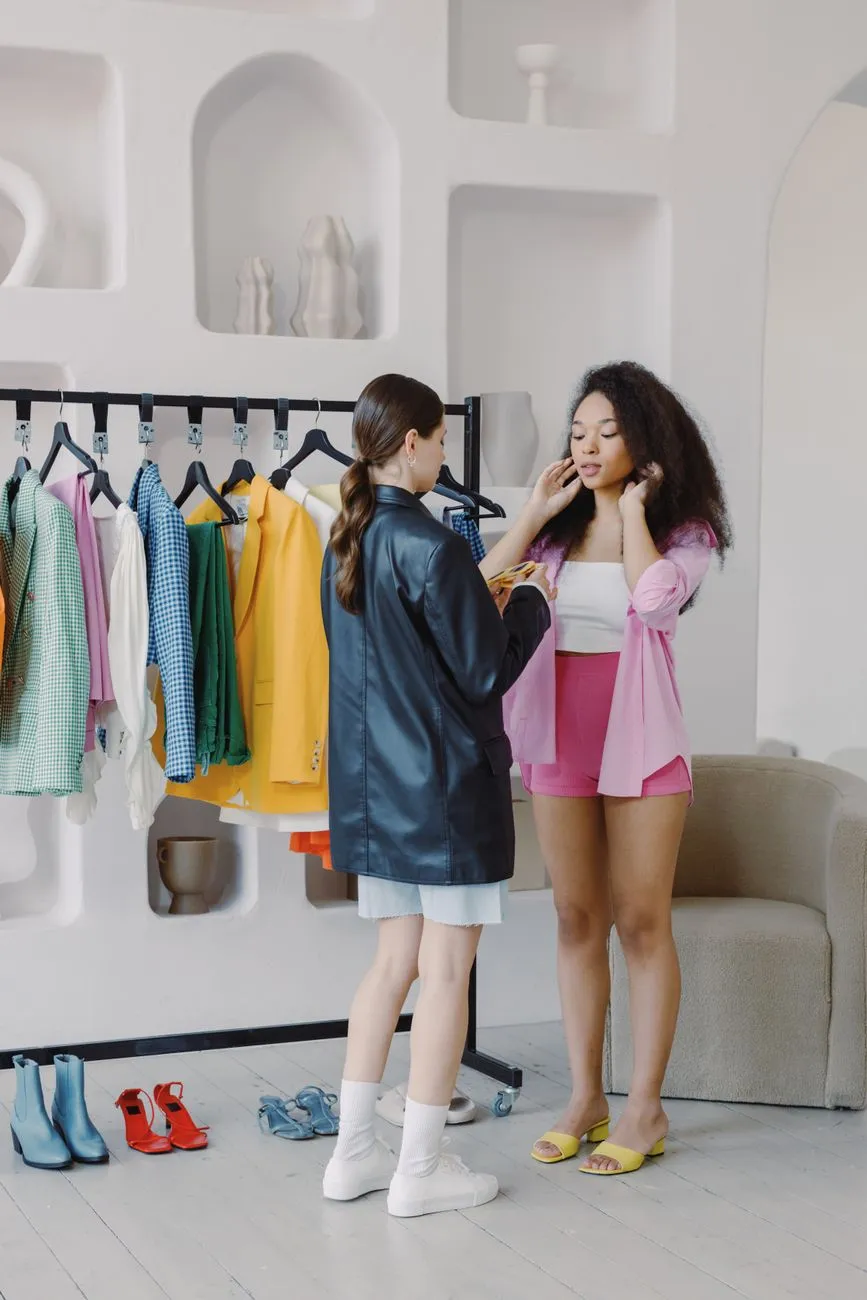 Photo: Ron Lach / Pexels
Export images for your website and marketplaces
High-resolution photos are good, but huge files slow down your product pages. The goal is a balance: sharp enough for zoom, light enough to load quickly.
Work from a high-resolution original
Keep the original file at full resolution for later editing, zoom features or print. Then export a web copy for the product page.
A common working approach is to export the longest side at around 1600 px for detailed fabric zoom and around 800–1000 px for simple thumbnails. This is not a universal rule, so check the current recommendations in your platform’s help docs before batch-exporting.
Use the right file format
Use JPEG for most photographs. WebP is also good if your platform supports it. Avoid PNG for large photographs unless the image has a transparent background and you know why you need it.
Shopify
In Shopify admin, open a product and upload the images in the product’s media section. The theme usually controls the crop and aspect ratio. To change how images are cropped, go to the theme editor and look for the product page or image settings. Many themes work well with square or 3:4 portrait images, but choose the ratio that fits your design.
WooCommerce
In WordPress admin, you can set product image dimensions under the WooCommerce product image settings, usually in the Customizer. The catalog thumbnails and the main product image can have different sizes. Upload the largest web image you plan to use, then let WordPress create the smaller sizes. Check that your theme is not forcing a different aspect ratio.
Haravan and Sapo
For Vietnamese shops on Haravan or Sapo, upload images in the product gallery in the store admin. Both platforms are built for the same basic image workflow: square or portrait product images, multiple gallery images per product, and the first image becomes the catalogue thumbnail. Follow the same export sizes as for Shopify or WooCommerce and keep the gallery order consistent.
If you also sell through Facebook, TikTok or Zalo, upload the same prepared web images so the catalogue stays consistent across channels.
Test on a real product page
After uploading, open the product page on your phone. Check that:
- the image is not blurry when tapped or zoomed
- the product is not cropped strangely
- the next image loads quickly
- the colour looks correct on mobile
Avoid these common mistakes
Small mistakes can undo all the work above.
Only showing one angle
A single front photo is not enough for clothing. Shoppers want to see the back, side, detail and fit before they commit.
Making the image look better than the real item
Do not smooth fabric, change the shade of a colour, or generate a back view with AI. If the image shows something the buyer does not receive, the return is likely. AI is useful for cleaning backgrounds and correcting lighting, but the garment pixels should stay true.
Inconsistent backgrounds
A different background for every product makes the shop look messy and makes it harder for shoppers to compare items.
Uploading giant original files
A 10 MB photo may look great, but it can slow the page and hurt the buying experience. Export a compressed web version.
Forgetting the mobile view
Most shoppers browse on mobile. A fabric detail that is obvious on a laptop may disappear on a small screen. Zoom in and check the important details on a phone before publishing.
A simple repeatable photoshoot workflow
Use this sequence for each batch of products:
- Choose the products and write the shot list.
- Steam, lint-roll and prep every garment.
- Set up the camera, tripod, background and light.
- Shoot the gray card once.
- Shoot front, back, side, details, fabric and on-body images in order.
- Import and rename files immediately.
- Correct white balance and exposure.
- Export web images at the chosen size.
- Upload to Haravan, Sapo, WooCommerce or Shopify in the same order.
- Check on a phone and make notes for the next batch.
Even imperfect photos that are consistent and honest will usually sell better than beautiful images that do not match the real product.
Before you publish the next product, think about what happens after the shopper looks at the photos. A virtual try-on button on the product page lets shoppers see the garment on their own body using the photos you already have. That can help them judge the look and fit before buying. If you run a Shopify, WooCommerce, Haravan or Sapo store, you can try Macgi’s free beta and test it on a few products.
FAQ
How many photos should a clothing product page have?
Aim for at least five: front, back, side, one fabric close-up and one detail shot. Dresses, structured jackets and items with special details may need seven or more. The exact number depends on the garment, but do not publish only one front image.
Do I need a model or mannequin?
You do not need a professional model. A ghost mannequin shows the shape of the garment without a model, and a clean flat lay can work for some products. If you can include one on-body shot, it helps shoppers understand the fit.
What is the best image size for Shopify, WooCommerce, Haravan or Sapo?
There is no single fixed number for all themes. A practical rule is to export product images at 1600 px on the longest side for the main image and let the platform create smaller thumbnails. Check the current platform documentation for the recommended dimensions for your theme or plan.
How do I make sure colours are accurate?
Set a manual white balance or use a gray card, shoot in consistent light, edit on a properly set screen, and export in sRGB. Check the final images on a phone and a laptop. If a colour is hard to capture, add a short note on the product page.
Should I use AI to generate product images?
You can use AI to remove a messy background or fix a white balance issue, but do not let AI change the actual garment. If the AI invents a seam, changes a colour or creates a missing view, the photo may no longer match the product. Keep product shots accurate.


