 Macgi
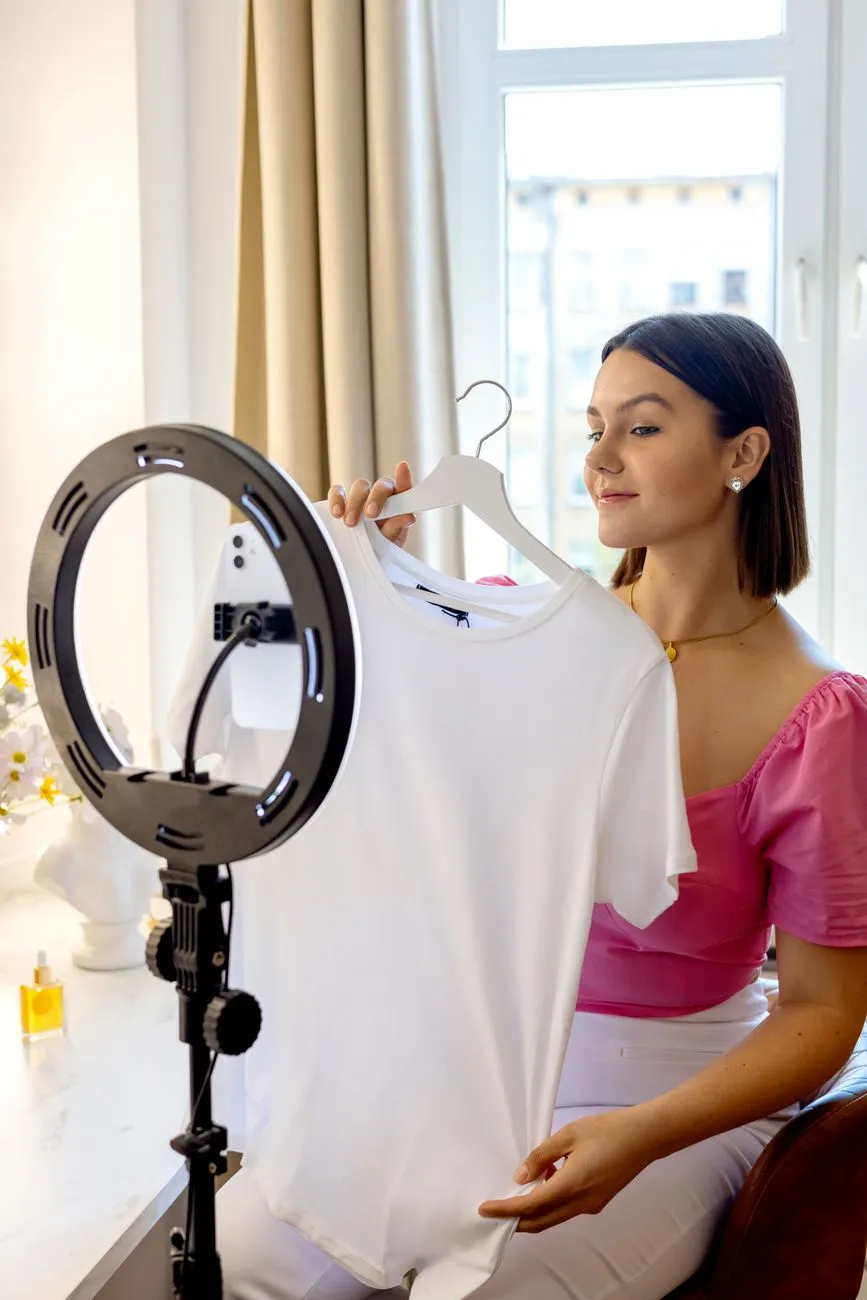
A 10–20 second product video is not a brand film. It is a fast, repeatable answer to the questions a still photo leaves open: Does this fabric drape or stick to the body? Is the back cut well? Does the hem swing when the model walks? This guide covers the four formats worth filming, phone settings, lighting, editing, where to place videos on Haravan, Sapo, WooCommerce and Shopify product pages, and how to reuse the same clips on social media.
The 4 short formats that work on fashion product pages
You do not need one long video. Four repeatable clips cover most apparel: the turn, the walk, the detail clip, and the fabric stretch or movement test.
1. The turn
The turn shows the garment from the front, side and back without cutting between still images. It is the closest thing to seeing the item in a fitting room.
How to shoot it:
- Keep the phone at chest height and the model at the same distance throughout.
- Ask the model to turn slowly, pausing for half a second at front, side and back.
- Use a 10–15 second take. Do not add extra poses before the turn.
- Shoot the same turn for every color or print if the shape is identical, but do not reuse a video if the color shown does not match the variant on the page.
The turn works especially well for dresses, blazers, structured outerwear, and anything with a detailed back.
2. The walk
The walk shows how the garment behaves in motion. It reveals stiffness, length, lining, and whether a skirt rides up or trousers create an awkward pull.
How to shoot it:
- Film the model walking toward the camera, then away, or walking across the frame from left to right.
- Keep the phone still. Do not follow the model with a shaky camera.
- Use 10–15 seconds and include at least one full stride off the starting position.
- For long dresses or wide-leg trousers, include a view from the back while walking away.
The walk is best for skirts, dresses, wide trousers, coats, maxi items and anything where movement changes the look.
3. The detail clip
The detail clip answers quality questions: Is the fabric thick? How do the buttons look? What is the stitching like near the collar? This is especially important for premium products where the photo alone may not justify the price.
How to shoot it:
- Move the phone close enough to show the weave, seam, zipper, button, embroidery or lining.
- Use the main camera lens, not the ultra-wide or digital zoom, if possible.
- Hold the phone steady or rest it on a small tripod.
- Keep the clip to 5–10 seconds. You can merge multiple detail clips into one 10-second sequence.
Good detail shots include fabric weave, button closure, zipper teeth, hem stitching, inside lining, and printed pattern scale.
4. The fabric stretch or movement test
This format shows what the garment feels like, not just how it looks. It is particularly useful for knitwear, jeans, activewear, pleated skirts and anything marketed as stretchy or soft.
How to shoot it:
- Stretch a small part of the fabric and release it, showing recovery.
- Scrunch the fabric lightly to show whether it wrinkles.
- Let the hem drop to show drape and weight.
- If the item has pleats, spread them and let them fall back.
- Keep the clip to 5–10 seconds.
This can reduce the gap between how a product is described in text and what the shopper expects when it arrives.
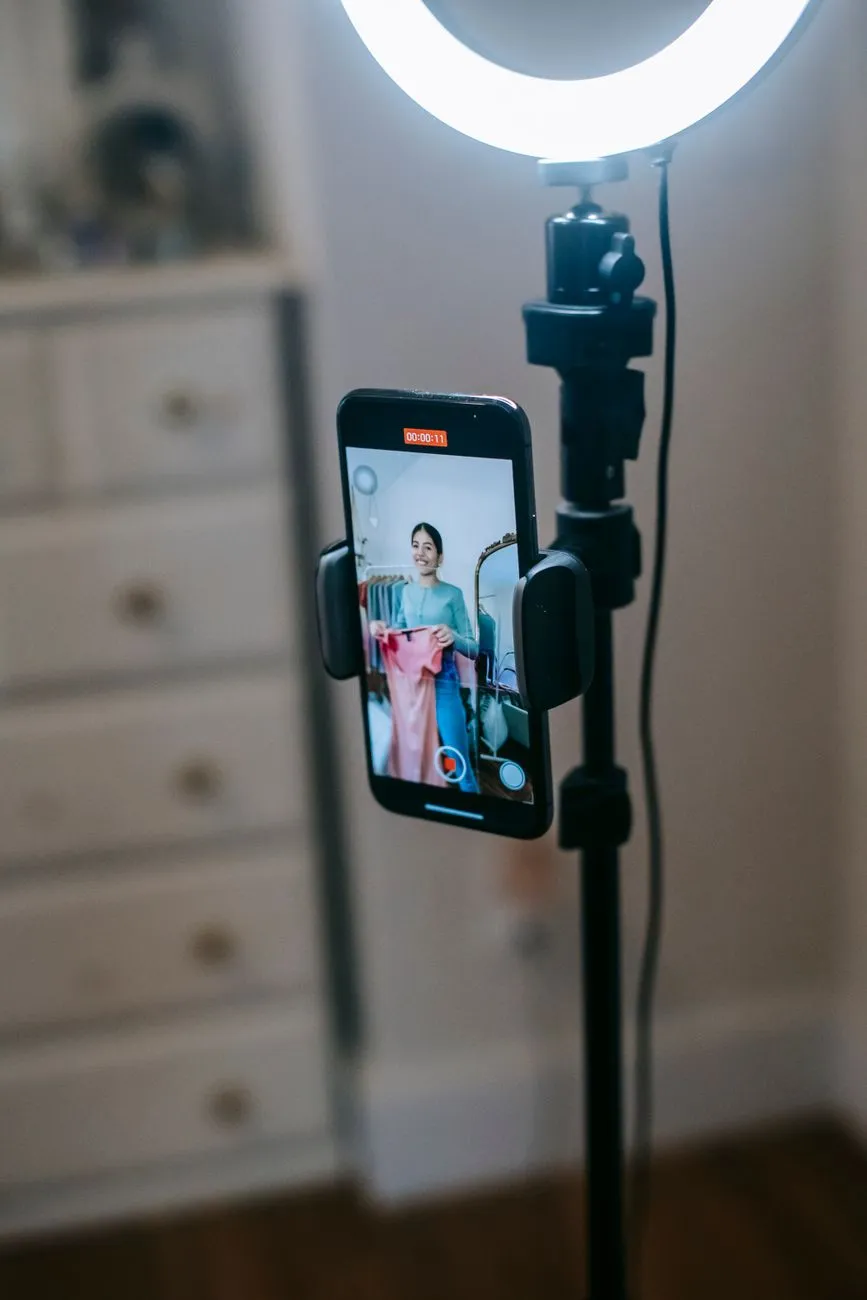 Photo: Liza Summer / Pexels
Phone settings and lighting for a clean 10–20 second clip
You do not need a cinema camera. Most phones from the last few years can shoot usable product video if you lock a few settings and control the light.
Capture settings
Set these before the shoot:
- Use 1080p or 4K at 24, 25 or 30 frames per second. 30fps is a good default for product video.
- Turn off HDR for product page clips, or test it. Some platforms compress HDR badly and the colors can shift.
- Lock exposure and focus on the garment. On most phones, tap and hold the area you want to focus on until the lock appears.
- Turn on the grid line overlay so the model stays centered and the background does not tilt.
- Record in landscape or square for product pages; social clips can be cropped vertical later.
- If your phone has a stabilization mode, keep it on, but still use a tripod or steady surface.
Lighting
Soft, even daylight usually beats a ring light or a small LED panel.
- Place the model or product near a large window with indirect light.
- Avoid direct sunlight through the window; it creates hard shadows and blown-out highlights.
- If you only have one light source, use a white foam board or a piece of white cardboard opposite the light to bounce some light back.
- Keep the light color consistent. Do not mix warm household bulbs with daylight from a window unless you can edit the white balance accurately.
- For detail clips, a simple daylight lamp or ring light can work, but check that the fabric color stays true.
If your still product photography setup already works, reuse the same lighting position for video. A guide to building that setup is useful here: Clothing Product Photography Setup: Small Home Studio on a Budget.
Background and styling
Keep the background quiet. A plain wall, seamless paper, or a neutral studio corner is enough.
- Do not put a busy pattern behind the garment.
- Steam or iron the garment before shooting. Wrinkles become more visible in motion.
- Use the same background and lighting for all products in the same collection so the product page feels consistent.
- For detail clips, use a clean surface that does not distract from the fabric.
How to structure and edit a product video
Most product videos fail because they start too slowly or include too much. A 10–20 second clip should give the product information immediately.
A simple 12–15 second template
Use this as a starting point:
- 0–2 seconds: full front view of the garment, model standing still.
- 2–8 seconds: slow turn or walk.
- 8–12 seconds: detail shot of fabric, buttons, seam or hem.
- 12–15 seconds: back view or final full-frame front shot.
If you have a fabric stretch clip, place it after the turn and before the final full shot. For simple products like a basic T-shirt, a 10-second turn plus a 5-second detail clip is enough.
Editing and export
You only need basic trimming:
- Cut the first half-second of hesitation and any movement before the take starts.
- Do not use heavy color filters. Correct brightness and white balance only if the clip does not match the real product.
- Export as MP4 with H.264 encoding.
- Keep the file reasonably small. A 10–15 second 1080p clip is often sufficient; test on a mobile phone before publishing.
- Add a poster image or thumbnail that matches the main product photo.
Text, captions and sound
On the product page, the video should work without sound. Remove the audio track, or leave it muted by default.
- Do not add music to product page videos unless your theme requires it for social-style embeds.
- If you add text, keep it short: fabric name, “front / side / back,” or one fit note.
- For social media, you can add captions and trending audio later, but keep the base clip clean.
Good product-page wording examples:
- “Front, side, back — no filters”
- “Stretch and recovery test”
- “Linen drape in natural light”
Avoid vague wording like “So beautiful!!!” or “You need this” on a product page. The video should describe the garment, not just hype it.
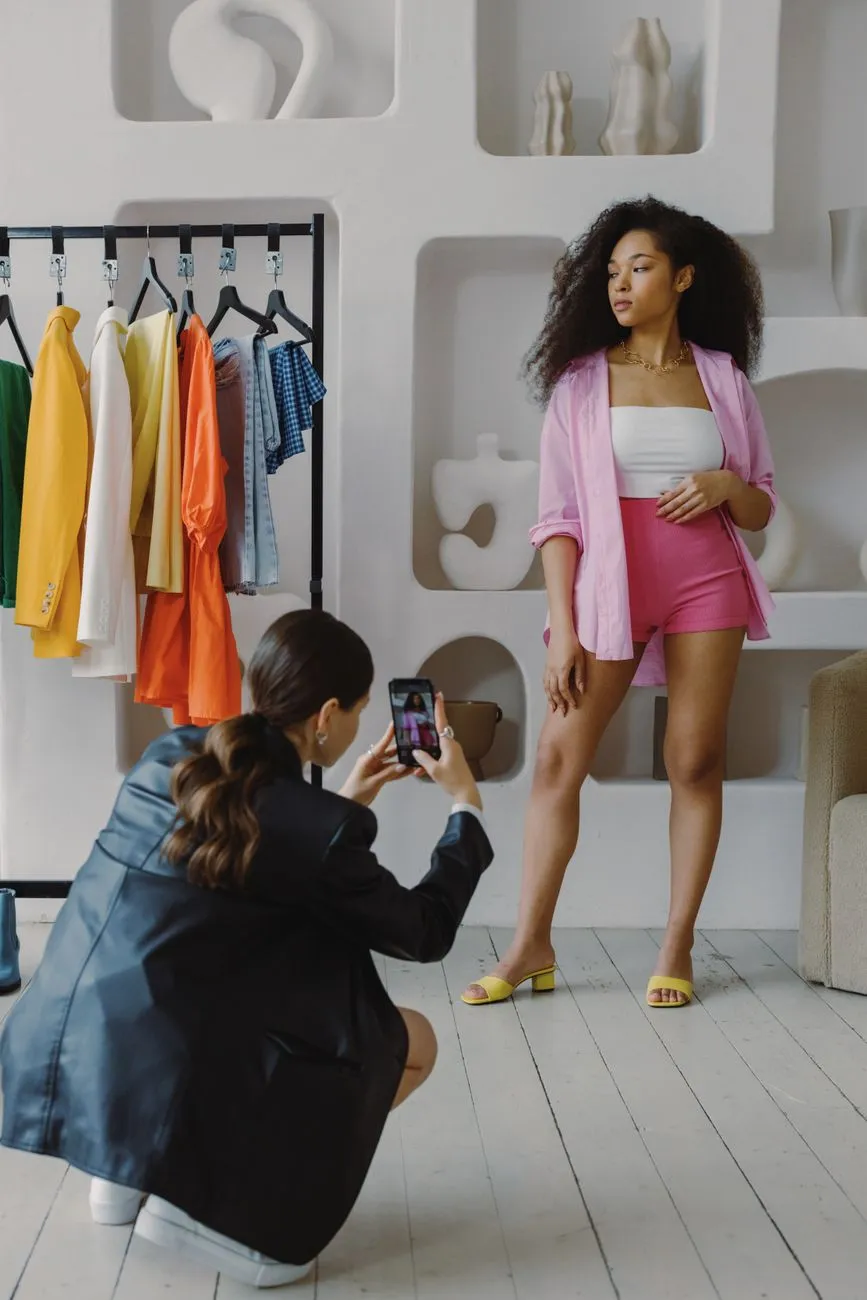 Photo: Ron Lach / Pexels
Where to place the video on the product page
The best spot is inside or directly below the product image gallery, before the shopper has to scroll far. On mobile, the video should appear early, ideally near the first or second media item.
Shopify
Most Shopify themes support video in the product media section.
- From the Shopify admin, go to Products and open the product.
- In the Media section, click Add media.
- Upload an MP4 or add a video URL if the theme supports it.
- Drag the video to the first or second position in the gallery.
- If the video does not autoplay, set a clean poster image.
- If your theme does not show video in the gallery, open Online Store → Themes → Customize, open the product page template, and look for the media or gallery section to change the order or add a video block.
Some themes require embedded videos from a hosting service. In that case, keep the video unlisted or private and avoid showing recommended videos at the end.
WooCommerce
WooCommerce core product galleries accept images, but video support varies by theme and plugin.
- From the WordPress admin, open Products → All Products and edit the product.
- If your theme supports video in the product gallery, look for a video upload or URL field in the gallery area.
- If not, install a product video plugin from the WordPress plugin directory in the “product video for WooCommerce” category.
- After activation, edit the product and add the video URL or file in the plugin’s video field.
- Alternatively, embed a muted HTML5 video in the product description using a video block in the block editor, or paste a short embed code into the text editor.
Test the mobile product page after adding the video. Some WooCommerce themes resize the video too aggressively or make it difficult to close.
Haravan and Sapo
Haravan and Sapo themes differ by template, so the exact menu names vary.
- Open the product in the store admin.
- Look for a video upload field, media gallery, or product detail tab that accepts a video URL or MP4.
- If the theme does not have a native video field, paste an HTML5 video tag into the product description area, using a host that allows direct MP4 playback.
- Use
muted,loop,playsinlineand a poster image so the video behaves like a product gallery clip instead of a full player. - Check the product page on a phone and a computer, because some Vietnam-focused themes load the description area far down the page.
For broader layout decisions, see Product Page Best Practices for Fashion: A Checklist.
General placement rules
- Do not hide the video in a tab called “Watch video” if the goal is to show the garment quickly.
- Put the video before size charts and long descriptions.
- If you have one video, place it within the first two media positions.
- If you have multiple clips, keep the turn or walk first, then details.
- For variants, show the exact color. Do not play a black dress video on the red dress variant page.
Adapting the same video for social media
A clean product page video can become a social clip without a new shoot.
- Crop the landscape or square video to 9:16 for TikTok, Instagram Reels, Facebook mobile and Zalo short-video placements.
- Add a first-frame hook in text: “Front, side, back in 12 seconds” or “The stretch test.”
- Add captions for sound-off viewing.
- Add trending audio only on the social version, not on the product page.
- Keep the same outfit and color as the product link.
- Cut to 10–15 seconds if the original is longer.
Good social caption examples:
- “Front, side, back — this skirt moves with you. See the product page for the fit.”
- “The fabric stretch test for our best-selling knit top.”
- “No filter, natural light, size M on a 168 cm model.”
Bad social caption examples:
- “OMG this is so cute!!!”
- “Limited stock, buy now!!!”
- “You need this dress” with no information about movement, fit or fabric.
What to measure:
- Product page: video views, average watch time, and add-to-cart rate for products with videos compared with similar products without them.
- Social: completion rate, shares, comments asking about fit or fabric, and clicks to the product page.
- Returns: watch for return reasons that mention fit or “looked different.” Video may help, but do not blame the video alone for every return.
- Customer behavior: note whether shoppers watch the detail clip or the walk clip more often. That tells you which format to prioritize for the next batch.
Track these as directional signals, not as a single score. If a video gets many views but few people reach the detail section, shorten the intro. If few people click to the product page from social, the hook or caption may need to change.
Pre-publish checklist, common mistakes, and what to measure
Before a product video goes live, check:
- Video is 10–20 seconds long, or very close.
- The garment is the correct color, print and variant.
- Front, back, side or main detail is visible.
- Fabric texture, drape or stretch is shown where relevant.
- Lighting is even and the color is true to the physical item.
- Background is clean and does not distract.
- Video works without sound.
- The file loads quickly on mobile.
- Poster image matches the product photo.
- Video is placed in the gallery or near the top of the product page.
- On social, captions are on and the product link is easy to find.
Common mistakes:
- Making the video too long. After 20 seconds, many shoppers will scroll on.
- Starting with a slow fade or an empty scene. The product should appear in the first two seconds.
- Shooting only the front view. The back and side are often the reason for a return.
- Using a video from a different colorway. This creates an immediate mismatch between expectation and cart.
- Adding loud music to a product page. It is more likely to annoy than help.
- Over-editing the garment so the fabric looks thinner or thicker than it is. The same accuracy rules as product photography apply to video. If the clip changes the real color or hides the true drape, it is no longer an honest product shot. See How to Photograph Clothes to Sell Online: Full Checklist for the same principles applied to still images.
- Shooting handheld and shaky. A short clip with a fixed camera usually looks far more professional than cinematic movement.
After you have a clean 10–20 second product video, you can add another layer that helps shoppers judge the look on their own body before buying: a virtual try-on button next to “Add to cart.” It uses your existing product photos and lets the shopper see themselves wearing the item. If you want to test that alongside your videos, you can try the Macgi widget in the free beta.
FAQ
How long should a fashion product video be?
Aim for 10–20 seconds. That is enough for a turn, a walk, a detail shot, or a fabric test, but short enough to hold attention on a product page or social feed.
Should product page videos have audio?
Usually no. Product page videos should be muted by default or have no audio track at all. The video needs to communicate movement and fit visually. If you upload the same clip to social media, you can add a soundtrack there.
Can I use the same video for Shopify and TikTok?
Yes. Shoot a clean landscape or square base video. Use the original on the product page, then crop a 9:16 version and add captions and audio for TikTok, Instagram Reels, Facebook or Zalo. Keep the product and color identical.
What if I only have product photos, not video?
Start with the easiest format: a slow 10-second turn shot on a model or mannequin. If you only have flat-lay photos, shoot a 5–10 second fabric detail or stretch clip. You do not need to film every product at once. Test one format on your best-selling items first.
Does a video need a model?
Not always. A flat fabric movement or detail clip works well for accessories and knitwear. But for dresses, skirts, trousers and fitted tops, a model or consistent mannequin turn is usually more useful because it shows how the garment falls on a body. If you do not have a model, keep the format limited to close-up fabric and construction details.


