 Macgi
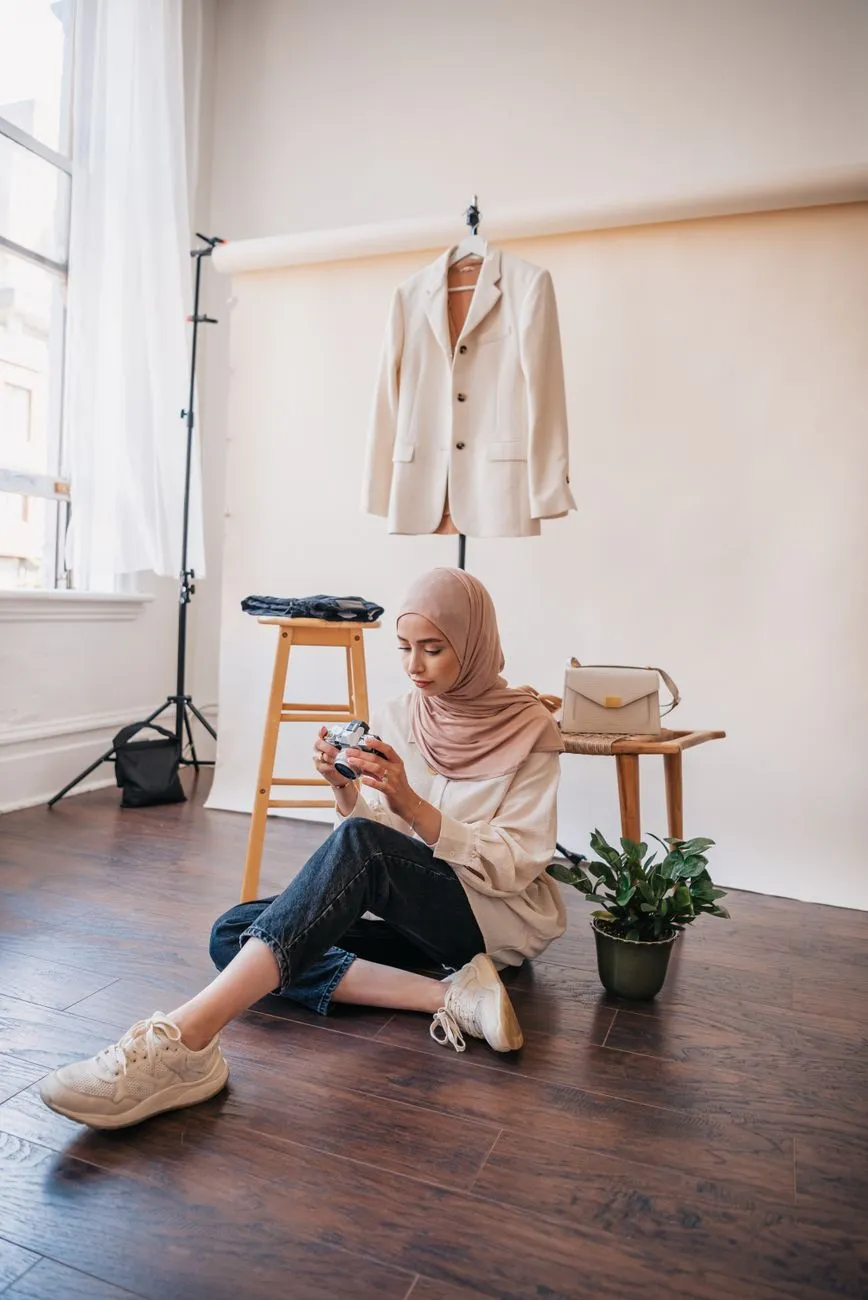
A consistent clothing product photo is less about an expensive camera and more about a repeatable setup. You can build a small home studio in a corner of a room, produce a batch of apparel images while working alone, and keep colors and angles consistent across your catalog. This guide covers the space, gear, light placement, layout, shoot workflow, and platform upload steps for small online fashion shops on Shopify, WooCommerce, Haravan, Sapo, or a custom site.
1. Start with a repeatable space, not a perfect room
The goal is not a showroom. It is a small area you can leave set up or reassemble in minutes.
A floor area of about 2 metres by 2 metres is usually enough for tops, dresses, skirts and most bottoms. If you plan to shoot long dresses or coats, look for a spot where you can stand back about 2.5 to 3 metres from the garment.
Prioritise these things:
- Stable floor: you want a flat surface for the tripod and clothing rack.
- Power outlet nearby: for a steamer, lights, or charging your phone or camera.
- Window light, if possible: north-facing or indirect daylight is the easiest free light source, but it must stay consistent.
- No mixed overhead lights: avoid a room where a warm ceiling bulb and cool daylight window fight each other.
Once you find the spot, mark your tripod position and rack position with masking tape on the floor. That makes the next batch much faster because you do not have to rethink the layout.
2. Low-budget setup: what to buy or gather first
A low-budget setup works well for product pages if you control light, background and staging. Focus on consistency more than equipment cost.
Camera
- Use a smartphone with a 2x or 3x rear lens if you have one. Avoid the ultra-wide lens because it distorts clothing shapes.
- If you already have an entry-level DSLR or mirrorless camera, use it with a basic kit lens. A used older body can still produce clean catalog images.
Tripod
- A used or cheap tripod is fine. The important part is that it holds still during the shot.
- For phone shooting, get a phone clamp with a standard 1/4-inch mount.
- Some small tabletop tripods work if you shoot from a low shelf, but a full-size tripod gives more flexibility.
Background
- A white or light grey seamless paper roll is the easiest way to get a clean background. Use a wall-mounted bracket or a simple background stand.
- If paper is not available, use a clean non-shiny fabric sheet, ironed or steamed flat. Avoid fabric with visible wrinkles.
- Keep a few white foam boards or a cheap white reflector to bounce light into shadows.
Light
- Start with a large window and a white foam board opposite the window. That can be enough for many clothing shots.
- If you need artificial light, use two cheap LED softboxes with daylight-balanced bulbs. Aim for around 5000–5500K so colours stay neutral.
- Place the lights on stable stands. Do not rely on handheld lighting.
Garment prep tools
- A single-rail garment rack on wheels makes steaming and staging easier.
- A handheld garment steamer is often better than an iron for removing wrinkles from hanging clothes.
- A lint roller, safety pins, and small clamps help shape fabric and remove dust.
Mannequin alternative
You can start without a mannequin. Use a good hanger, a padded hanger or a dress form if you already have one. For a ghost mannequin effect later, you can shoot the garment on a model or mannequin and edit out the form. See Ghost Mannequin Photography: How to Shoot and Edit Apparel.
3. Medium-budget setup: upgrades that save time
Once you are shooting regularly, spend on tools that reduce wasted shots and editing time, not on a more expensive camera body first.
Lighting upgrades
- Two or three larger softboxes with stronger output give you more control than small LED panels.
- A boom arm or overhead rail lets you light flat lays evenly without casting a shadow from your phone or camera.
- A grey card or colour checker helps you set accurate white balance and tint in seconds.
Background upgrades
- A wider seamless paper roll in white and light grey gives more room for full-length garments.
- A vinyl backdrop is easier to wipe clean than paper and lasts longer for frequent use.
- A simple background stand with a crossbar makes setup faster than taping paper to a wall.
Mannequin and form
- An adjustable dress form or half-body mannequin with removable arms is useful for tops and dresses. Choose a neutral colour such as white, grey or clear.
- A smaller bust form for accessories or necklines can help with detail shots.
- The mannequin does not need to be perfect; you can soften edges or remove it in post-processing.
Tethered shooting
- If you use a camera, tether it to a laptop so images appear on a larger screen as you shoot. That helps catch focus or colour issues before the batch moves on.
- For phone shooting, use a remote shutter or voice timer so you do not nudge the phone.
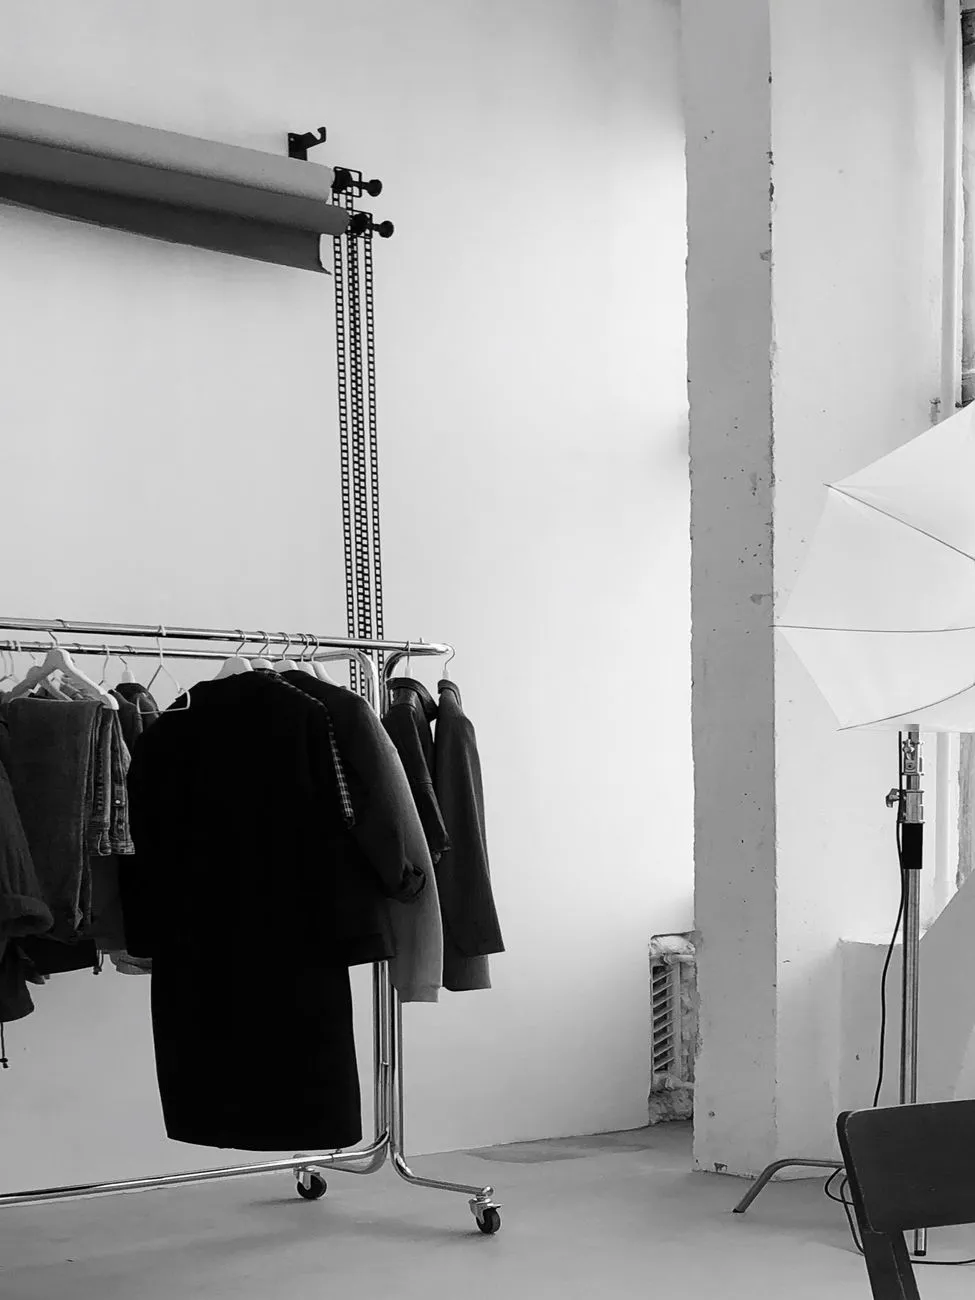 Photo: Dream_ maKkerzz / Pexels
4. Backdrop and light placement that works for apparel
The difference between a fuzzy product photo and a clear one is often the distance between the garment and the background.
Background distance
- Pull the clothing rack or mannequin about 60–90 cm away from the backdrop. This keeps wrinkles and shadows on the background soft or invisible.
- For hanging garments, place the hook or hanger high enough so the item hangs naturally but remains fully in frame.
Light placement for a mannequin or hanger
- Set the key light at about 45 degrees to the garment, slightly above shoulder height.
- Set a fill light or white foam board on the opposite side to open shadows.
- Keep the light close enough to show fabric texture, but far enough that the whole garment is evenly lit.
- If the garment is shiny, diffuse the key light more and move it slightly farther away.
Light placement for flat lay
- Use two lights at 45-degree angles from the left and right, above the garment.
- If you shoot from directly overhead, use a boom arm or a copy stand so the phone or camera is level with the floor.
- For a flat-lay styling guide, see Flat Lay Clothing Photography: Surfaces, Light, and Styling Tips.
Camera position
- For a front shot, set the lens at the same height as the middle of the garment, not angled up or down.
- Use the tripod’s built-in level or a grid overlay to keep vertical lines straight.
5. One-person batch studio layout and workflow
Shooting alone works best when the room is arranged in a simple line or triangle.
Recommended layout
- Prep rack: clean and steamed garments waiting in order.
- Shooting area: tripod, lights, backdrop and mannequin or hanger in place.
- Table: lint roller, clamps, safety pins, shot list, remote shutter and spare hangers.
Keep a simple visual order: rack, steamer, shooting area, table. Walk from prep to shoot to table without crossing in front of lights.
Batching method
Prepare all garments first. De-tag, inspect, steam and re-hang them in shooting order. Shooting then becomes repetitive and fast because you are not stopping to steam between shots.
Batch by product type where possible:
- Shoot all tops on the mannequin.
- Shoot all dresses on the mannequin.
- Shoot all bottoms on a hanger or flat lay.
- Shoot flat lays for items that do not hold their shape on a hanger.
Shot list
Create a short checklist for each product:
- Front view
- Back view
- Side view if the silhouette matters
- Neckline or collar detail
- Sleeve or cuff detail
- Fabric texture close-up
- Zipper, buttons or closure detail
- Size or care label if you include it on the product page
Use the same crop and framing for each type. For example, for a top front view, leave about 10% empty space on the sides and do not cut off sleeves.
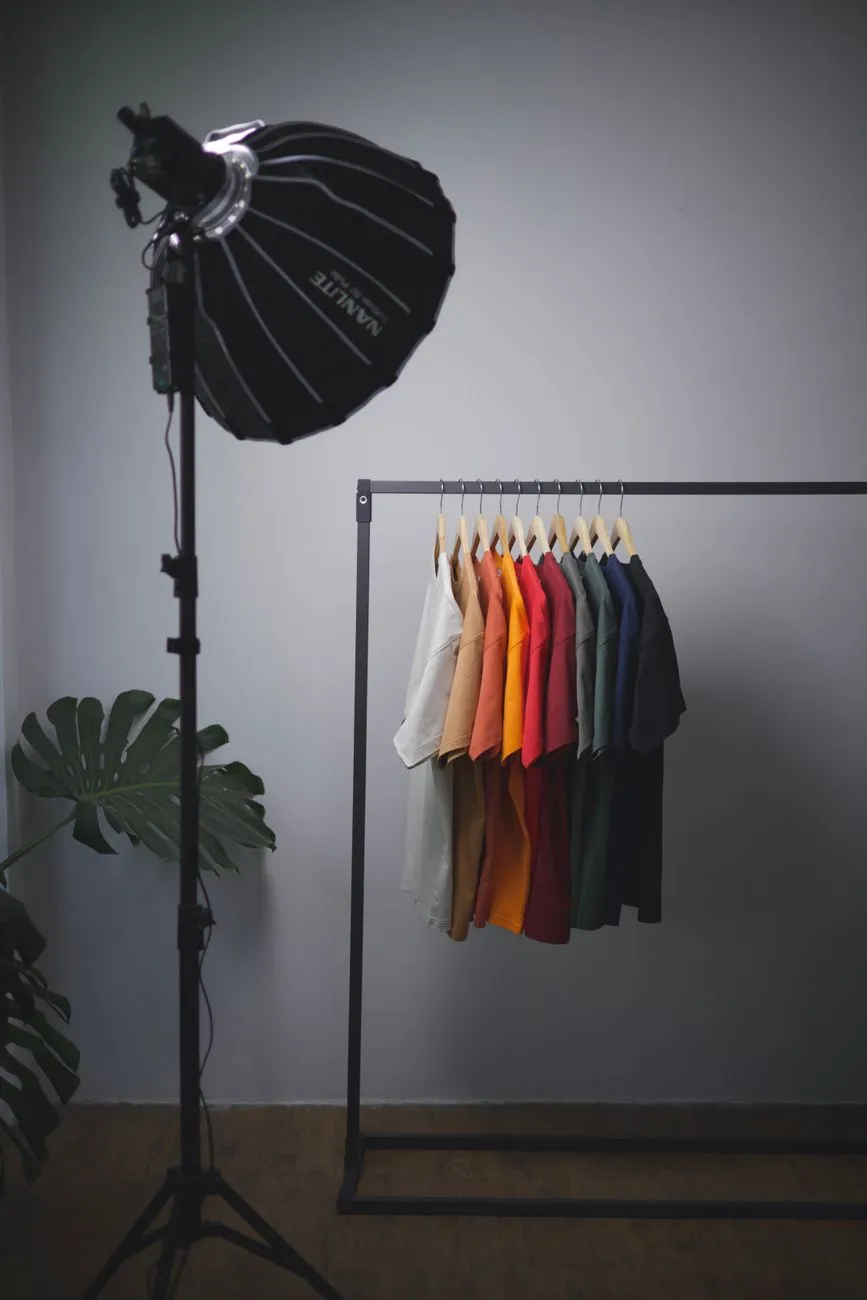 Photo: Ali Babajahdi / Pexels
6. Shooting checklist: settings and angle consistency
Consistency matters more than one perfect image. A shopper notices when a white shirt is blue-white on one page and yellow-white on another.
Camera settings
If you shoot with a camera:
- Use aperture f/8 to f/11 for apparel. This keeps seams, collars and fabric texture in focus.
- Start with ISO 100–400 to avoid noisy images.
- Keep shutter speed around 1/100–1/160 second on a tripod, or faster if you shoot handheld.
- Set a custom white balance using a white or grey card under your lights.
- Shoot in the highest quality JPEG or RAW plus JPEG if you have storage and edit time.
If you shoot with a phone:
- Lock exposure and focus on the garment.
- Use the 2x or 3x lens, not the ultra-wide lens.
- Turn off any beauty or HDR-heavy mode that changes fabric texture.
- Use a remote shutter or timer to avoid camera shake.
Framing rules
- Let the garment fill about 80–90% of the frame.
- Keep the same margin for every product in the same category.
- Use the grid overlay to keep the garment centred and vertical.
- For shoes or small accessories, shoot from a lower angle if it improves the true shape.
File organisation
Name files by product SKU or internal code first, then view:
SKU123_front.jpgSKU123_back.jpgSKU123_detail_neckline.jpg
This saves hours later when uploading to your platform.
7. Editing and uploading to your store platform
Edit only what is needed for accuracy: crop, exposure, white balance, background clean-up and minor sharpening. Do not change the colour or shape of the garment so much that the photo no longer matches the physical item.
Basic editing order
- Crop to your standard framing.
- Set white balance from a grey card or a neutral area.
- Adjust exposure so whites look white but fabric texture remains.
- Remove lint, stray threads or wrinkles that you missed.
- Clean the background if needed.
- Export as sRGB JPEG. A long side of 1500–2000 pixels is usually enough for product pages without slowing the site.
Upload steps by platform
- Shopify: In the admin, open the product and go to the media section. Upload images, set the featured image, and reorder them in the order you want shoppers to see them.
- WooCommerce: In the product data area, use the product image and product gallery sections. Upload the featured image first, then the gallery images.
- Haravan: In the product editing screen, look for the image upload area. Upload the main image first, then additional angles or detail shots.
- Sapo: In the product admin, use the image section. Keep the main image front-facing and place detail shots in the gallery.
Check the image file size after export. Large images can slow product pages. A compressed JPEG at 80–90% quality is usually a good balance. For a larger checklist on improving catalog images, see How to photograph clothes to sell online: full checklist.
Before you upload the next batch, consider what happens when a shopper likes the photos but still is not sure how the item will fit them. A virtual try-on button next to “Add to cart” lets shoppers upload a full-body photo and see themselves wearing the product in about 15–40 seconds, using the product photos you already have. If you want to test that experience, Macgi’s widget is in a free beta for 1,000 try-ons and installs with a script tag. Try the Macgi free beta.
FAQ
Do I need a mannequin to sell clothes online?
No. Hangers, padded hangers, dress forms and flat lays can all work. A mannequin helps show the shape of tops and dresses, but it is not required for a basic catalog.
Can I use a smartphone instead of a camera?
Yes. Use the 2x or 3x rear lens, a tripod, good light, and lock exposure and focus. The most common phone mistake is using the ultra-wide lens, which distorts garments.
How much space do I need?
A repeatable area about 2 metres by 2 metres is enough for most clothing. For long dresses or coats, leave more distance between the tripod and the garment.
What background is best for clothing product photos?
White or light grey is the safest for consistent product pages. It keeps attention on the garment and works well on Shopify, WooCommerce, Haravan and Sapo templates.
How do I keep colours accurate?
Use the same lights every time, set a custom white balance with a grey card, and avoid mixed window and ceiling light. If you edit on a computer, calibrate the monitor if possible.
Should I use background removal AI?
It can help clean a background, but check the edges around sleeves, straps and sheer fabric. If the cutout removes fabric or changes the colour, fix it manually or retake the shot.


