 Macgi
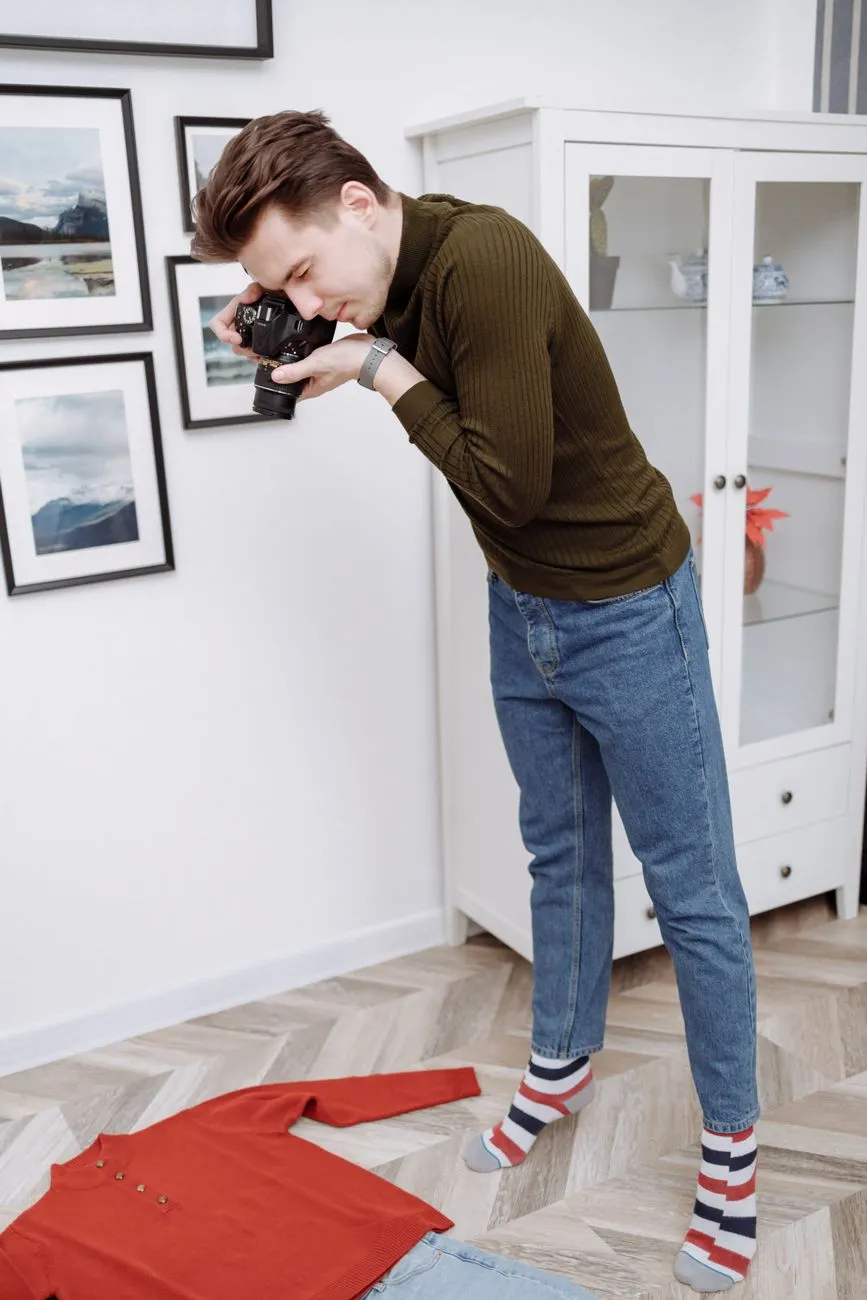
Flat lay clothing photography is not just about making a product page look pretty. It is one of the most practical ways to show a garment’s real shape, color, fabric texture, stitching and proportions without a model. Done well, a flat lay helps a shopper compare items, understand the silhouette and feel more confident that the product photo matches what will arrive in the box.
This guide covers the whole workflow: choosing surfaces, shaping the garment, setting up an overhead shot, removing shadows, styling without misleading the shopper, and deciding when a flat lay should replace an on-model photo.
What flat lay photography does well for clothing
A flat lay shows a garment from directly above, arranged on a surface. For online fashion stores, this format is useful because it:
- Keeps a catalog visually consistent across many products.
- Shows the actual garment construction: seams, buttons, pleats and cuffs.
- Reveals the true silhouette when the garment is laid flat carefully.
- Is faster and cheaper to produce than a full model shoot for every item.
- Works well on small product cards where a model photo can be too busy.
The main risk is that a poorly styled flat lay can make a good garment look shapeless, wrinkled or cheap. The difference between a selling flat lay and a confusing one is usually surface, shaping, light and detail.
Surfaces and backgrounds that keep attention on the garment
The surface is the foundation of every flat lay. The wrong surface can add noise, change the perceived color, or make the product look like a secondhand market photo.
Best surfaces for clothing flat lays
- Matte foam board: cheap, smooth, and available in white, gray or pale tones.
- Seamless paper: ideal for a clean background; tape it down so it does not wrinkle.
- Matte vinyl or wipeable photography background: easy to clean after shoes or makeup props.
- Fabric: only if it is smooth and pulled tight, such as cotton canvas. Avoid wrinkled sheets.
- Light wood or plain concrete: can work for lifestyle flat lays, but make sure the texture does not compete with the garment.
Background color rules
For most product pages, use white, very light gray, warm off-white or pale beige. A neutral background helps the shopper judge the real color of the garment. If your brand uses a pastel or dark style, stay consistent, but test the first few photos against the physical item to make sure the background does not tint the fabric.
For example, a white shirt photographed on warm wood can quickly look yellow. A black dress on a dark background can lose its shape. Keep the contrast strong enough to show edges and details.
Common surface mistakes
- Using a bed sheet with folds and shadows.
- Mixing many different backgrounds across the catalog.
- Placing the garment on a busy rug or tiled floor.
- Shooting on a surface that reflects a color cast onto the product.
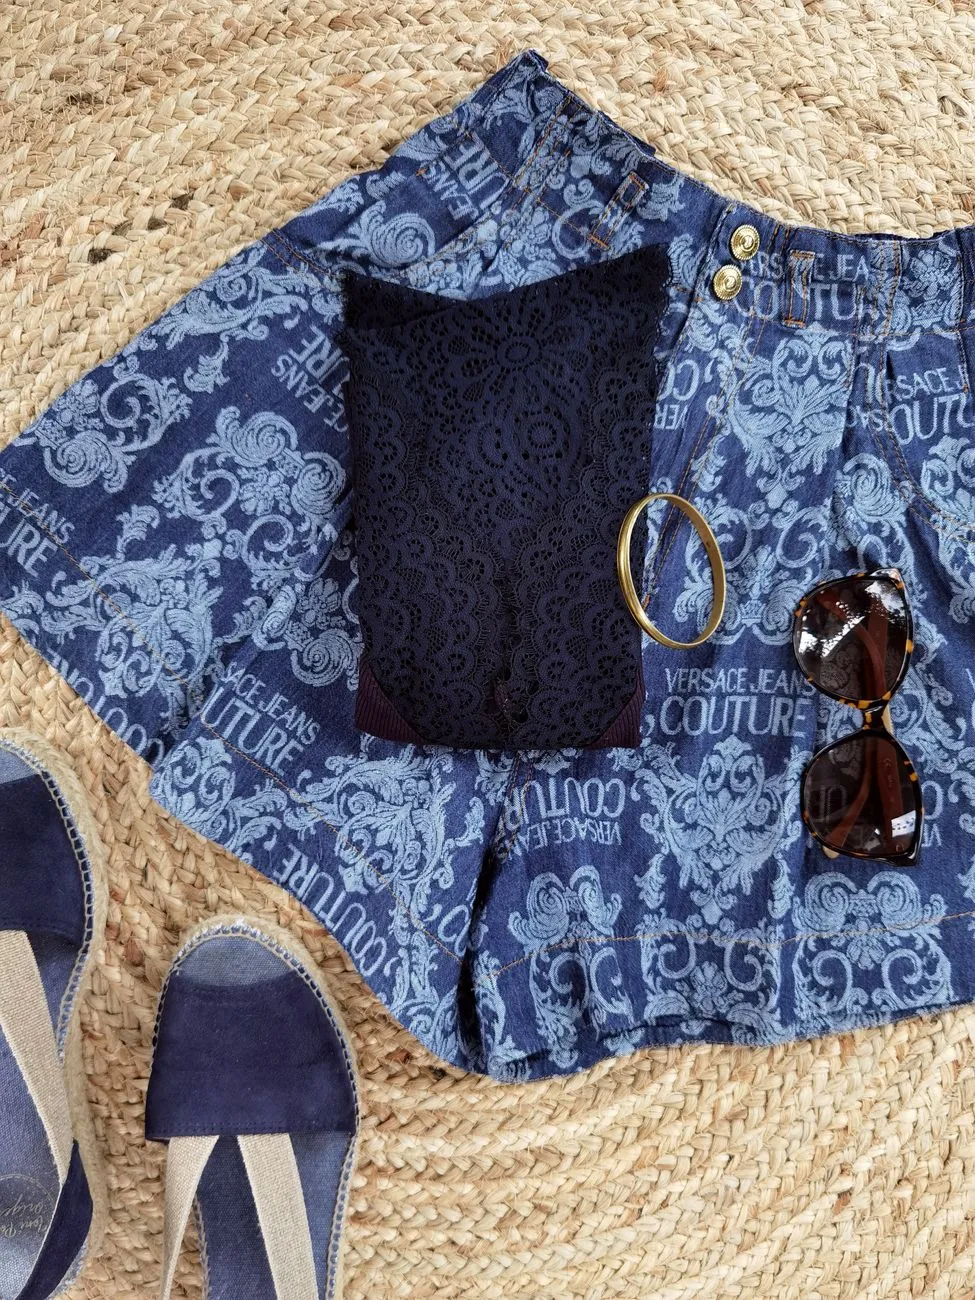 Photo: Vero Lova / Pexels
Shaping the garment before you shoot
The most common reason a flat lay looks “off” is that the garment was not shaped. A sweater straight from the package will look puffy, unbalanced and wider than it really is.
Start with the right preparation
- Steam or iron the garment first. Remove shipping creases, especially near the collar, cuffs and hem.
- Lay it flat and smooth the fabric with your hands from the center outward.
- Align the side seams so they are straight, not curved.
- Button or zip the garment most of the way, but leave a small opening if it helps show the collar or waistline.
Shape tops, bottoms and dresses differently
Tops and shirts:
Keep the shoulder seams straight. Fold sleeves slightly inward so the armhole shape is visible, but do not fold the sleeve onto the body too much. Give the sides a gentle inward curve instead of a straight rectangle. For button-down shirts, line up the buttons and collar.
Trousers and pants:
Fold one leg slightly to show the waistband and front details. Keep the hem visible. For jeans, you can turn a cuff or pull one leg back to show the pocket stitching.
Skirts and dresses:
Show the waistband clearly. For a full skirt, you can gently fan the fabric so the volume looks intentional instead of wrinkled. For a fitted dress, pinch the waist inward slightly and smooth the hips.
Use pins, clips and tissue for structure
You do not need advanced styling tools. Use:
- Invisible tape or low-tack masking tape behind the garment to hold folds.
- Small pins inside the fabric to bring in a waist or keep a collar open.
- Tissue paper or thin foam inserts inside sleeves or bodices to add a little shape without changing the fit.
After shaping, step back and check the “fit story.” If the flat lay makes the garment look much wider, shorter or longer than it is on a body, adjust it. The flat lay should represent the product, not distort it.
Overhead angle, camera settings and simple tools
A flat lay only works when the camera is parallel to the product. Even a slight angle can distort proportions and make the item look shorter or tilted.
Camera height and position
Mount the camera directly above the garment so the lens points straight down. A simple way to test this is to place a small mirror on the surface: if you can see the center of the lens in the mirror, the angle is almost straight.
Phone settings
Use the main camera, not the wide-angle lens, because wide lenses distort edges. Set the aspect ratio to 1:1 or 4:5 for product pages, depending on your platform. Keep the phone at least 90–120 cm above a full outfit to avoid distortion.
Turn off beauty filters, portrait mode, HDR and strong sharpening. You can adjust exposure later, but you cannot recover a bad perspective.
Tripod and mounting tools
- Use a phone tripod with an overhead arm.
- A C-stand with a phone clamp works if you shoot often.
- For a budget option, tape a phone mount to a stable shelf or use a tripod with the center column reversed.
- Use a remote shutter or the phone’s timer to avoid camera shake.
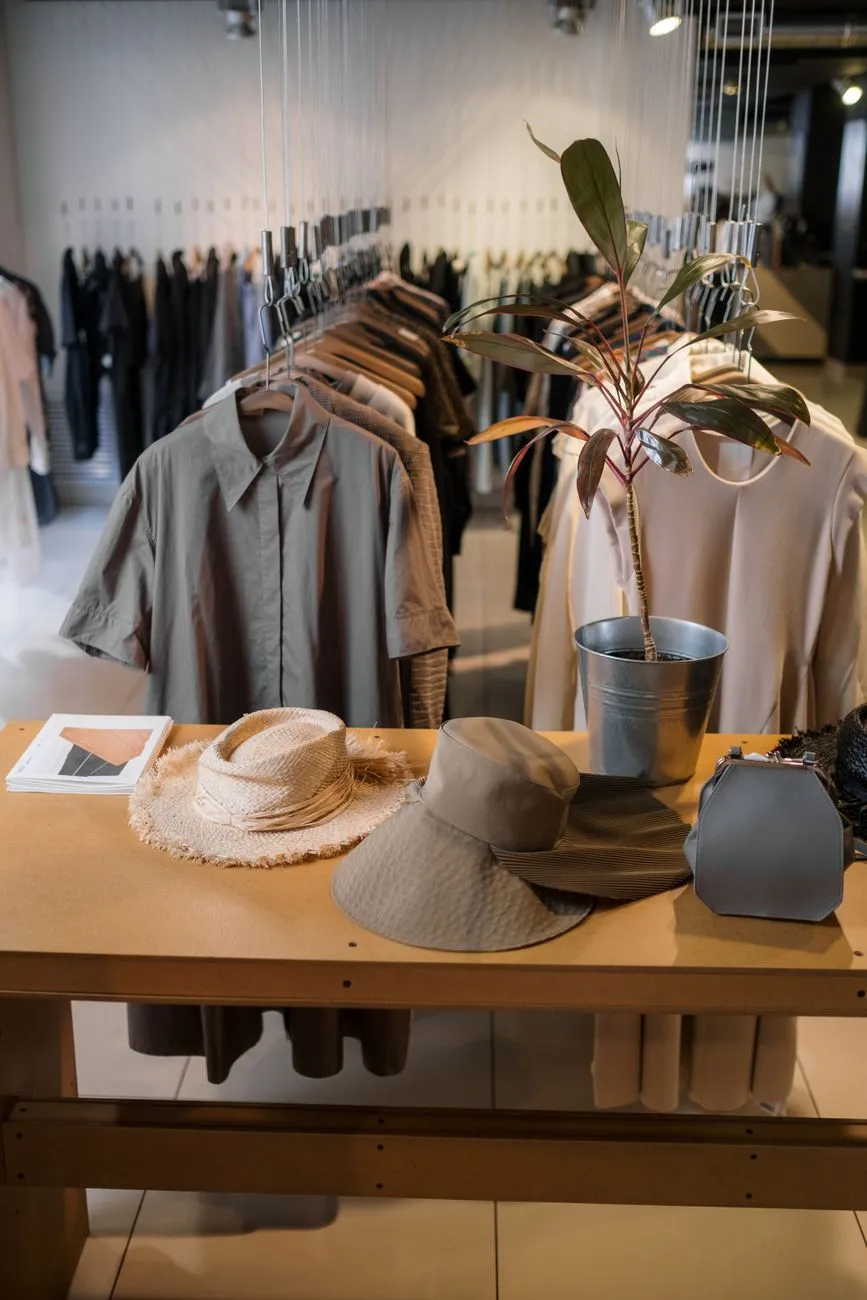 Photo: Ron Lach / Pexels
Lighting without shadows
Harsh shadows are the biggest giveaway of an amateur flat lay. The goal is soft, even light across the whole garment.
Soft light from two sides
Set up two soft light sources at roughly 45 degrees to the garment, one on the left and one on the right. If you are using window light, place the surface near a large window and add a reflector on the opposite side. Avoid direct sunlight falling straight onto the product.
For artificial light, use softboxes or diffused LED panels. The larger the light source relative to the garment, the softer the shadows will be.
Avoid a single hard overhead light
A ceiling spotlight directly above the garment creates dark shadows under collars, sleeves and seams. If you must shoot under a ceiling light, move the product away from the center of the light or add a white sheet as a diffuser.
Use reflectors and bounce cards
A white foam board on the side opposite the light source lifts shadows. For small accessories or shoes, use a foldable reflector. Even a piece of white paper can brighten a dark collar area.
White balance and color accuracy
Set the phone or camera white balance to match your light source, or use a gray card. Shoot in raw if you plan to edit. After editing, compare the image on two screens and under daylight if possible. Natural, accurate color is more important than an artistic color grade for a product page.
Styling with accessories without misleading the shopper
A few accessories can make a flat lay feel more attractive, but the product page must stay clear.
What to add
- Small props that match the shop’s style: a watch, sunglasses, a bag or a pair of shoes.
- Simple items that show scale, such as a lipstick next to a dress.
- Brand-colored paper or cards, if they do not cover the garment.
What not to add
- Anything that is not included with the product and looks like it might be included.
- Overlapping props that hide seams, pockets or buttons.
- Strongly colored props that cast a color onto white garments.
- Too many props that make the hero photo feel like a lifestyle collage.
Keep the hero shot clean
Use the clean version of the flat lay as the main product image. Use styled shots as additional gallery images. If a styled flat lay includes accessories that are not for sale, write “accessories shown separately” in the product description. This reduces confusion and avoids valid complaints.
When flat lay beats on-model photos
Flat lays are not better than model photos in every situation. They work best when the shopper needs to see the product itself.
Good fits for flat lay photography
- Structured items: blazers, shirts, coats, trousers.
- Patterned or textured garments: embroidery, prints, lace and knit stitches.
- Small products where a model photo would hide detail: scarves, folded tops, accessories.
- Size guides and measurements: a flat lay next to a ruler or garment measurements helps shoppers choose a size.
- Consistent catalog pages where each product needs the same format on collection grids.
Many clothing stores also use a flat lay as the main product image and a model photo as the second image. This gives shoppers both the true item and the fit reference.
When to use on-model instead
- Dresses or tops with a lot of drape that only makes sense on a body.
- Fitted clothing where the waist or hip shape is the main selling point.
- Products where color or pattern changes when worn.
- Any item where the shopper’s main question is “how will this look on me?”
Flat lay cannot solve the last point. If the shopper needs a fit reference, pair the flat lay with model photos, a size chart, or a fitting tool that lets them see the garment on their own body. For more on showing garment structure, read Ghost Mannequin Photography: How to Shoot and Edit Apparel.
Placing flat lays on your product page and building a repeatable workflow
A good flat lay only works if it appears at the right place on the product page and stays consistent across the catalog.
Build a consistent set
Choose one main format for all products:
- Same surface or background color.
- Same camera angle and distance.
- Same lighting direction and brightness.
- Same editing preset in Lightroom, Photoshop or your phone editor.
This matters more than having one perfect hero shot. A messy catalog with five different backgrounds can make the store look disorganized.
Add images where shoppers decide
Use at least three flat lay images for most products:
- Clean front view on a neutral background.
- Close-up of the fabric texture, collar, buttons or stitching.
- Styled flat lay with accessories or color options, if relevant.
Add a labeled size-reference image if you use flat lays for measurements.
Platform steps for adding flat lays
Shopify: In the product editor, upload flat lays to the Media section. Use the main product image as the clean front view. Check the collection page thumbnail to make sure the crop does not cut off the garment.
WooCommerce: In the product data panel, add flat lays to the Product gallery. Set the clean front view as the product image. If you use a page builder, confirm that zoom and lightbox still work on the product page.
Haravan and Sapo: Open the product editing screen and upload images to the product photo section. Both are Vietnamese store platforms, and the menu names may vary by theme. Keep the first image as the clean flat lay and add detail shots in the gallery.
Any custom site: Make sure the main image is square or the same aspect ratio as your product grid. Compress images after editing so they stay sharp but do not slow the page.
For more on how product page details affect purchase decisions, see How to Increase Ecommerce Conversion Rate for Fashion Stores. If you later enhance images with AI, keep the garment accurate by following AI Product Photography for Clothing: Keep Product Shots Accurate.
A clean flat lay shows the product truth, but many shoppers still hesitate because they cannot see themselves wearing it. Macgi offers an AI virtual try-on widget that sits next to the Add to cart button and lets shoppers upload one full-body photo to see the product on themselves in about 15–40 seconds, using the product photos you already have. If you are improving product pages with flat lays and want to give shoppers another way to judge the look before buying, try Macgi’s free beta.
FAQ
Do I need a professional camera for flat lay clothing photos?
No. A recent smartphone with the main camera, steady overhead mounting and good light is enough for most online stores. The surface, shaping and lighting matter more than the camera body.
What is the best budget surface for a small shop?
Use large sheets of matte foam board in white or light gray. Tape them together if you need a wider surface, and replace them when they get dirty or scuffed.
How do I keep the garment from looking wrinkled?
Steam or iron it first. Then smooth it with your hands from the center outward, align the side seams, and use a little tissue paper inside sleeves or the bodice if the fabric still looks puffy.
Can I use only flat lays on a product page?
For structured or patterned items, yes. But for fitted garments, dresses and drapey fabrics, add a model photo or a fitting reference because a flat lay cannot show how the item hangs on a body.
How do I make colors accurate in flat lays?
Use a neutral background, set the white balance to match the light, shoot near a window or with soft lights, and check the edited photo against the physical garment in daylight. Avoid strong color casts from walls, props or lightbulbs.


