 Macgi
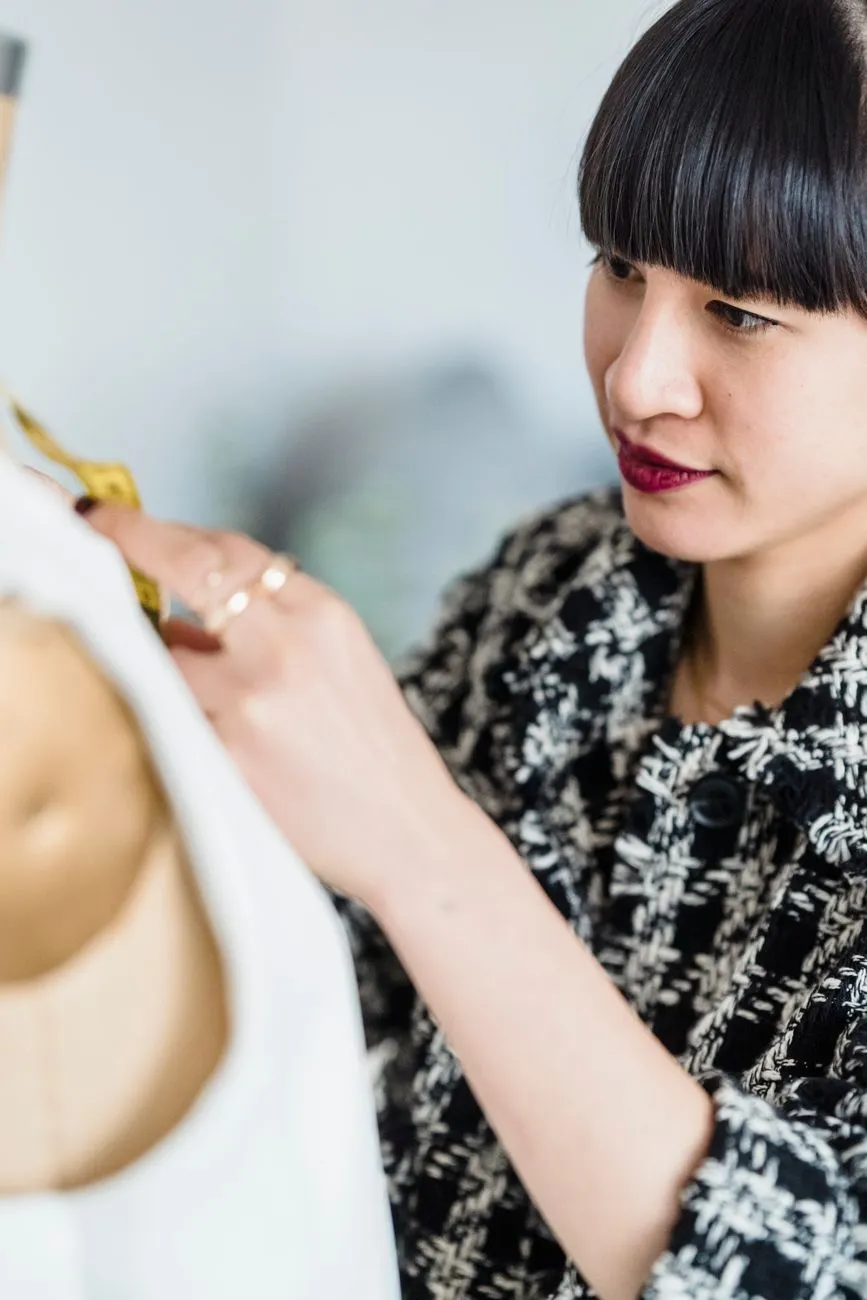
Ghost mannequin photography gives apparel product pages a clean, human-shaped image without the visible mannequin, hanger or background model. For online fashion stores, it is often the most practical way to show structure, drape, seams and neckline clearly. This guide covers what the effect is, the equipment, the three core angles, how editing combines them, and when the extra work is justified.
What the ghost mannequin effect actually is
The ghost mannequin effect, also called the invisible mannequin or ghost effect, is created by photographing a garment on a mannequin or dress form and then removing the mannequin in editing. The final image keeps the garment’s outside shape while showing the inside of the neck, armholes or back as if an invisible body is wearing it.
In most cases, the final result is not a single photo. It is a composite of at least two shots:
- The garment worn normally on a form, showing the outside front or back.
- The inside of the same area, usually photographed separately, to fill the neck, armholes or hem openings.
Why it works for online fashion
Unlike a flat lay, a ghost mannequin photo shows how the garment behaves in three dimensions. Unlike a model shot, it keeps the product as the only focus. It also creates a consistent look across a whole collection, which can make a small store’s catalog feel more professional.
For many apparel products, the three most important things a shopper wants to judge are shape, fit and construction. Ghost mannequin photography helps show all three without asking the shopper to imagine how a wrinkled flat lay might look on a body.
Equipment you need for ghost mannequin photography
You do not need a huge studio budget. You do need enough control to make repeatable, evenly lit photos.
Camera and lens basics
- A DSLR or mirrorless camera is ideal, but a recent phone can work if you lock exposure and white balance.
- Use a lens around 50–85mm full-frame equivalent to avoid distortion.
- Set ISO to 100–400 to keep noise low.
- Use an aperture around f/8–f/11 so most of the garment stays sharp.
- Shoot tethered to a computer or tablet if possible, so you can check focus and edges before moving on.
Lighting and modifiers
Soft, even light makes the editing process much easier.
- Use two or three lights: a key light in a softbox or umbrella, a fill light on the opposite side, and optionally a back light to separate the garment from the background.
- Shoot against a clean white or light gray background.
- Avoid strong colored light leaking onto the garment.
- Keep the light setup the same for every product in a collection. Inconsistent shadows and colors make a catalog look patchy.
Mannequins, forms and invisible supports
The right form depends on the type of clothing you sell.
- For shirts, blouses, jackets and dresses, an armless mannequin or a dress form with detachable arms is easiest.
- For pants and skirts, use a lower-body form or a hanger system with clamps.
- Use foam boards, cardboard inserts or tissue paper to fill sleeves and soften shoulders without creating hard lines.
- Magnetic or clamp supports can hold the garment in place.
- Clear fishing line can help support heavy fabric, but use it sparingly because it still needs to be removed in editing.
Small extras that prevent editing pain
Keep these next to the shooting area:
- Steam iron or garment steamer
- Lint roller
- Clips and pins that will not leave marks
- Color checker card
- Spare batteries and memory cards
- A checklist of required angles for each product
How to shoot the key angles: front, back and inner neck
Consistency matters more than creativity here. Shoot every product from the same height, distance and angle.
Front and back shots
For a basic ghost mannequin product photo, you need at least a front and a back view. The process is the same for both.
- Steam or iron the garment and remove lint.
- Put the garment on the form and adjust the shoulders, side seams, collar and hem.
- Pin or tape loose fabric only if necessary, and hide the pins from the camera.
- Position the camera at chest height, centered on the garment.
- Leave enough space around the garment so you can crop without cutting off sleeves or hems.
- Take the front photo, then turn the form or garment 180 degrees and take the back photo without changing the lighting or camera settings.
For dresses, also check that the waist and skirt drape naturally. For shirts and jackets, button or zip the garment the way a shopper would normally wear it.
Inner neck / neckline shot
The inner neck photo is the part many shops skip, but it is one of the most useful images for answering fit questions.
A practical way to capture it:
- After shooting the normal front and back views, remove the garment from the form.
- Turn the garment inside out, or at least turn the neck and shoulder area so the inside of the back neck is visible.
- Place the inside-out garment back on the form or on a small neck block.
- Put a thin piece of foam board or cardboard inside the neck area to hold the shape.
- Photograph the inside back neck, collar, label and shoulder seams straight on.
This shot is later placed behind the front view so the neckline looks hollow and real, not flat or filled with mannequin skin.
A simple pre-shoot checklist
Before you start a batch, confirm:
- Garment is clean, steamed and lint-free.
- Mannequin or form is stable and clean.
- Camera is level and at a fixed distance.
- Lighting is the same as previous batches.
- Background is clean and evenly lit.
- You have a shot list: front, back, inner neck, and any useful detail shots.
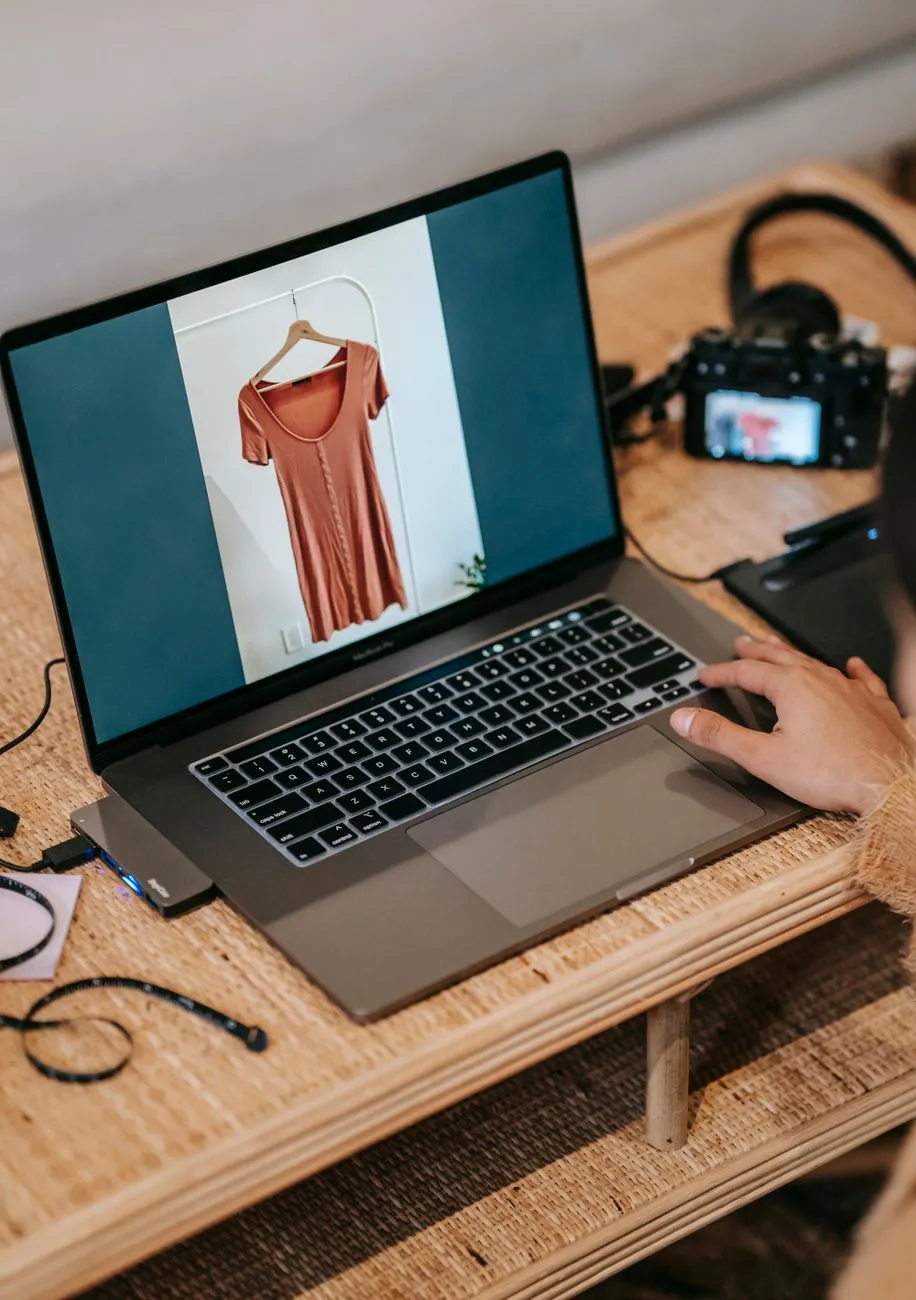 Photo: Liza Summer / Pexels
How editing combines the ghost mannequin
The editing stage is where the invisible-mannequin look actually happens. You can do it manually with layers and masks, or use AI-assisted tools for the first cutout and then clean up by hand.
Manual Photoshop workflow
Most ghost mannequin editing follows this sequence:
- Open the front view and the inner neck view as separate layers.
- Use the pen tool to trace the outside of the garment in the front view.
- Create a mask to hide the mannequin and background.
- Place the inner neck or inside-back image behind the front garment layer.
- Align the inner image with the neckline, armholes and shoulder seams.
- Use a layer mask to reveal only the parts of the inner image that should show through the openings.
- Clean the edges with refine edge or a soft brush, especially around thin straps, collars and sheer fabric.
- Add a subtle shadow or reflection if your catalog style uses it.
- Flatten and export for web.
The same method works for the back view and sleeves. For dresses with open backs or cutouts, you may need additional inside shots to fill those areas.
AI and semi-automated tools
AI background removal can speed up step one, especially on solid backgrounds. However, AI often struggles with thin straps, sheer panels, fluffy texture and inner seams. Use AI as a starting point, then check the edges at 100% zoom.
The goal is not perfection in the first pass. The goal is a clean, reusable process that produces the same look for every product.
Step-by-step editing sequence for a front view
Use this order to avoid redoing work:
- Correct white balance and exposure.
- Remove the background around the front garment.
- Mask out the mannequin visibly inside the neck and armholes.
- Add the inner neck image behind the front layer.
- Align and mask the inner image.
- Clean edges.
- Crop and resize for your store.
- Export with a consistent file-naming format.
When it is worth it for a fashion shop
Ghost mannequin photography is not automatically better for every product. It is an investment in time, equipment and editing consistency.
Product types that usually benefit most
The effect tends to be most useful for garments that lose their shape in a flat lay or look confusing on a hanger:
- Button-up shirts and blouses
- Blazers, jackets and coats
- Dresses with structure, darts or waistlines
- Skirts with shape, pleats or fitted waists
- Trousers where the rise, waist and leg shape matter
For very simple basics sold in many colors, a clean flat lay or hanger photo may be enough. If you already have model photos that show fit well, ghost mannequin shots can still be valuable as a consistent product thumbnail.
What to measure before and after
Do not judge success by personal preference alone. Pick a few products, update their images, and track:
- Product page views to add-to-cart rate
- Add-to-cart to purchase rate
- Fit-related questions from customers
- Return or exchange reasons
- Time spent on the product page, if your analytics shows it
For example, if a product had 200 orders and 30 were returned, the return rate is 15%. If you then add back, inner neck and close-up images, monitor whether fit-related return reasons change for that product over the next few months.
Common mistakes that waste the effort
- Shooting only the front view without a back or inner neck shot
- Changing lighting or angles between products
- Over-retouching the fabric until it looks plastic
- Using a mannequin that is a very different size from the store’s target customer
- Uploading high-resolution images that slow the page down
- Using vague file names instead of descriptive alt text
 Photo: Julia M Cameron / Pexels
From photos to product pages: practical implementation for Haravan, Sapo, WooCommerce and Shopify
Once the photos are edited, the product page experience matters as much as the photo quality.
Image specs and order
Most store platforms recommend:
- Square or portrait format, commonly 1:1 or 4:5
- At least 1500–2048px on the longest side
- JPEG or PNG, sRGB color
- File size kept low enough for fast loading
A useful image order for an apparel product:
- Front ghost mannequin view
- Back ghost mannequin view
- Inner neck or neckline detail
- Fabric or texture close-up
- On-body or lifestyle view, if available
For alt text, avoid vague labels like “front” or “IMG_2048”. A stronger template is:
- “Front view of [product name] in [color], invisible mannequin effect showing neckline and fit”
- “Back view of [product name] showing collar, seams and hem”
Adding the photos to your store
- In Shopify, upload the images in the product media area in the admin, then drag them into order. Image zoom and hover behavior are usually controlled in the theme editor.
- In WooCommerce, add the featured image and product gallery images in the product data panel.
- In Haravan and Sapo, use the product image manager to upload and sort the gallery. Check the active theme settings for zoom, thumbnail size and hover effects.
- On any platform, use the same background color or crop ratio for each product in a collection.
Testing the product page like a shopper
After publishing, check the product page on a phone and a desktop:
- All images load quickly
- The first image clearly shows the garment shape
- Zoom or hover works without pixelation
- The inner neck photo is easy to find in the gallery
- Thumbnails are not distorted or cropped incorrectly
Once your ghost mannequin photos are live, shoppers can judge shape and construction much more easily. The remaining guess is usually whether the garment will suit their own body. Macgi makes a virtual try-on button for product pages that sits beside the Add to cart button and uses your existing product photos; the shopper uploads one full-body photo and sees the product on themselves in about 15–40 seconds. You can try the free beta at Macgi sign-up or see the business page for store integrations.
FAQ
Do I need Photoshop, or can I use free tools?
You do not need Photoshop specifically. Any editor with layers, masks and a pen tool can produce good ghost mannequin composites. Free or lower-cost editors may be enough if you process many simple products. The key is consistent edges and clean alignment, not the software name.
Can I shoot ghost mannequin photos with a phone?
Yes, if you control the lighting and keep the phone in a fixed position. Use the main camera, lock exposure and white balance, and shoot at the highest quality. A tripod or clamp helps a lot because it keeps the distance and angle the same for every product.
How many photos should I produce per product?
Start with three: front ghost, back ghost and inner neck. For dresses, tailored jackets or products with special details, add a fabric close-up, hem or cuff shot. Four to six product images is often a good balance for apparel pages.
Is the inner neck photo really necessary?
For most structured garments, yes. The inner neck shot shows collar thickness, strap width, lining, labels and how the neckline sits. It answers common questions such as “Is the neckline too low?” or “What does the back look like?” without requiring a model photo.
How does virtual try-on fit with ghost mannequin photos?
Ghost mannequin photography shows the garment’s true shape and construction. A virtual try-on tool can then show the same garment on the shopper’s own body, based on a photo they upload. Used together, they help shoppers judge both the product and how it looks on them; for exact sizing they still need your size chart.


