 Macgi
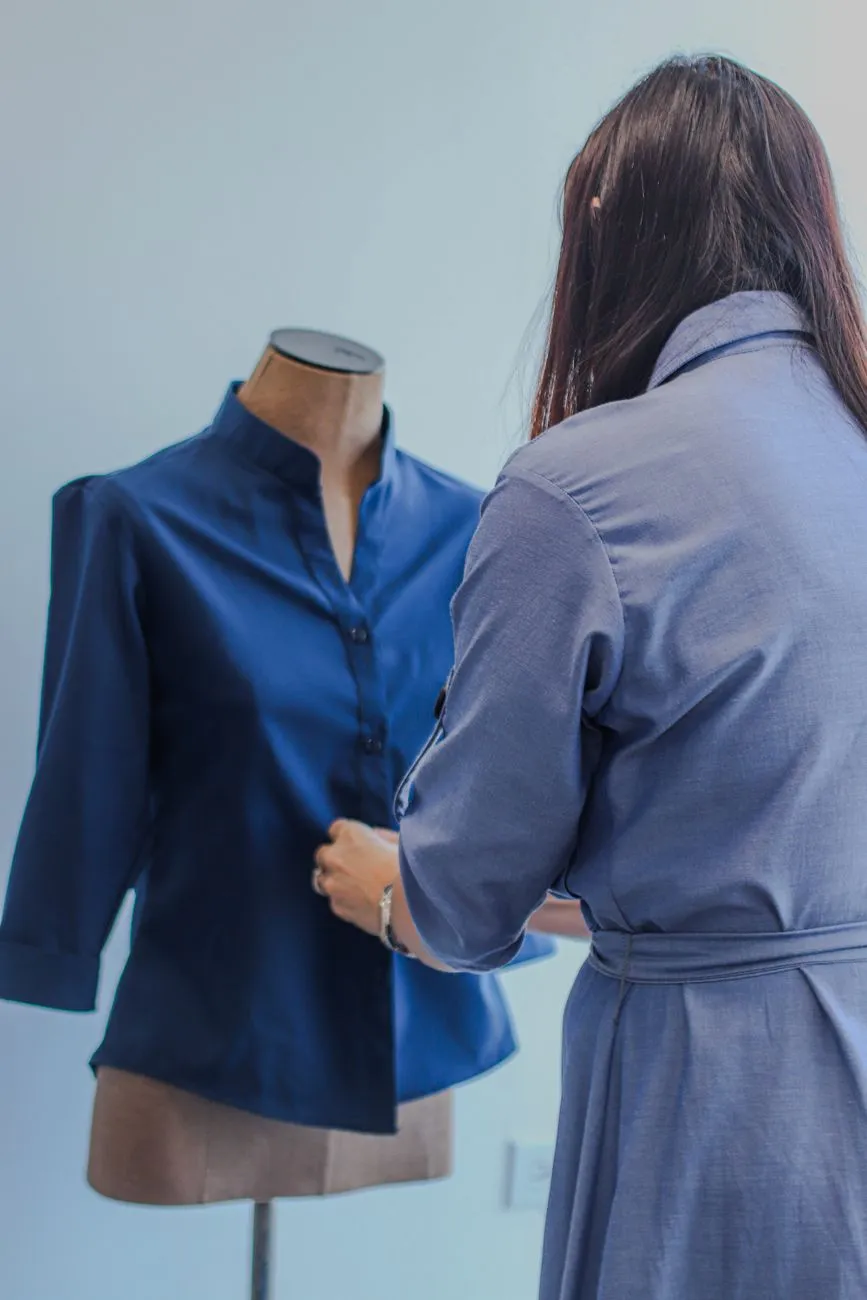
Product photos do more than show a garment. They answer the questions shoppers cannot ask: how heavy is the fabric, where does the seam sit, how bright is the red, and how will it look on a real body. That is why small shops should treat photo apps in layers: camera control, background removal, batch editing, and AI enhancement. Each layer fixes a different problem, and each has its own traps when you sell clothing.
Camera control: get a clean base shot before editing
The best photo app cannot save a badly lit, soft, or off-color base image. For clothing, the goal at the shooting stage is to capture the real fabric as closely as possible.
Look for these controls in a camera app or your phone’s manual camera mode:
- Manual exposure and shutter speed: lets you avoid motion blur on draped fabric.
- White balance lock: prevents the camera from shifting the color of a cream blouse or navy dress between shots.
- Focus lock or focus peaking: keeps the seam, texture, or neckline sharp.
- Grid overlay: helps you keep the garment straight and level.
- Remote shutter or 2-second timer: avoids hand shake.
- Raw or high-quality output: gives you more room to fix exposure and color later without damaging detail.
For Android, many phones already include a pro or manual mode in the built-in camera app. For iPhone, third-party manual camera apps offer shutter speed, ISO, and white balance control. If you already use Adobe Lightroom mobile, its built-in camera is a practical option because it lets you shoot and edit in the same workflow. These are examples, not endorsements; test a few on your own product photos.
A small home studio setup helps more than an expensive app. Shoot near a large window with diffused daylight, use a tripod or phone stand, and keep the same height and angle for every item in the same category. For more on building that setup, see Clothing Product Photography Setup: Small Home Studio on a Budget.
Free versus paid: the camera tools built into your phone or a free manual camera app are often enough. Paid raw editing apps are worth it only if you want to edit and export large batches consistently, but the shooting controls should come first.
Background removal and cutout apps
Background removal is usually the first app category small fashion shops buy. It turns a busy or plain background into white, light gray, or transparent PNG so the catalog looks consistent.
What to look for:
- Accurate edge detection, especially around hair, fur trim, lace, sheer sleeves, and loose threads.
- Edge refinement tools such as brush-in and brush-out.
- Shadow control so the garment does not look like it is floating.
- High-resolution export, not just a compressed preview.
- Transparent PNG or white background options.
- Batch or API access if you need to process many products.
For clothing, background removal is generally safe when the cutout is accurate: the garment pixels stay intact, and only the surrounding scene changes. The risky part is if the tool guesses and removes part of the sleeve, belt, strap, or transparency. Always zoom in at 200% and check edges before publishing. A chiffon skirt or knitwear can lose its texture if the algorithm over-softens the edge.
Known examples in this category include Photoroom, remove.bg, and the background removal features in Canva or Adobe Express. Many are freemium: single images are free, but batch processing and high-resolution transparent exports may require a paid plan. If your catalog is small, start with the free version and process only your hero images first.
For apparel that needs a hollow mannequin effect, you can combine background removal with a ghost mannequin technique. The goal is still to keep the actual garment shape unchanged. See Ghost Mannequin Photography: How to Shoot and Edit Apparel.
 Photo: Liza Summer / Pexels
Batch editing and resizing apps
Once the cutouts are done, batch editing saves time. Clothing catalogs need consistent exposure, color balance, crop, and file names across hundreds of products. Manually editing one image at a time is where small teams lose hours.
Look for batch tools that can:
- Apply a preset or setting group to a whole folder.
- Batch rename files by product name, color, and variant.
- Resize to a consistent maximum width or height.
- Export as JPG, PNG, or WebP at the right quality.
- Add watermarks if that fits your brand.
- Preserve original files before overwriting.
A practical workflow is to create one master preset from a photo that looks closest to the real garment, then apply it to the batch. After the batch run, spot-check the difficult items: bright red, mustard, navy, neon, and pastel tones often shift differently under the same preset. Adjust those individually instead of forcing a single filter across everything.
Free versus paid: free editors can often batch rename, resize, and apply basic adjustments. Paid cloud-based editors add AI auto-enhancement, better color matching, and larger batch limits. For most small shops, a free desktop editor plus manual spot checks is enough at first.
Common mistakes to avoid:
- Applying one preset without checking each product.
- Over-sharpening fabric until it looks crunchy.
- Cropping too tightly so the garment lacks breathing room.
- Exporting at low resolution to save space, then zooming in on the product page and seeing pixelation.
AI enhancement and generative scene apps
AI photo apps are useful when they edit the context, not the garment. Background replacement, light correction, upscaling, and adding soft studio shadows can keep the product true. Generating a new back view, changing the color, moving seams, smoothing fabric, or inventing a model wearing the item turns a product photo into an illustration.
For clothing, the dividing line is simple: if the edit changes how the physical garment fits, feels, or measures, do not use it on a product page. A beautiful AI image that changes the weight of a linen shirt or the tone of a red dress can create a return the shopper feels was the store’s fault.
Safe AI edits include:
- Replacing a cluttered or wrinkled background with a clean studio background.
- Correcting a blue or yellow color cast from indoor lighting.
- Lifting shadows under a collar or inside a sleeve.
- Upscaling a slightly soft image while keeping texture visible.
- Adding a soft shadow under the garment after a cutout.
Risky AI edits include:
- “Relighting” the garment enough to change the perceived color.
- Generating a matching back view or side view.
- Using text prompts to redesign the garment details.
- Filling in missing parts of a sleeve or hem.
- Smoothing fabric to remove wrinkles, because wrinkles often show the real material.
If you sell internationally, the risk is higher: a customer cannot feel the item before buying, so the photo must not overpromise. Before publishing any AI-altered image, compare it side by side with the physical garment in daylight. If you cannot tell whether the image is true, use the less-edited version. For a deeper checklist, read AI Product Photography for Clothing: Keep Product Shots Accurate.
 Photo: cottonbro studio / Pexels
A quick editing workflow for a small catalog
You do not need every app in every category. A small shop can use one camera app, one background removal tool, one batch editor, and one AI enhancement tool only where needed.
A simple weekly workflow looks like this:
- Shoot all products with the same camera settings and light.
- Cull the photos: keep only the sharpest front, back, side, and detail shots.
- Straighten and crop each main image.
- Remove the background only if it improves consistency; keep edges accurate.
- Correct white balance, exposure, and shadows.
- Resize and rename images in a batch.
- Upload to the product page, then view on a phone before publishing.
For platform-specific photo uploads, keep the main product image square or close to square, and use the largest resolution your platform accepts without slowing the page. Compress images after export, but do not resize so far that zoom becomes blurry.
Where photo apps and scripts live in Shopify, WooCommerce, Haravan, and Sapo
Most photo editing happens outside your store. But some background removal APIs, image compression tools, or virtual try-on widgets need a script tag, app block, or plugin.
Here is where to install them if the tool gives you a script or app:
Shopify
- For a normal app, go to the Shopify App Store from your admin and install the app. Many photo tools or image optimization apps appear under Product Media or Store Design.
- If the app gives a JavaScript snippet, go to Online Store > Themes > Edit code, open
theme.liquid, and paste the snippet before the closing</head>tag. Or, if the app provides an app embed block, enable it in Theme Settings > App embeds. - Test on a staging theme or duplicate theme before publishing to live.
WooCommerce
- Install plugin-based tools from Plugins > Add New. Image compression, lazy loading, and background removal plugins usually appear there.
- If you need to add a script manually, use Appearance > Theme File Editor and edit your child theme’s
header.phporfunctions.php. Do not edit the parent theme; updates will overwrite your changes. - For a try-on or photo widget that needs a button on the product page, the plugin should document whether it uses a shortcode or a product template hook.
Haravan
- Go to your Haravan admin, navigate to the theme editor or “Chỉnh sửa giao diện” section, and open the main layout file, often
layout/theme.liquid. - Paste the script before
</head>if you are comfortable with HTML. If you are not sure, the developer or support team can help. - Some Haravan themes also have a “HTML” or “Tùy chỉnh HTML” block in the theme editor where you can add a script on a specific page.
Sapo
- In the Sapo admin, open the theme customization area. Depending on the theme, there may be an HTML block or “Chỉnh sửa code” option.
- Paste scripts in the main layout file before
</head>, or use a custom HTML block on the product page. - If the widget requires a button next to “Add to cart,” you may need to edit the product page template and add a snippet in the page structure.
Always back up your theme before editing code, and check the mobile view after installation.
Once your product photos are clean and accurate, the next question is whether the shopper can imagine himself or herself wearing the item. A virtual try-on button next to “Add to cart” can use your existing product photos and let shoppers see tops, bottoms, skirts, and dresses on their own body before buying. If that fits your store, you can try Macgi’s virtual try-on widget in the free beta.
FAQ
Do I need all four categories of photo apps?
No. Start with camera control and background removal. Add batch editing when you cannot keep up with manual exports, and use AI enhancement only for specific problems like a cluttered background or color cast.
Are free photo apps enough for a small clothing shop?
Often yes for the first few hundred products. Free versions usually process single images at good enough quality. Paid plans become useful when you need batch processing, high-resolution transparent exports, or team features.
Which type of app is safest for clothing fabric texture?
Camera control and background removal are safest when the cutout is accurate. Batch color correction is safe if you compare each image to the real garment. Generative AI is riskiest because it can smooth fabric, change color, or invent garment details.
Can an app replace a model photoshoot?
Apps can help with backgrounds, lighting, and context, but they should not be used to invent garment details or fit. For many shops, a mix of real product shots and accurate close-ups works better than relying on AI-generated model images.


