 Macgi

Getting Shopify product variants right is less about the technical setup and more about how a shopper reads your product page. A clean colour selector, clear size options, and honest sold-out states make the difference between an order and a return. This guide walks through setting up colour and size variants in Shopify, assigning images, SKUs and inventory, handling limits, and showing unavailable sizes clearly.
How Shopify product variants work
In Shopify, a variant is a specific combination of a product’s options. For a fashion product, the most common options are:
- Colour — Black, Beige, Navy, Burgundy
- Size — XS, S, M, L, XL
Each combination becomes its own variant. For example, a shirt with three colours and five sizes has 15 variants. Each variant can have its own:
- SKU and barcode
- price and compare-at price
- weight and inventory quantity
- product image, usually for the colour option
Shopify allows up to 3 options and 100 variants per product. That is fine for most clothing products, but it becomes tight when you add a third option such as material, length, or waist fit. I’ll cover workarounds later.
The important rule is to treat variants as sellable inventory units, not just labels. If a shopper selects “Black / M,” the system needs to know exactly which physical item that is, whether it is in stock, and which image to show.
Setting up colour and size options
When adding a new product
- In your Shopify admin, go to Products and click Add product.
- Enter the product title, description, and other basic details first.
- Upload the product photos in the Media section. Include one clear image per colour, and ideally a few angles for each colour if you have them.
- Scroll to the Options section.
- Add the first option. If your store uses “Colour,” enter that name, then add the values separated by commas, such as
Black, Beige, Navy. - Add a second option called Size and enter the values, such as
XS, S, M, L, XL. - Save the product.
Shopify will automatically generate a variant for every combination of those two options. If you do not see them immediately, save the product and open the Variants section.
When editing an existing product
- Go to Products and click the product.
- Scroll to Options or Variants.
- If the product already has an option such as “Size,” you can add or edit values from the option list.
- To add a second option, such as “Colour,” use the option field and save.
- After saving, check the variants table. Shopify may create duplicate variants or keep old data, so review the list carefully.
A common mistake is adding “Colour” values after already entering inventory and SKUs. If you change the option values, Shopify may remove unused variants and create new ones, which is fine, but you’ll need to re-enter inventory and SKUs for the new combinations. Do this early.
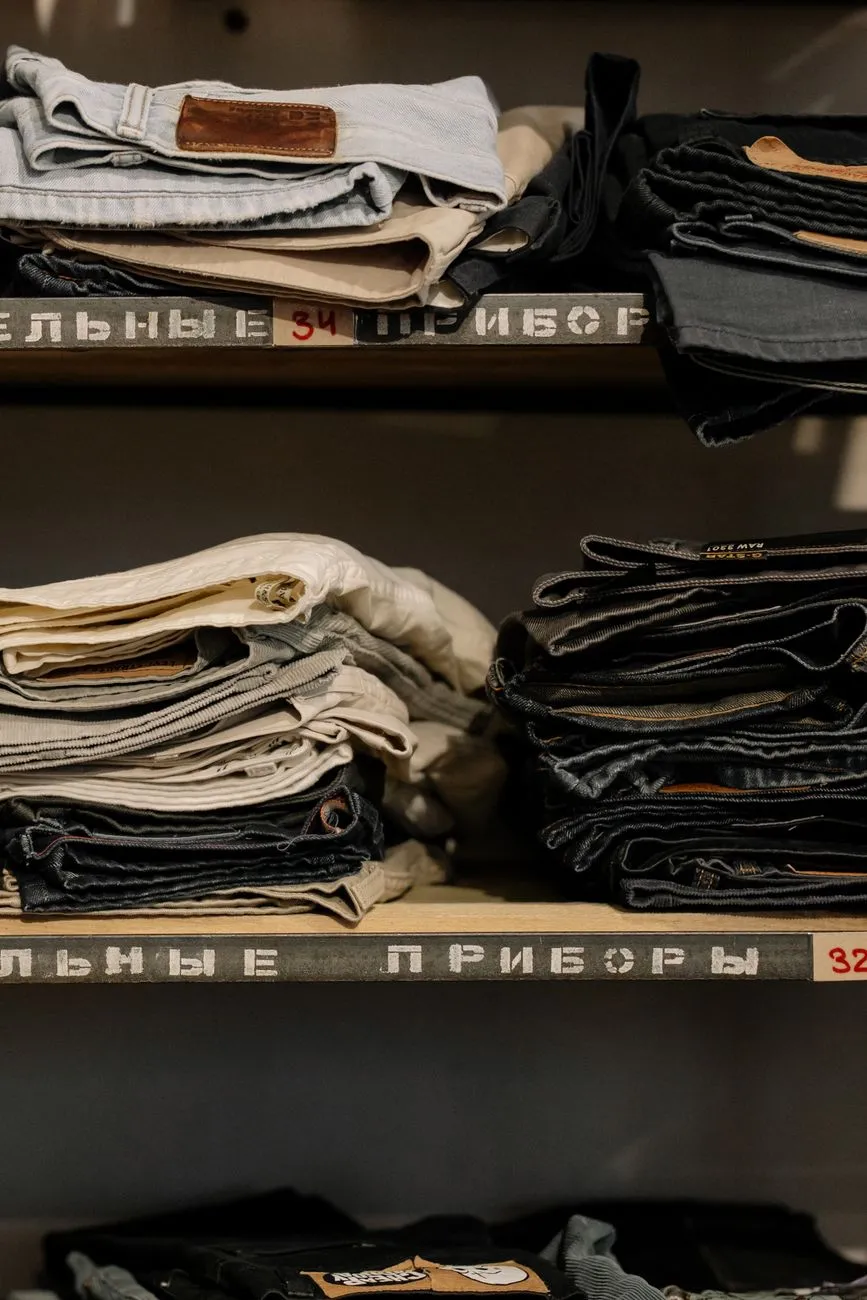 Photo: cottonbro studio / Pexels
Variant images, SKUs and inventory per variant
Assigning images to colour variants
Colour variants should show the correct photo immediately. In the product editor, scroll to the Variants table. Look for the image column. Click the small image placeholder next to a colour variant and choose the matching product photo from your uploaded media.
Do this for every colour. The same colour across sizes should share the same image, unless a specific size has a materially different photo. For example, a Black dress in XS and L can use the same black dress photo because the colour is the same. This keeps your media library manageable.
Your theme may or may not display these as colour swatches. Some Shopify themes support colour swatches natively; others only show a text dropdown. If you want visual swatches, check your theme settings or use a dedicated app. For a deeper look, see how to use colour swatches on product pages.
Setting SKUs per variant
A consistent SKU pattern makes it much easier to manage inventory and orders. For fashion, a simple pattern works well:
Product type + Colour code + Size code
For example:
TS-BLK-Sfor a black t-shirt in smallTS-BLK-Mfor a black t-shirt in mediumTS-NVY-Lfor a navy t-shirt in large
If you sell on multiple channels or use a 3PL, keep the codes short and avoid spaces, slashes, or special characters. Shopify does not require SKUs, but you should use them if you track inventory or sync with an external system.
Inventory per variant
Each variant has its own inventory quantity. In the Variants table, enter the quantity in the inventory column for each combination. If your store has multiple locations, Shopify tracks inventory per location, so you may see a separate column or a combined availability total depending on your settings.
Before publishing, check the box or setting that decides whether customers can buy when an item is out of stock. For clothing, it is usually better to disable “continue selling when out of stock,” so shoppers see a clear sold-out state instead of placing an order you cannot fulfil. This leads to fewer cancelled orders and fewer customer-service messages.
Showing sold-out sizes clearly
A size selector that silently hides out-of-stock sizes can frustrate shoppers. A size selector that greys out unavailable sizes and shows “sold out” is honest and useful. The exact behaviour depends on your theme.
What to check in your theme
- Go to your theme editor or theme settings.
- Open a product page that has multiple variants.
- Select a colour.
- Look at the size dropdown or size buttons. Some themes grey out unavailable sizes automatically; others let shoppers select a size and only then show “sold out” at the add-to-cart step.
- If the theme does not show sold-out sizes, you can often change a setting in the theme customizer under product variant options, or ask your theme developer.
At minimum, keep inventory at zero for unavailable variants and make sure “continue selling when out of stock” is off. That tells Shopify the item is unavailable, even if your theme presents it differently.
Communicating sold-out sizes in other places
If your theme does not support sold-out size states visually, you can add a short line in the product description such as:
“Colour: Navy — S and M available; L and XL sold out.”
But this is maintenance-heavy. A better route is to use a product options app that adds size guide links, stock indicators, and clearer variant selectors. You can also link a size chart so shoppers know the measurements before they choose. See How to Add a Size Chart in Shopify: 4 Simple Methods for step-by-step instructions.
 Photo: Tima Miroshnichenko / Pexels
Shopify variant limits and workarounds
Shopify’s limit of 3 options and 100 variants is usually enough for a top with colour and size. But it can become a problem for:
- dresses with colour, standard size, and length option
- trousers with waist, inseam, and colour option
- products with many colours and many sizes that multiply over 100
Reduce the number of option values
The simplest fix is to reduce the variants to a manageable set. For example, instead of offering every numeric size, you could group sizes:
- Option values:
S/M,L/XL,XXL
This reduces combinations and can work for loose or oversized fits. But it can increase size-related questions or returns because the fit is less precise. Weigh that trade-off.
Split by colour into separate products
If one product has too many combinations, create separate products for each colour. The product title can include the colour, such as “Linen Shirt — Black,” and each colour product only has the size option.
This is, in practice, the cleanest workaround. It also gives each colour its own URL, product description, and image gallery. The downside is you have more products to manage, and shoppers may not realise other colours exist unless you link them. You can use a colour swatch app or manually add links in the product description to other colourways.
Use a grouped product app
Some Shopify apps act as product grouping or linked-options apps. They connect separate products visually on one page, so shoppers can switch colour while the URL and product remain linked. These apps vary in speed and reliability, so review how they load on mobile. A heavy script can slow down your product page more than the extra products would.
Avoid inventing a fourth option
You may be tempted to add “Material” as a fourth option, but Shopify will not allow it on a single product. Instead, either split by material into separate products or use a line-item property. Line-item properties can collect extra information at the cart stage, but they do not have separate inventory. Use them only for notes, not for sellable variations.
Common mistakes when setting up variants
Duplicate SKUs
If two variants share the same SKU, inventory sync and reporting become unreliable. Use a spreadsheet or the bulk editor to make every SKU unique. A quick way is to sort the SKU column and look for duplicates.
Inconsistent option order
Decide on one order for option values and stick to it across the catalog. For example, always list sizes from XS to XXL, not L, S, XS, XL. Inconsistent ordering makes the dropdown harder to scan and can cause errors when customers choose quickly.
No image assigned to colour variants
If every variant shows the same first photo, a shopper who selects “Navy” may still be looking at the black version. Assign the correct image for every colour variant. Size variants do not need separate images unless the cut differs visibly.
Letting shoppers order out-of-stock sizes
If “continue selling when out of stock” is enabled, the store takes orders for items you cannot ship. This creates refunds, replacement requests, and frustrated customers. Check this setting before any product goes live, and audit it again after importing products or editing variants in bulk.
Changing option values after inventory is set
When you rename or remove option values, Shopify may delete variants and create new ones. This can wipe the inventory and SKU data attached to the old variants. Make option structure decisions first, then enter inventory and SKUs, or export a backup before making large changes.
Keep the size decision easy for shoppers
A well-configured product page does not just show availability; it helps the shopper imagine wearing the item. A size chart is useful, but many shoppers still hesitate because they cannot picture the garment on their own body. A virtual try-on button next to Add to cart lets shoppers upload a full-body photo and see themselves wearing the product in about 15–40 seconds, using the product photos you already have. If you want to add that to your Shopify product pages without rebuilding your catalog, try Macgi’s free beta.
FAQ
How many variants can a Shopify product have?
A Shopify product can have up to 3 options and 100 variants. A variant is one combination of those option values, such as “Black / M.”
How do I show sold-out sizes instead of removing them?
Keep the inventory at zero and make sure “continue selling when out of stock” is disabled. Your theme may then grey out or label the unavailable sizes. If it does not, use a variant or stock-status app, or add a clear note in the product description.
Can I use the same image for all colour variants?
No. If a product has multiple colours, each colour variant should use a photo of that specific colour. Otherwise shoppers may select “Navy” but still see the black garment. You can use the same photo across sizes within the same colour.
Do I need an app for colour swatches on Shopify?
Some Shopify themes include colour swatches, but many do not. If your theme only shows a dropdown, an app can add visual swatches. Check your theme settings first to avoid adding unnecessary code.
How do I import products with variants into Shopify?
You can use Shopify’s CSV import. Each variant is one row in the CSV, with columns for the option names, values, SKU, price, and inventory. The first row of the file shows the correct column headers. Before importing a large catalog, test with a few products so you don’t accidentally overwrite existing inventory.


