 Macgi
Pants are one of the highest fit-risk categories in online fashion. A shopper may know their usual size, but “medium” or “32” means different things across brands, fabrics, rises and cuts. A size chart alone does not solve the problem unless it explains how to measure, what to do with the numbers, and how to choose when the shopper is between sizes.
This guide covers the measurements that matter for trousers and jeans, how to turn them into a usable product-page size chart, how stretch denim changes the decision, and how to help shoppers pick between two sizes without pushing them toward a return.
Why pants sizing confuses shoppers
Pants fit depends on more than one body measurement. A shopper can have a waist that matches size M but hips that match size L, or a long inseam for their waist size. The same tag size can fit differently if the rise changes, because the waistband sits at a different point on the body.
Common sources of confusion:
- Waist measurement is not always the same as jeans waistband size.
- High-rise, mid-rise and low-rise pants sit at different points.
- Stretch fabric changes how tight the waist and hip can feel.
- Numeric sizes, letter sizes and regional sizing systems overlap but are not universal.
- Vanity sizing means the label may not match the physical garment measurement.
That is why a useful pants size chart should include garment measurements, body measurements and fit notes, not just a list of sizes.
The measurements that matter for pants
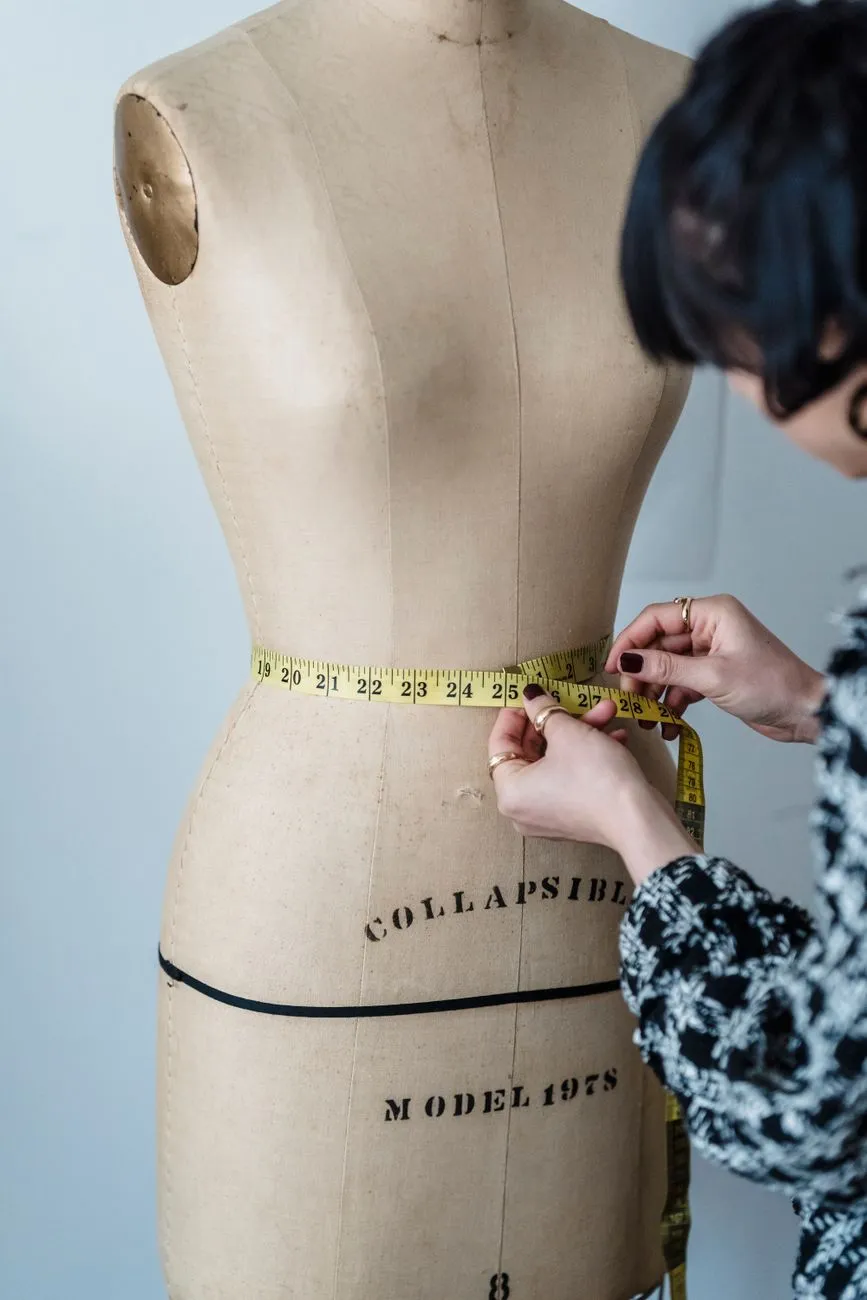
A good pants chart includes at least six measurements: waist, hip, rise, thigh, inseam and leg opening. For each one, show whether the number is a body measurement or a flat garment measurement. If you measure the garment flat, say so. If you expect the shopper to measure their body, give a short, clear instruction.
Waist
Explain where to measure. For most trousers and jeans, the waistband does not sit at the narrowest point of the torso. Instruct shoppers to measure where they want the waistband to sit, or use the waist of a pair of pants that already fits well.
A clear body-measurement instruction:
“Wrap the tape around your natural waist for high-rise styles, or around the point where you normally wear your jeans. Keep one finger between the tape and your skin. Do not pull the tape tight.”
If you give flat garment measurements, measure the waistband edge to edge with the pants buttoned and flat, then double that number. If the waistband has elastic, measure it relaxed and stretched, and note both.
Hip
The hip measurement should be taken around the fullest part of the hips and seat. Ask the shopper to stand with feet together and wrap the tape around the widest point. On the garment, the hip is usually measured across the widest part of the hip area, about 18–20 cm below the waistband on many styles, then doubled. Do not assume every product has the same hip point; measure each cut.
Rise
Front rise and back rise are often missing from size charts, but they explain many fit problems. Front rise is measured from the crotch seam to the top of the waistband along the front fly. Back rise runs from the crotch seam to the top of the back waistband.
Rise affects where the pants sit. A shopper with a long torso may find a low rise uncomfortable even if the waist measurement is correct. A shopper with a fuller seat may need a longer back rise. Include rise in the chart or at least mention whether the style is low, mid or high rise. If you give a body rise instruction, describe measuring from the crotch to the desired waistband level, but the garment rise is usually more practical.
Thigh
Thigh tightness is a common reason for exchanges, especially in slim and skinny fits. Ask the shopper to measure around the fullest part of their thigh, just below the crotch. On flat garments, measure from the crotch seam horizontally across the leg and double the number. For tapered or slim trousers, also note whether the thigh measurement is taken at the crotch or at a lower point.
Inseam
Inseam runs from the crotch seam to the bottom hem along the inner leg. Shopper instruction:
“Take a pair of pants that fits you well. Lay them flat and measure from the crotch seam to the hem along the inside leg.”
This is more reliable than asking a shopper to measure their own leg because the point where pants end depends on style, shoes and preference. On product pages, list the inseam by size if the inseam changes by waist size, or list a fixed inseam for each length option.
Leg opening
Leg opening is the width of the hem measured flat and then doubled. It tells the shopper whether the cut is skinny, straight, wide or bootcut. For example, a 30 cm leg opening on a pair of trousers is different from a 40 cm leg opening on wide-leg jeans. Include it for fashion styles where silhouette matters.
For more detail on taking flat garment measurements, see How to Measure Clothes for a Size Chart: Flat Garment Guide.
 Photo: https://kaboompics.com/ / Pexels
Number sizes vs letter sizes: how to design the chart
Many stores sell both jeans with numeric waist sizes and fashion trousers with letter sizes. The chart should not force one system into the other unless you have measured the actual garments.
A number size on jeans often refers to the waist in inches or to a local sizing code. A US women’s size 28 may correspond to roughly a 28-inch waist, but a European 38 or Italian 40 is not the same thing. A letter size S, M or L for trousers may cover a range of waist and hip measurements, and the range can vary by brand.
Rather than publishing a generic conversion table, build your chart from the product’s actual flat measurements and fit model. A sample chart for a stretch trouser might look like this, but you should replace the numbers with your own garment measurements:
| Size | Waist body | Hip body | Front rise | Thigh | Inseam | Leg opening |
|---|---|---|---|---|---|---|
| S | 68–72 cm | 92–96 cm | 24 cm | 28 cm | 72 cm | 32 cm |
| M | 73–77 cm | 97–101 cm | 25 cm | 29 cm | 73 cm | 33 cm |
| L | 78–82 cm | 102–106 cm | 26 cm | 30 cm | 74 cm | 34 cm |
| XL | 83–87 cm | 107–111 cm | 27 cm | 31 cm | 75 cm | 35 cm |
This table is illustrative only. The point is to show both body and garment numbers together, and to label the units.
On the product page, place the chart next to the size selector or the Add to cart button. If you use a popup, make sure it opens from a visible “Size guide” link near the size options. Avoid burying the chart in the footer or in a separate page that shoppers must search for.
Stretch denim and fabric: how it changes the choice
Stretch changes the advice between sizes. Rigid cotton denim has very little give, so a snug waist may stay snug. Denim with elastane or lycra can stretch at the waist and hip, but it may also bag out over time if the recovery is poor.
A practical way to think about it:
- Rigid or low-stretch fabric: when a shopper is between sizes, the safer choice is usually the larger size, especially if the hip or thigh is close to the upper limit.
- Stretch fabric: the shopper can often take the smaller size if they prefer a close fit, but the hip and thigh still need enough room.
- Thick stretch denim: it may hold its shape better than thin stretch fabric.
- Elastic-waist trousers: relaxed fit is expected, so the waist range is more forgiving.
Do not write “runs small, size up” without explaining why. A better line is:
“This style has 2% elastane and sits high on the waist. If you are between sizes, choose the larger size if you prefer a relaxed waist or have fuller hips. Choose the smaller size if you like a snug fit and the hip measurement is within the lower half of the range.”
That gives the shopper a decision rule, not a guess.
Helping shoppers choose between two sizes
Shoppers often contact you with two numbers: their waist and hip. Give them a repeatable process instead of answering each question from scratch.
A simple fit-advisor script
Use this order when replying to a customer:
- Ask where they normally wear their jeans or trousers.
- Ask for their waist and hip measurements, or the size of a pair that fits well.
- Compare both numbers to the chart, not just the waist.
- Look at the rise and stretch level of the product.
- Recommend based on the tighter measurement, then adjust for stretch.
Example of a helpful reply:
“Your waist is 78 cm and your hips are 104 cm. According to the chart, your waist sits in size L, but your hips sit in size XL. This trouser has a small amount of stretch and a mid rise. I recommend XL so the hip fits comfortably; the waist has about 2 cm of ease and should feel secure. If you prefer a very fitted look, choose L, but the hip will be close to the limit.”
Example of a weak reply:
“Just order your usual size.”
That ignores the actual numbers and increases the chance of an exchange.
Good and bad wording on the product page
Good:
- “If your waist and hip fall in different sizes, choose the size that fits your hip for non-stretch styles.”
- “This style has 2% elastane. If you are between sizes, choose the smaller size for a snug fit or the larger size for comfort.”
- “Model is 168 cm tall, wears size M, and has an 80 cm waist and 100 cm hip.”
Bad:
- “True to size.”
- “Runs small.”
- “Size up if unsure.”
Those lines are not actionable unless you explain what “true to size” means for that garment and body shape.
If you want a deeper system for guiding customers, see How to Help Customers Choose the Right Size Online for Boutiques.
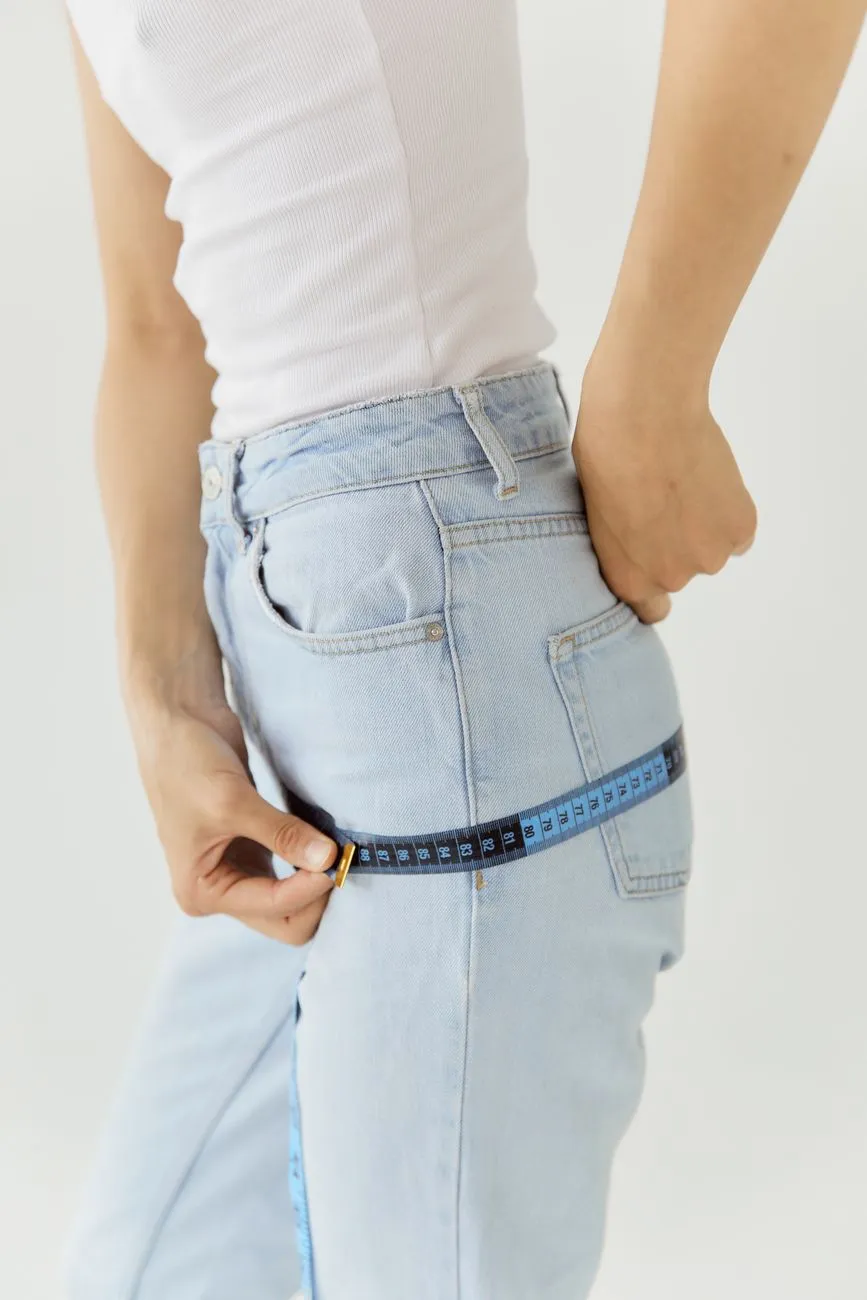 Photo: Darina Belonogova / Pexels
Product page setup: where to place the size chart
The best size chart is useless if shoppers cannot find it. Put the chart or size-guide link directly next to the size selector, in the product information accordion, or immediately below the product description.
Shopify
In the theme editor, open the product page template or the product section. Many themes include a collapsible row or accordion block that you can place under the buy buttons. If your theme supports it, add a size chart image or HTML table there. You can also use product metafields to store size-chart content per product, then display it conditionally in the template. If you are not comfortable editing Liquid, use a size-chart app from the Shopify App Store or add the chart directly in the product description.
WooCommerce
Add the size chart to the product’s short description, or use the “Additional information” tab that WooCommerce generates from product attributes. If you want a separate tab, install a custom product tabs plugin and create a “Size guide” tab. Some themes also let you add an accordion under the short description. Whichever method you choose, test it on mobile because tables can become hard to read.
Haravan and Sapo
For Vietnamese stores on Haravan or Sapo, edit the product description with an HTML table or upload a clear size-chart image. Some themes have a size guide popup; if not, place the chart directly under the size options in the description. Avoid relying on a separate page that requires extra clicks on mobile.
General checklist
- Place the chart before the Add to cart button or immediately after the size selector.
- Show both centimeters and inches if you sell internationally.
- Include model height, model size and the model’s waist or hip if possible.
- Mention whether the chart uses body measurements or flat garment measurements.
- Make the chart scannable on a phone: use a table that scrolls horizontally or a stacked list.
- Keep the same chart format across your catalog so returning shoppers know how to read it.
Measuring what works and reducing fit returns
A size chart project should not end when the page is published. Track whether the chart is reducing the right kind of returns and exchanges.
What to monitor
- Fit-related return rate by product and by size.
- Exchange reasons: too small, too big, waist gap, tight thigh, too long, too short.
- Customer questions about sizing before purchase.
- Reviews that mention fit or sizing.
If you do not already tag returns, start with a simple reason field in your return form: too small, too large, not as expected, changed mind, damaged. Then export the orders and group by product, variant and size.
For example, if a shop has 200 orders for a specific trouser and 30 are returned with “too small” or “too large” as the reason, the fit-related return rate is 15%. If, after updating the size chart and adding a fit note, the next 200 orders produce 20 fit-related returns, the rate is 10%. This is a made-up example, but it shows the calculation to use.
In WooCommerce and Shopify, you can export orders and use spreadsheet filters. In Haravan and Sapo, use the order export or reporting area and tag returns by reason. If you are unsure of the exact menu name, look for the order or analytics section in your admin and export the relevant date range.
If you offer exchanges or refunds in Vietnam, check the current consumer-protection rules and platform return policies before promising a deadline or refund method, because these rules and fees change.
Common mistakes to avoid
- Publishing only waist sizes without hip, rise and inseam.
- Using one generic chart for every product even though cuts differ.
- Writing “true to size” without explaining the garment fit.
- Giving model height but not model size or model measurements.
- Hiding the size chart behind a vague link like “More info.”
- Not updating charts when you receive a new production batch with different measurements.
For a wider returns workflow, see Returns Management Process for Online Stores: 9 Steps.
One reason shoppers still hesitate after reading a size chart is that they cannot imagine the pants on their own body. A virtual try-on button next to Add to cart lets them see the look on themselves using a full-body photo, which can reduce the back-and-forth about which size to choose. If you run your product pages on Shopify, WooCommerce, Haravan, Sapo or a custom site, you can try Macgi’s widget in the free beta without rebuilding your size charts.
FAQ
Should I use body measurements or garment measurements in my size chart?
It depends on what your shoppers can reproduce. For most fashion stores, a mix works well: show body measurements for waist and hip, and flat garment measurements for rise, thigh, inseam and leg opening. Label each clearly.
How do I advise a shopper whose waist and hip are different sizes?
Use the larger measurement for non-stretch styles, especially if the hip or thigh is the tighter fit. For stretch styles, you may choose the smaller size if the waist is forgiving, but explain the fit trade-off.
Is a numeric waist size the same as a body waist measurement?
Not always. A jeans size 28 usually refers to the waistband measurement, but vanity sizing and rise can change how it feels. Compare the shopper’s body measurement with the garment’s flat waistband measurement when possible.
What if a shopper is between two sizes in stretch denim?
Ask whether they prefer a snug fit or comfort. For stretch denim, the smaller size may work if the hip and thigh are within range. For rigid denim, recommend the larger size and note that the waist can be adjusted or worn with a belt if needed.
Where should I put the pants size chart on a product page?
Directly next to the size selector, in an accordion under the buy buttons, or in the product description above the Add to cart button. Do not hide it in a separate footer page.


