 Macgi
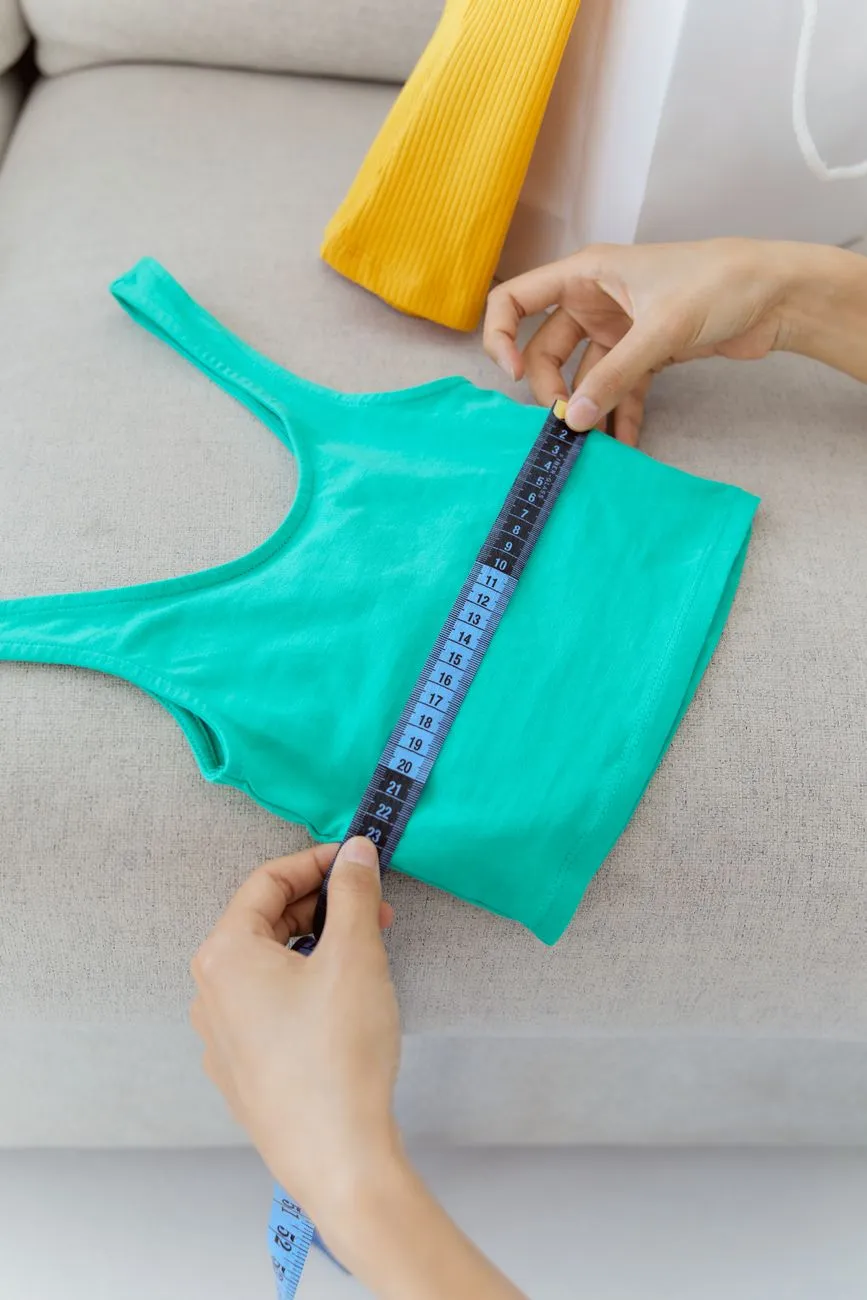
Accurate size charts start with physical measurements you can repeat. For most online fashion shops, the most reliable system is to measure the garment flat on a table: side to side for widths, and top to bottom for lengths. This guide covers how to measure each key point, how to handle stretch fabrics, how to record the numbers, and how to present them so shoppers understand what they are buying. It applies whether you sell on Shopify, WooCommerce, Haravan, Sapo, or a custom site.
Why flat garment measurements matter
A size chart is only as good as the method behind it. If one person measures a top from the armpit seam and another person measures from the shoulder, you will end up with two different charts for the same garment. That confusion leads to shoppers choosing the wrong size and returning items they feel were not described clearly.
Flat garment measurements are useful because they are repeatable. You lay the garment on a flat surface, smooth out wrinkles, and measure specific points. This is usually easier than measuring a 3D garment on a mannequin or body, and it works well for production checks, supplier discussions, and product pages.
Keep one important distinction clear: garment measurements are the dimensions of the clothing item, while body measurements are the dimensions of the person. Many size charts show garment measurements, sometimes doubled to show the full circumference. If you show body measurements, say so clearly. Shoppers should not have to guess whether “chest 48 cm” means the garment laid flat or the body measurement.
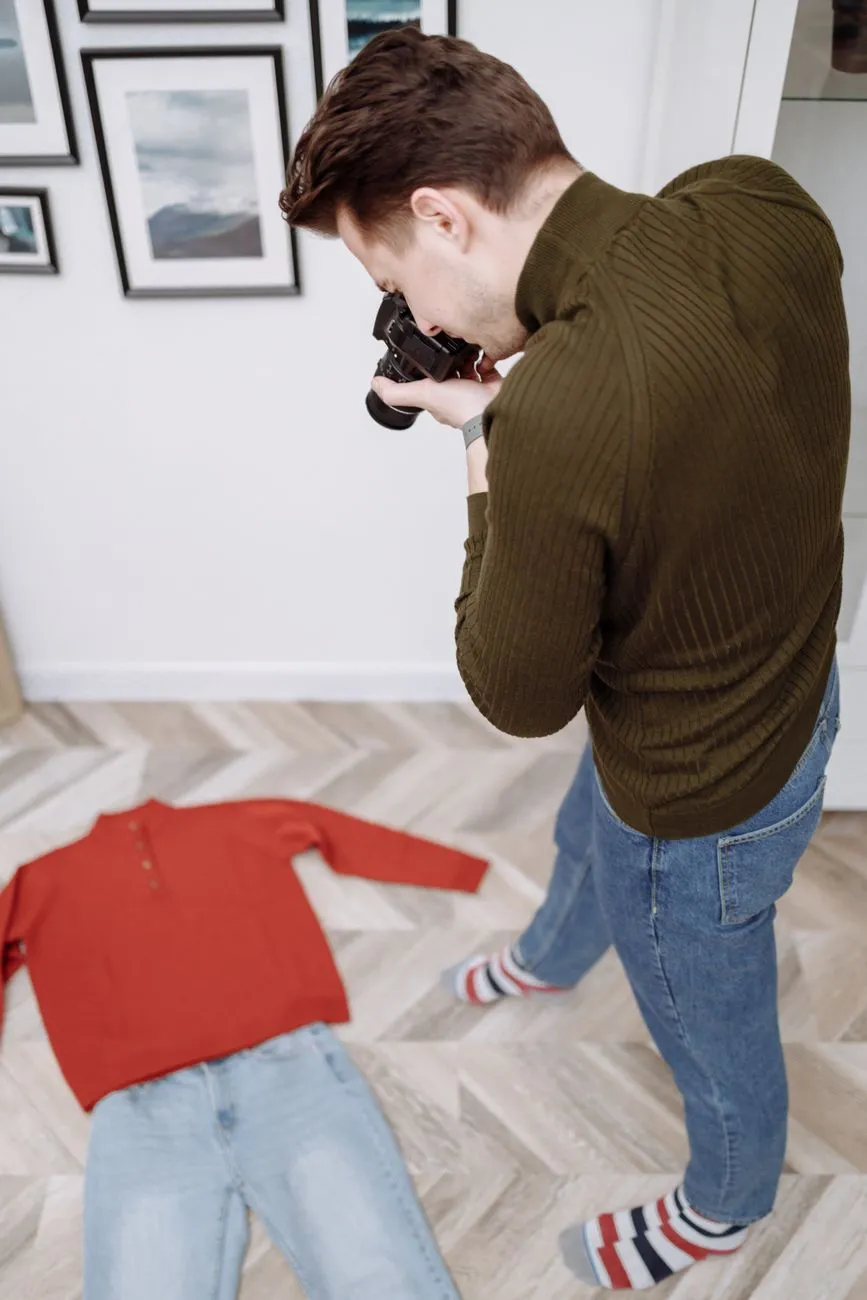 Photo: Thirdman / Pexels
Tools and setup for consistent flat measurements
You do not need an expensive setup. Start with these tools:
- A flexible tailor’s measuring tape with both centimeters and inches.
- A clear plastic ruler or right-angle ruler for checking straight edges.
- A large, hard, flat table, such as a cutting table or clean desk.
- Pattern weights, clips, or clean cans to hold the garment lightly in place if needed.
- A notebook or spreadsheet for recording measurements.
- A phone or camera for documenting the measuring position.
Before you measure:
- Close all zippers, buttons, and snaps.
- Lay the garment flat with the front side facing up unless the measurement point is on the back.
- Smooth the fabric with your hands, but do not pull or stretch woven fabrics.
- Align the side seams and center lines so the garment is not twisted.
- Decide whether you will use centimeters or inches, and stick to the same unit on one chart.
For each measurement, take it twice. If the two numbers differ by more than a small amount, for example 0.5 cm, reposition the garment and measure again. Small differences are normal, but large differences usually mean the garment shifted or the tape was not straight.
Core flat measurements for tops and dresses
Chest / bust
Measure across the garment from side seam to side seam, usually about 1–2 cm below the armpit seam. Keep the tape straight and level, not following the curve of the armhole. This is the half width. Double it to get the full chest circumference.
For example, if a size M top measures 50 cm across the chest, the garment chest measurement is 100 cm around. Write down both the half width and the full circumference so your chart is clear.
Shoulder
For a standard set-in sleeve, measure from shoulder seam to shoulder seam across the back. Keep the tape straight and level. For raglan sleeves or dropped shoulders, note the style, because the shoulder point may be different.
Sleeve length
Measure from the shoulder seam along the outer edge of the sleeve to the cuff. For raglan sleeves, measure from the neckline seam to the cuff, and label it as raglan sleeve length.
Sleeve opening / cuff
Measure across the bottom edge of the sleeve and double it for the full opening.
Length
For tops and dresses, length is usually measured from the high point shoulder, which is where the shoulder meets the neckline, straight down to the bottom hem. Measure at the back or front, but always use the same side and state it on the chart. For dresses, also measure the waist and hip if the dress is fitted.
Sweep / bottom hem
Measure across the bottom opening of the garment and double it for the full hem. This is useful for A-line dresses, flared tops, and oversized fits.
Core flat measurements for bottoms
Waist
For pants, shorts, and skirts, close the waistband and lay the garment flat. Measure across the top edge from side to side, then double for the full waist. If the waistband is elastic or has a drawstring, measure it relaxed first, then stretched. Record both numbers, for example: “Waist relaxed 34 cm / stretched 44 cm flat width.”
Hip
Measure across the widest part of the garment below the waist. A common reference point is around 20 cm or 8 inches below the top edge, but the best rule is to use the actual widest point and keep that point consistent across all sizes. Double the flat measurement for the full hip.
Front rise
For pants, shorts, and some skirts, measure from the crotch seam intersection, where the inseams meet, straight up to the top of the waistband at center front. This helps shoppers understand how high or low the garment sits.
Back rise
Measure from the same crotch point to the top of the waistband at center back. Back rise is easy to get wrong because the crotch seam curves, so hold the tape gently along the seam and record the number in a straight line, not following every fold.
Inseam
Measure from the crotch seam along the inner leg to the bottom hem. For jeans, leggings, and trousers, this is one of the most used measurements. Make sure the inner leg seam is straight and not twisted.
Thigh
Measure across the leg at the crotch level, perpendicular to the side seam. For short, loose shorts, measure a little below the crotch if that is the widest point, and note where you measured.
Leg opening / hem
Measure across the bottom opening of the leg and double it. This is especially helpful for tapered, straight, or flared bottoms.
Stretch fabrics and special constructions
Stretch fabrics need two numbers: relaxed and stretched. A relaxed measurement is taken with the fabric lying naturally flat, with no tension. A stretched measurement is taken by pulling the fabric gently to a comfortable maximum, the point where the garment would fit a body without straining the seams. Do not overstretch to the point of distortion.
Record both numbers for:
- Knit tops and dresses
- Ribbed waistbands and cuffs
- Elastic waists on pants, skirts, and shorts
- Smocked or shirred panels
- Swimwear and activewear
- Lounge sets and bodysuits
For example, a ribbed dress might have a bust width of 42 cm relaxed and 52 cm stretched. That tells a shopper the garment can accommodate a wider range and will feel snug but not tight.
Special constructions also matter. A bias-cut skirt can stretch lengthwise and may measure differently after hanging. A garment with a lot of ease may have a large difference between the garment width and the body width. Label these notes in your size chart. Do not copy a woven top size chart onto a stretch bodysuit and expect it to fit the same.
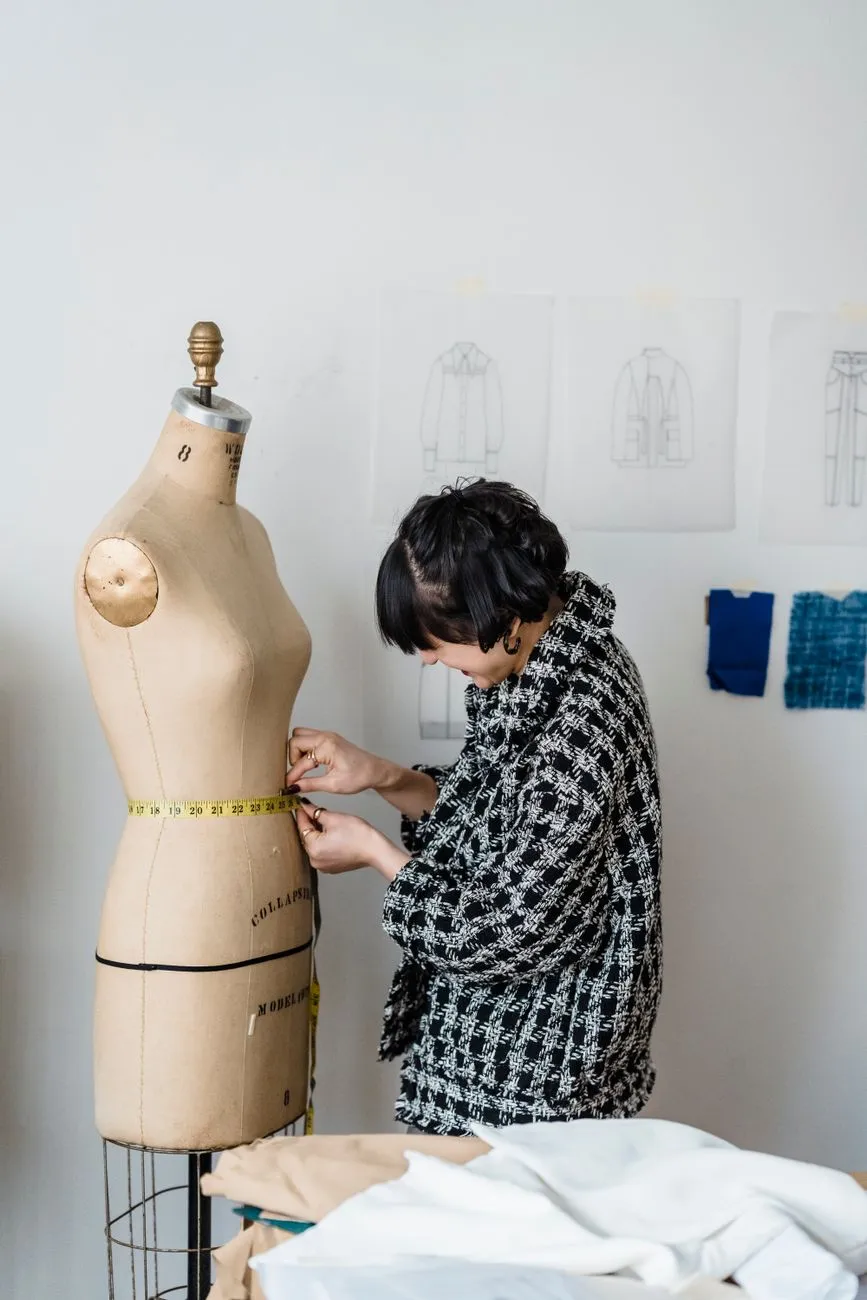 Photo: Michael Burrows / Pexels
Recording measurements and building a size chart
Create one measurement log for each style. A simple spreadsheet works well. Use columns like:
- Style or SKU
- Size
- Unit
- Point of measure
- Relaxed width
- Stretched width
- Notes
- Date measured
For tops, your points might be chest, shoulder, sleeve length, sleeve opening, length, and hem. For bottoms, use waist, hip, front rise, back rise, inseam, thigh, and leg opening. For dresses, combine both.
Decide whether your public size chart shows half widths or full circumferences. If you show both, label them like “Chest width laid flat (cm)” and “Chest circumference (cm).” This prevents the most common customer confusion.
If you import garments from a supplier, do not copy the supplier’s chart blindly. Measure at least one sample from each size and compare it against the supplier’s numbers. Production runs can shift. Spot check new shipments, especially when the fabric, dye lot, or factory changes.
Product-page size charts and measurement photos
A measurement table alone is not always enough. Shoppers understand a size chart faster when it appears next to a line drawing or product photo with arrows showing exactly where each measurement was taken.
For the visual, use the same reference points as your spreadsheet. A clean drawing or photo with arrows for chest, waist, hip, length, shoulder, and sleeve is enough. Do not add numbers that do not match your actual chart. If you use AI tools for product images, keep the garment proportions accurate; the goal is to explain fit, not to create an artistic image. For more on that, see AI Product Photography for Clothing: Keep Product Shots Accurate.
Where to place the size chart
Shopify: In the admin, open the product and add the size chart to the product description, or use the theme editor to add a collapsible row, tab, or size-chart block on the product page. Many Shopify themes have a size chart section or popup. If you are comfortable editing code, you can add a snippet to the product template, but test it on mobile first.
WooCommerce: Add the size chart in the product data under the description or short description, or use a size guide plugin that adds a tab or accordion to the product page. Some page builder themes let you add a size chart block directly.
Haravan: In the product admin, add the size chart to the product description HTML or a custom tab if the theme supports it. Keep the image optimized for mobile.
Sapo: Use the product page builder to add a size chart section, text block, or accordion. You can paste an HTML table and measurement image into the block.
Wherever you place it, make sure the chart is readable on a phone. A wide table with ten columns often works poorly on mobile. Use two columns or a collapsible section instead.
For more on turning measurements into buying guidance, see How to Help Customers Choose the Right Size Online for Boutiques.
Common mistakes that create size returns
Mixing half widths and full circumferences
If you write “chest 48 cm” without saying whether it is flat width or circumference, customers may think the garment is either very tiny or very oversized. Label every number.
Measuring along curves
The tape should usually go straight across. Following the curve of an armhole or crotch seam inflates the number and makes the chart unreliable.
Forgetting to close zippers and buttons
An open front or fly changes the width and rise. Always close closures first.
Stretching the fabric while smoothing
Smoothing is not pulling. Woven fabrics especially should be measured without tension, or you will record a wider garment than the real one.
Using different reference points
If one size is measured from the high point shoulder and another from the side neck, the length column becomes meaningless. Write down the reference point and use it every time.
Not recording relaxed and stretched numbers
For elastic waistbands, smocking, and knitwear, a single number hides how much the garment stretches. This is a common reason a shopper chooses based on body size and gets the wrong fit.
Copying a supplier chart without verification
Supplier data can be inconsistent. A quick flat measurement of one sample can catch major errors before they reach your product page.
Once you have a reliable size chart, the next challenge is helping shoppers judge the look and fit on their own body before they buy. A virtual try-on button next to “Add to cart” can let shoppers upload a full-body photo and see themselves wearing the product using your existing photos. If you want to test that on your store, Macgi has a free beta for online clothing shops. You can sign up at Macgi’s free beta sign-up.
FAQ
Should I measure the garment flat or around the body?
Measure the garment flat. It is more repeatable and easier to standardize across sizes and staff. Just label the chart clearly so shoppers know whether the number is a half width or full circumference.
Do I measure from the front or back?
Choose one reference for each measurement and stick to it. For example, chest, waist, and hip are usually measured from the front, shoulder across the back, and rise from both front and back. State your method on the chart.
How do I measure stretch fabric correctly?
Measure the point relaxed first, then gently stretch the fabric to a comfortable maximum without distorting the seams. Record both numbers, for example “waist relaxed 34 cm / stretched 44 cm flat width.”
How many garments should I measure per size?
At least one representative sample per size is a good start. If you buy production runs, spot check a few units from different sizes and colors over time to catch changes in fabric or construction.
Can I use one size chart for all my products?
A general template helps, but each fit or silhouette may need its own chart. A relaxed shirt, a fitted knit dress, and a high-waisted trouser should not share the same numbers without testing.


