 Macgi
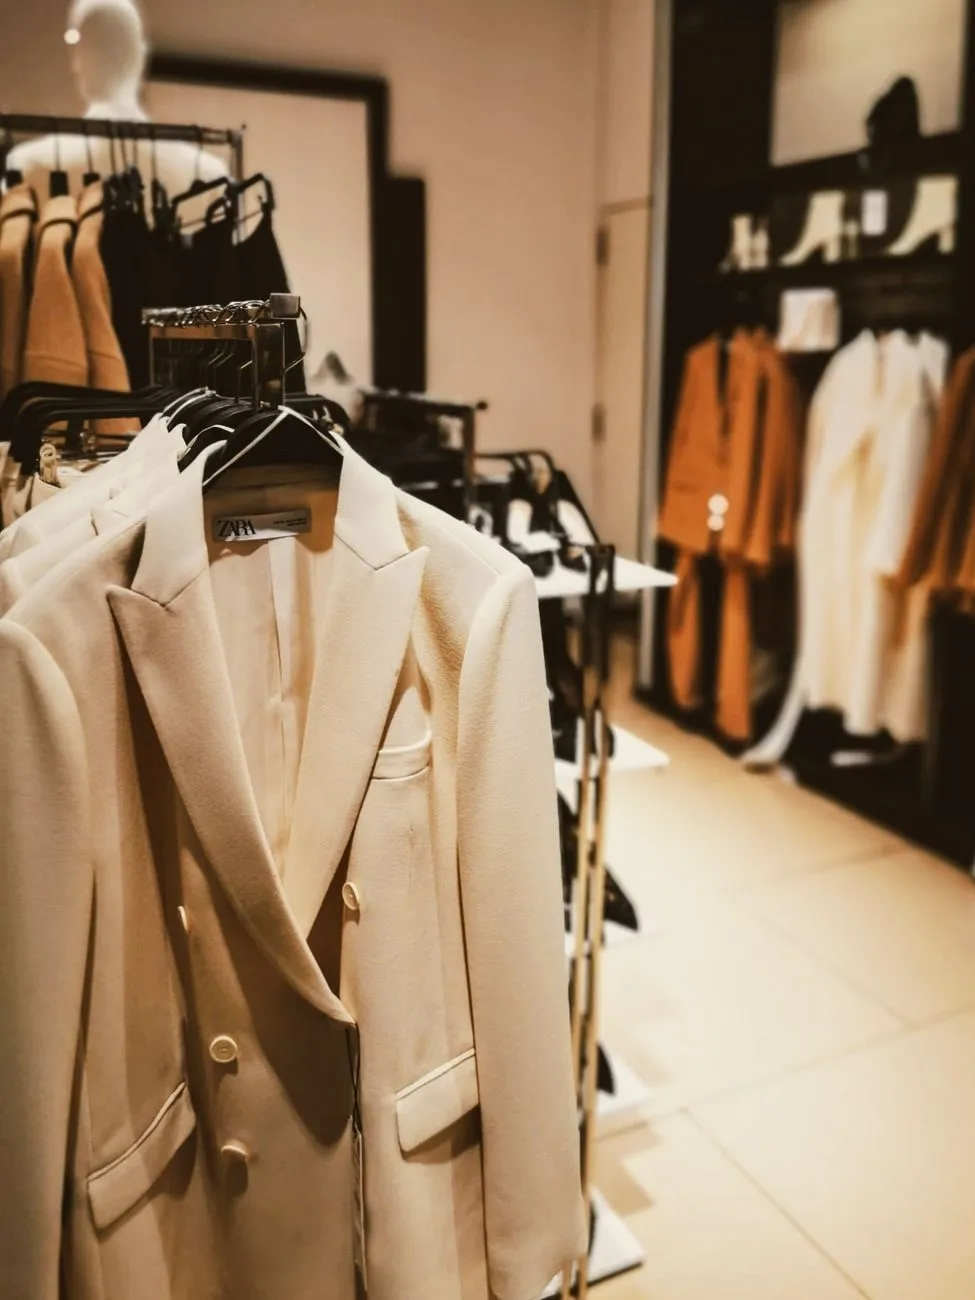
Starting a menswear store is not simply the women’s version with different products. Men often arrive with a specific item in mind: a navy polo, a pair of black chinos, a white Oxford shirt. They may browse less, but when they do show up, the buying intent is usually higher. The store that answers fit, shows real product details, and writes content without fluff has a real advantage.
This guide covers the menswear specifics that make or break a store: assortment, fit and size information, product photography, product page content, platform setup, and content that brings men back for repeat purchases.
Start with a focused menswear assortment
A small menswear store usually performs better when it solves one wardrobe problem well rather than trying to stock everything.
Choose between basics and fashion items
Menswear products fall into two broad groups:
- Basics and replenishment items: plain T-shirts, polo shirts, underwear, socks, chinos, jeans, Oxford shirts, simple knitwear. These are purchased repeatedly, often by men who already know their size.
- Fashion and statement items: printed shirts, outerwear, unusual trousers, seasonal colours, standout sneakers. These can attract attention and higher margins, but they are more sensitive to fit and personal taste.
Your positioning changes the whole store. A basics shop must win on fit consistency, clear size data, and easy reordering. A fashion shop must win on photography, styling, and helping the buyer imagine the item in his existing wardrobe.
A practical starting point is to pick one category and go deep before you go wide. For example, you might start with chinos in three fits—slim, straight, and relaxed—across waist sizes 28–40 and inseam lengths 30, 32, and 34. That is already a meaningful range, but it is manageable to photograph, measure, and explain.
Name products the way men search
Men often search with practical terms, not collection names. “Marcus Pant” tells the shopper nothing useful. “Slim-fit stretch chino in olive, 34/32” is far clearer.
Use product titles that combine:
- fit type
- product type
- key material or feature
- colour
- size where relevant
The same logic applies to URLs and product tags. This helps both SEO and the shopper’s ability to scan a category page.
Fit and size information men look for
Fit is the biggest reason a man hesitates, and the biggest reason he returns an item. If you do not answer fit questions on the product page, he will either leave or guess—and guessing leads to returns.
Go beyond S/M/L
For trousers, men need waist and inseam at a minimum. For slim or tapered trousers, they also need thigh and leg opening. For shirts and jackets, they need chest, shoulder width, sleeve length, and back length.
A generic size chart that says “M = 38–40” is not enough. Every product should include:
- garment measurements, not just body measurements
- how the garment is measured
- the fit type: slim, regular, relaxed, athletic
- whether the item runs true to size, small, or large
For example:
True to size. Model is 183 cm, 78 kg and wears size 32/32. Garment waist measured flat: 42 cm. Thigh measured 2.5 cm below crotch: 30 cm. Leg opening: 18 cm.
That is far more useful than “modern tailored fit”.
Write fit notes like a buyer, not a marketer
Bad wording:
“A refined silhouette designed for the modern man.”
Good wording:
“Mid-rise, regular through the thigh, slight taper from knee to hem. If you are between sizes, order the next waist size up.”
Men want comparisons and consequences. “If you prefer a closer fit, size down” is a specific instruction. “Runs small” alone is not enough—say where it runs small and what to do.
Put size help near the Add to Cart button
Do not bury the size chart in a footer link or a PDF. Place a clear “Size & fit” link, accordion, or popup next to the variant picker. On Shopify, WooCommerce, Haravan, and Sapo, this can be done with theme blocks, product tabs, or simple HTML.
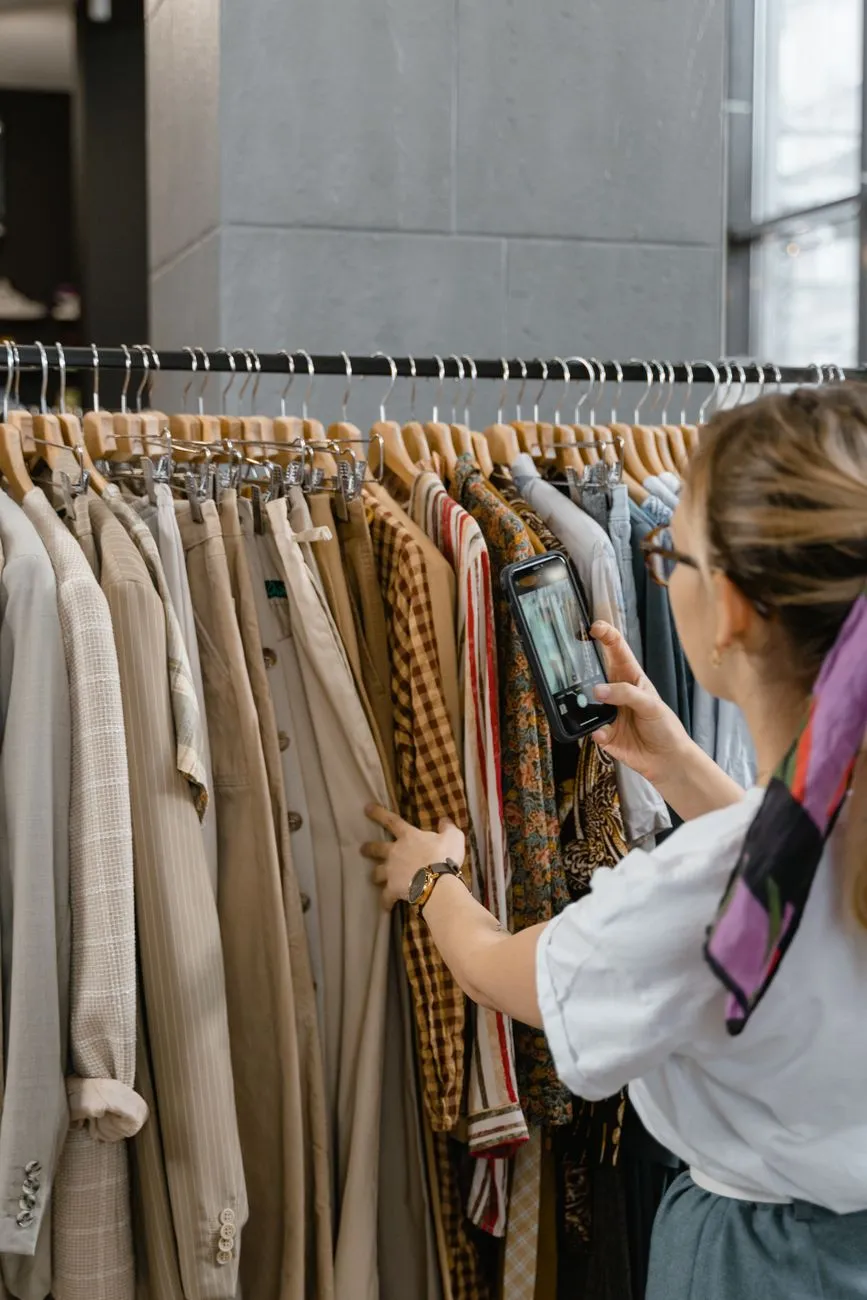 Photo: MART PRODUCTION / Pexels
Product photography that builds trust
Menswear photography should look clean, consistent, and informative. The goal is not just to make the item look good, but to show the shopper exactly what he is buying.
Show the item plainly first
Start with a clear front and back view on a model, ghost mannequin, or flat lay. Use a white or neutral background for the primary image. Keep the first image honest—accurate colour, natural proportions, no dramatic shadows.
Men often want to see the fit, not just the fashion. A model standing naturally, facing the camera, wearing the correct size, is more useful than an editorial pose that hides the waistband or sleeve length.
Include detail shots
For shirts: collar, cuff, button placket, fabric texture, hem.
For trousers: waistband, zip or button fly, pocket, seam, leg opening, fabric weight.
For jackets: lapel, shoulder, lining, inside pocket, cuff, back vent.
A good baseline is 4–7 images per product:
- front on model or ghost mannequin
- back view
- side view
- fabric close-up
- main construction detail
- second detail
- colour comparison or styled context
Keep colour accurate
Do not oversaturate product photos to make colours “pop.” A man who orders a grey chino and receives a blue-grey chino may keep it, but if he expects to reorder, colour accuracy matters. Shoot in consistent, natural or studio light, and use a white balance reference.
If you need a low-budget setup, a simple home studio with a neutral background and consistent lighting works well for basics. See Clothing Product Photography Setup: Small Home Studio on a Budget.
Use video for fit and movement
A short 10–20 second video can answer questions photos cannot: how the fabric moves, how the hem sits, how the collar rolls. Show a model walking, sitting, or turning. Keep it simple and on-product, not a full brand film.
Product page content that sells to men
A menswear product page should read like a specification sheet plus a short style note, not a magazine advert.
Lead with the practical description
Start with what the item is and where it fits:
Regular-fit Oxford shirt in 100% cotton.
A year-round button-down shirt with a button-down collar and a chest pocket. Wear it untucked with chinos or under a crewneck.
Then follow with bullets:
- 100% cotton oxford, 140 g/m²
- Button-down collar
- Single chest pocket
- Back box pleat
- Machine wash cold, hang dry
Avoid empty phrases like “elevate your everyday look” or “crafted for the modern man.” They say nothing about the product.
Include a fit block
Every product page needs a short, consistent fit block:
- Model height, weight, and size worn
- Fit type
- Key garment measurements
- Whether it runs true, small, or large
This block should be repeatable across products so returning customers learn to trust it.
Help men complete the outfit
Men often respond to outfit information, but it should be practical. A simple line works:
Pair with the straight-leg chino in stone and a derby shoe.
Avoid forcing a full lifestyle story. One or two pairing notes are enough.
For a deeper writing framework, see How to Write Clothing Product Descriptions: 6-Part Structure.
Platform setup for size, variants, and product details
The best fit content is useless if it is hard to enter or display. Here is how to structure it on the most common platforms.
Shopify
- Create the product and add options for Size and Colour.
- Create variants for each size and colour, with unique SKUs.
- In the theme editor, use the product page blocks to add an image gallery, variant picker, and an accordion or collapsible row for “Size & fit”.
- Add your size chart as an image or HTML in the product description, or use a metafield if your theme supports it.
- Keep the accordion near the Add to Cart button.
For detailed steps, see How to Add a Size Chart in Shopify: 4 Simple Methods.
WooCommerce
- Create a variable product from the Product Data dropdown.
- Add attributes such as
pa_sizeandpa_colour. - Generate variations and fill in SKU, price, stock, and image for each variation.
- Add a “Size guide” tab using a plugin, or place the chart in the product short description.
- In block themes, use an Accordion block near the add-to-cart form.
Haravan and Sapo
On Haravan and Sapo, the same principles apply.
- Create product variants for size and colour in the admin product editor.
- Paste the size chart as an HTML table or image into the product description.
- If the theme supports custom HTML or tabs, use them to place size information near the variant picker.
- If tabs are not available, put the size chart directly after the first description paragraph—it must be visible without opening a separate page.
Even without custom development, a simple HTML table inside the product description works on all four platforms.
 Photo: Ron Lach / Pexels
Content and email strategy for menswear
Menswear buyers often buy, test fit, and then return to buy again. Your content and email strategy should support that cycle.
Create fit-focused content
Write guides for each product category:
- How should chinos fit?
- Slim vs regular vs relaxed fit: what to choose
- How to measure your waist and inseam
- What to do if you are between sizes
These pages help SEO and reduce pre-purchase doubt. They also give you content to link from product pages and emails.
Use email and SMS for reordering
Men who find a good fit often reorder the same item or a new colour. Set up flows for:
- post-purchase fit confirmation and care instructions
- reorder reminders for basics after 60–90 days
- restock alerts for a specific size
- new colour drops in the same fit
For campaign ideas, see Fashion Email Marketing: 6 Campaigns for Clothing Stores.
Ask for reviews with body measurements
Reviews from men are more useful when they include:
- height and weight
- usual size
- size purchased
- fit rating
A review like “I’m 180 cm, 76 kg, bought size M, fits trim in the chest” is far more convincing than “Nice shirt.”
Keep social content practical
Short videos showing the product on a real person, flat-lay details, and fit comparisons tend to work better than heavy lifestyle storytelling. Show the same product on two different body types when possible. State the model’s size in the caption.
Common mistakes and pre-launch checklist
Avoid these common errors:
- Hiding the size chart in a footer or PDF.
- Using only S/M/L for trousers and jackets.
- Over-processing photos so colours and fabric look different from reality.
- Naming products with internal codes instead of practical search terms.
- Writing product descriptions without garment measurements.
- Showing only one photo and no detail shots.
- Trusting the supplier’s size chart without measuring the product yourself.
Before launch, check:
- every product has a size chart with actual garment measurements
- model height, weight, and size worn are shown where a model is used
- each product has at least 4–7 consistent photos
- fit type appears in the title or first line
- each size and colour has a unique SKU
- size help is visible near Add to Cart
- email capture and reorder flows are active
- return and exchange rules are clear, especially for sizing mistakes
Fit is the first sale; consistency is the repeat sale. When a man knows your size M fits him, he will come back.
Even with strong size charts and honest photos, some shoppers still hesitate because they cannot judge how the garment will look on their own body. A virtual try-on button next to “Add to cart” lets a shopper upload a full-body photo and see themselves wearing the product before buying. If you want to add that experience to your store, you can try Macgi’s free beta for virtual try-on.
FAQ
How much inventory do I need to start a menswear store?
You do not need a large catalog. Start with one category and go deep on sizes and fits. For example, one trouser style in three fits and five colours can give you a useful range without overwhelming operations.
What size information matters most for menswear?
For trousers, waist, inseam, thigh, and leg opening. For shirts and jackets, chest, shoulder, sleeve, and back length. Include garment measurements, not just a generic body chart.
Should I use model photos or flat lays?
Use both. A model photo shows how the item fits on a body. A flat lay or ghost mannequin shows product details without distraction. Include close-up details for fabric, stitching, buttons, and seams.
How many photos should each menswear product have?
At least 4–7. Start with front and back, add a side view, then close-ups of the fabric and key construction details. Consistency across products matters more than having a huge number of images.
Can I use the same size chart for all my products?
No, unless every product is cut identically. Different fits and fabrics can measure differently. Measure each product or each fit style and show the corresponding garment measurements.


