 Macgi
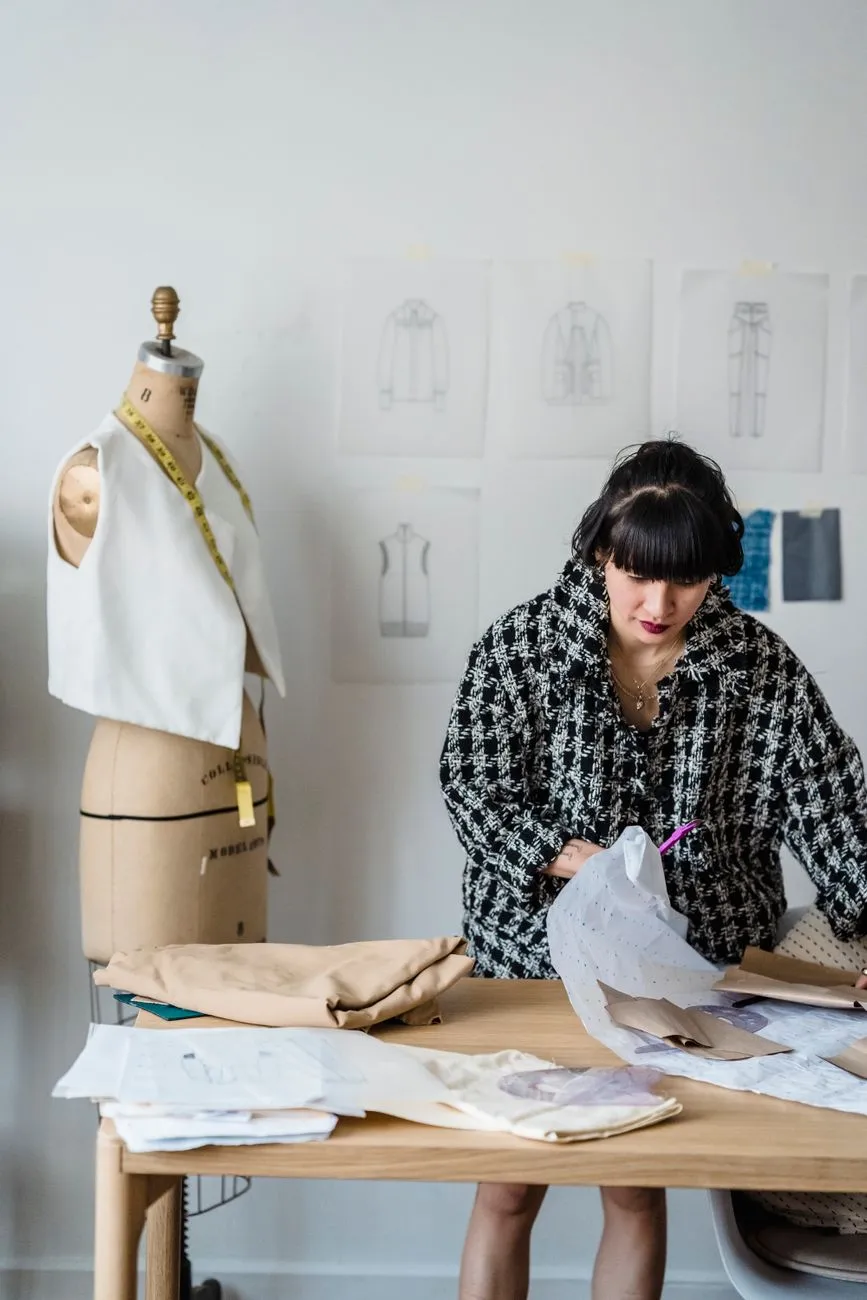
Starting a clothing brand is part product development, part marketing, and part logistics. The brands that reach a clean first drop usually do not start with a large collection. They start with a clear customer, one or two hero products, a tested fit, and a small audience that already wants the product.
This guide follows the path from idea to first drop: positioning, design and sampling, small-batch production, size grading and fit tests, brand identity, launch content, product page setup, and the mistakes that trip up new brands.
Define what the brand is for before drawing anything
Most first drops fail because the founder tries to sell to everyone. A clothing brand needs a specific customer, a specific occasion, and a clear reason to exist. That reason can be price, fit, fabric, mood, locality, or service. It cannot be only “I like this style.”
Positioning statement
Write one sentence that answers these questions:
- Who is the customer?
- What occasion or problem does the clothing solve?
- What is the price anchor or quality level?
- Why would they choose this over what they already buy?
A weak statement looks like:
“A clothing brand for young women who like stylish clothes.”
A stronger statement looks like:
“Affordable office-to-evening dresses for women in Ho Chi Minh City who need lightweight, non-wrinkle fabrics and a fit that works on shorter torsos.”
The second one gives you decisions for fabric, silhouette, size grading, photography, copy, and pricing. It also tells you who to invite to fit tests and who to target in launch content.
Keep the first drop small
Plan one hero product or a tightly related mini-range of three to five SKUs. For example:
- One dress in three colors
- One oversized shirt in two fabrics
- One skirt and one matching top
This limits sampling costs, fabric risk, size complexity, and photo work. You can expand after you see what people actually buy.
First-drop checklist
- Customer and occasion defined in one sentence
- Price range chosen with a realistic cost of goods
- One hero product or mini-range selected
- Three to five real potential customers you can ask for feedback
- A name and visual direction you can test before spending heavily
Turn the idea into a real product: design, tech pack, and sampling
A sketch is not a product. To get consistent production, you need a simple tech pack even if your manufacturer is a local workshop.
What to prepare before contacting a manufacturer
You do not need a 20-page document for a small run, but you should prepare:
- A flat sketch or clear photo of the garment
- Fabric type, weight, fiber content, and color
- Estimated measurements for one base size
- Size range you plan to offer
- Stitching and hem finishes
- Label placement, care label, and hang tag position
- Zipper, button, or elastic details
- Washing or treatment notes
If you are not sure about measurements, start by measuring a similar garment that fits your target customer well. Do not simply copy a supplier’s sample measurements without understanding the body they were designed for.
Sampling rounds
Never skip sampling. A normal small-brand process looks like this:
- First sample – one base size in the real fabric or a similar fabric
- Fit sample – adjust shoulders, bust, waist, hips, length, sleeve, pocket position
- Pre-production sample – the exact fabric, trim, color, and label you will sell
For first runs, ask for a pre-production sample even if it costs extra. It prevents the common mistake of approving one good sample and receiving 200 units with different stitching or a changed neckline.
Fabric testing at home
Before ordering fabric, ask for swatches and do simple tests:
- Wash the swatch once and measure shrinkage
- Check colorfastness by pressing a wet white cloth against it
- Crumple it and see whether it wrinkles within a few minutes
- Stretch it and see whether it recovers
These tests tell you more about returns risk than a supplier’s description.
Produce a small batch without gambling the launch budget
 Photo: Thirdman / Pexels
New brands routinely order too much. A smaller first run costs more per unit but protects cash flow and gives you room to change the design, fit, or fabric after real feedback.
How small is small?
For one style, many first drops work well with roughly 20–50 units in total, split across sizes. This is enough to test demand, shoot content, fulfill first orders, and avoid being stuck with dead stock. If you sell out, you can order a second run with real data.
Inventory or pre-order?
You can launch with stock on hand, or take pre-orders with a clear shipping date. Pre-orders are common for new brands because they reduce upfront risk.
On Shopify and WooCommerce, you can offer a pre-order or backorder state in the product settings or through a pre-order app or plugin. On Haravan and Sapo, many small stores handle this by stating the expected delivery date in the product description and order confirmation.
If you take pre-orders:
- Show an honest shipping window, such as “Ships in 3–4 weeks”
- Do not call it “in stock” if it is not made yet
- Keep customers updated if production slips
- Prepare a refund or cancellation process before launch
Production timeline
Ask the workshop for each stage:
- Fabric sourcing and dyeing time
- Sample approval time
- Cutting and sewing time
- Washing, ironing, and packing time
- Delivery to you or your fulfillment partner
Add at least one to two weeks of buffer. A first drop that arrives late loses more trust than one that launches a little later but ships on time.
Size grading and fit tests before you commit
A common mistake is to ask the manufacturer to “make S, M, L” without checking the grade rule. If the factory adds one inch everywhere, the shoulders may grow too much, the sleeve length may become awkward, and the larger size may no longer fit the body you imagined.
Build a size chart from real bodies
Start with one base size that fits your fitting model. Then decide the difference between sizes for:
- Bust or chest
- Waist
- Hip
- Shoulder width
- Sleeve length
- Garment length
For example, a top may grade 2 inches in bust between sizes but only 0.5 inches in sleeve length. A dress may grade more in hip than in waist. These differences should come from fit tests, not from copying another brand’s chart.
Fit tests on real people
Before production, run a fit test with three to five people per core size. Ideally they match your target customer in height, body shape, and dressing habits. Ask them to sit, lift their arms, walk, and try the garment with the underwear or layers they normally wear.
Record:
- Where the garment pulls or gapes
- Whether the waist sits where intended
- Whether the hem length works on different heights
- Whether the fabric feels too thin, too stiff, or uncomfortable
- Whether they would buy it at the planned price
Photograph each fit session from the front, side, and back. These photos become useful launch content later and help you explain sizing to customers.
Put the size guide on the product page
Your product page needs more than S/M/L. Show measurements in centimeters or inches, model height, and the size the model wears. If you sell in multiple regions, show both cm and inches.
For setup:
- Shopify: add a collapsible row or custom section in the theme editor, or place a size chart image inside the product description.
- WooCommerce: add a size guide tab with a plugin, or insert a table in the product’s short description or a custom product tab.
- Haravan and Sapo: edit the product description HTML and upload a size chart image or table below the variant options.
If you want more detail on this, see How to Help Customers Choose the Right Size Online for Boutiques.
Build a recognizable brand identity without overspending
Brand identity is not only a logo. It is the consistent look, tone, and promise across product pages, packaging, and social content. For a first drop, spend more on clarity than on expensive design.
Visual system
Choose:
- One or two fonts
- A simple color palette
- A consistent photo background or crop style
- A logo that is readable at small sizes on social and mobile
- A standard naming pattern for product names and colors
Your product photos should keep the garment true to the physical item. Clean background replacement and lighting correction can help, but do not change fabric texture, seam position, or color in a way that makes the product look different in person. See Ghost Mannequin Photography: How to Shoot and Edit Apparel if you are shooting flat or ghost mannequin product images.
Packaging
For the first drop, keep packaging simple but intentional:
- Polybag or tissue paper
- A thank-you card with care instructions
- A size exchange or return note if you offer one
- A sticker or small brand detail
Avoid spending heavily on custom boxes before you know the product sells. Customers remember fit and delivery more than packaging.
Launch content and community before the drop
 Photo: Kampus Production / Pexels
A successful first drop often starts weeks before the products go live. You do not need a large audience. You need the right people to know the product, see the fit, and feel confident buying.
Where to build a community
For small fashion brands, a combination of Instagram, TikTok, Facebook, and Zalo works well. Choose one primary channel and one secondary channel. For international stores, Instagram and TikTok are common. For Vietnamese stores, Facebook and Zalo often drive the first conversations.
Pre-launch content pillars
Plan content around:
- Founder story and why this product exists
- Fabric close-ups and wash tests
- Fit tests on different body types
- Behind-the-scenes sampling and corrections
- Styling the hero product for real life
- Size questions answered directly
A good pre-launch post sounds like:
“We changed the shoulder seam three times because the first sample pulled when you reached forward. Here is the final fit on our size M fit model.”
A weak pre-launch post sounds like:
“New drop coming soon! Stay tuned.”
The first one gives shoppers a reason to trust the product. The second asks for attention without offering anything useful.
Simple two-to-three-week pre-launch calendar
- Week 1: introduce the product, share the problem it solves, collect waitlist emails or Zalo follow-ups
- Week 2: show fit tests, fabric, sizing, and answer questions; open an early-access list
- Week 3: announce the launch date, send early access, go live
Measure what matters for a first drop:
- Waitlist signups
- Saves, shares, and direct messages
- Pre-order or early-access clicks
- Questions about size and fit
- Cost per engaged visitor, not just reach
Set up product pages on Haravan, Sapo, WooCommerce, and Shopify
Your product page is the store. For a clothing first drop, it should answer the shopper’s three questions before they buy: “Will it fit me?”, “What does it look like on a real body?”, and “What happens if it does not work?”
Product page essentials
- Clear product name and color name
- Several true-to-garment photos: front, back, side, detail, fabric texture
- A short description focused on fabric, fit, and occasion
- Size chart and model height, size worn, and body measurements if relevant
- Care instructions
- Shipping time and return or exchange policy
- Size and color variants that match your inventory
Shopify
In the admin, go to Products and open the product. Add options like Size and Color under variants. In Online Store > Themes > Customize, open the product page template and add sections such as collapsible rows for “Size guide” or “Shipping and returns.” You can also place a size chart image in the product description.
WooCommerce
In Products > Add New or Edit Product, create attributes for Size and Color, then create variations from those attributes. In the product page, use the built-in product block or your theme’s product template. Add a size guide using the short description, a product tab plugin, or a collapsible section in your page builder.
Haravan and Sapo
In the platform admin, edit the product and set up the product options or variants for size and color. Add the size chart and shipping notes directly in the product description using the HTML editor. Many themes show product descriptions as tabs or accordions on the product page. If the theme does not, place the size information near the variant selector so shoppers see it before adding to cart.
Common mistakes new clothing brands make
Launching too many products
A first drop with 15 SKUs multiplies sampling, fabric, photography, and inventory risk. Start narrow.
Buying fabric before sampling
Fabric can feel different after sewing, washing, and wearing. Sample first, then commit to fabric quantities.
Skipping the pre-production sample
The sample you approve is not always what the factory sews in bulk. A pre-production sample shows the exact trim, label, stitching, and fabric.
Copying a supplier size chart
A generic S/M/L chart may not fit your target customer. Grade sizes from your own fit model and feedback.
Pricing without a return buffer
Price should cover product cost, shipping, payment fees, marketing, discounts, and a reasonable return rate. For example, if a shop has 200 orders and 30 are returned, the return rate is 15%. That return cost must be built into the plan.
Treating launch day as step one
If nobody knows the product before launch, you are trying to build awareness and urgency at the same time. A small engaged waitlist beats a large cold audience.
Over-investing before validation
Spending heavily on packaging, studio shoots, or a brand film before the first sale increases pressure without reducing product risk. Start with clean, honest product photos and a simple but consistent identity.
Ignoring local rules and taxes
Vietnam has consumer-protection rules and tax obligations that can change. Whether you sell through Haravan, Sapo, WooCommerce, Shopify, or social channels, check the current official requirements for your business type and location instead of relying on older advice.
A practical step before you open the first drop
While you are finalizing product pages, one useful addition is a fitting tool on the product page itself. Instead of relying only on static size charts, a virtual try-on button next to “Add to cart” lets shoppers see themselves wearing the product using your existing product photos. It can help them judge the look before buying and reduce the uncertainty that slows first purchases.
If you are preparing a first drop, you can try Macgi’s free beta while you set up your store.
FAQ
How many pieces should my first drop have?
For most new brands, one hero product or a mini-range of three to five SKUs is enough. It keeps sampling, photography, and inventory manageable.
Do I need a registered business before launching?
It depends on where you sell and which payment providers you use. Some platforms require business verification. Check the current requirements for Shopify, WooCommerce, Haravan, Sapo, and local tax rules before you start taking payments.
Can I start with pre-orders?
Yes. Pre-orders reduce upfront inventory risk, but only if you set a realistic shipping window and keep customers updated. Make sure your refund policy is clear before orders come in.
How do I find a small-batch manufacturer?
Start with local sewing workshops, recommended makers, and small-batch clothing communities. Ask for previous work, production minimums, lead times, and a pre-production sample before committing to a full run.
Do I need a professional photoshoot for a first drop?
Not necessarily. Clean, consistent product photos that show the garment accurately are more important than expensive studio campaigns. You can shoot on a phone with good light and a neutral background, then improve consistency with careful editing.


